Bunny Filter
- Model
- Nano Banana 2
- Image
- 922 × 1152 px
Prompt
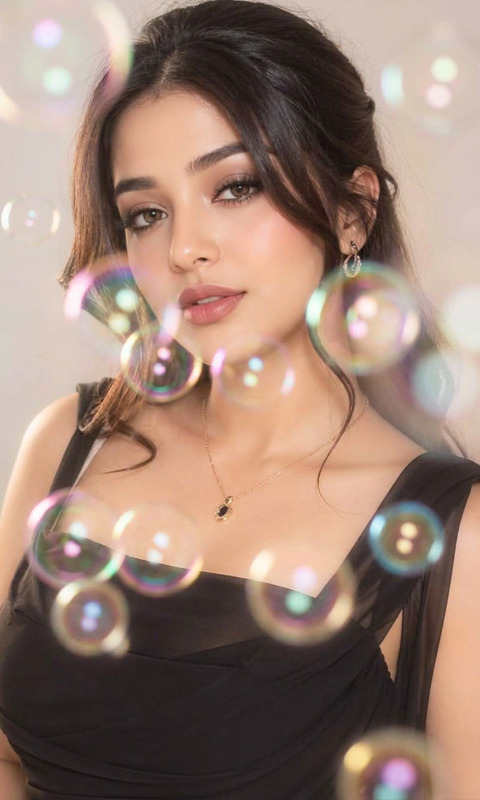
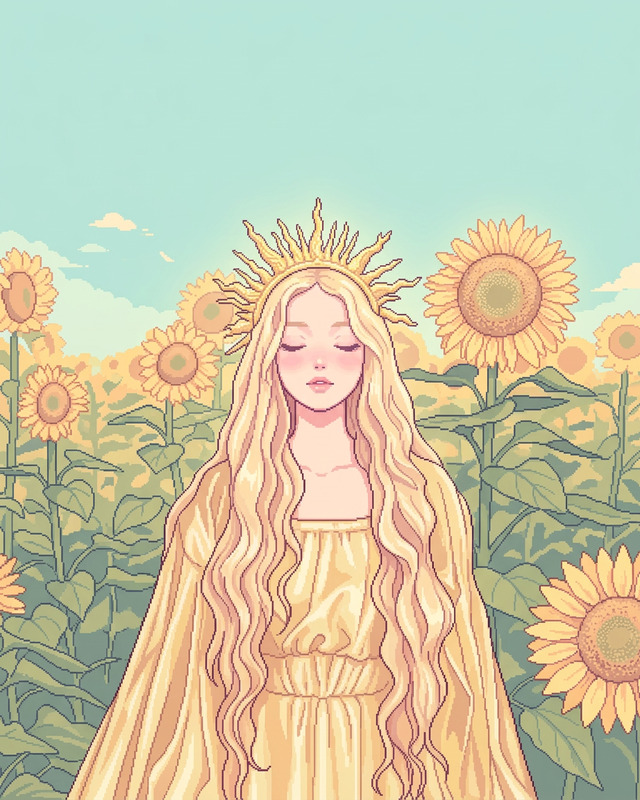
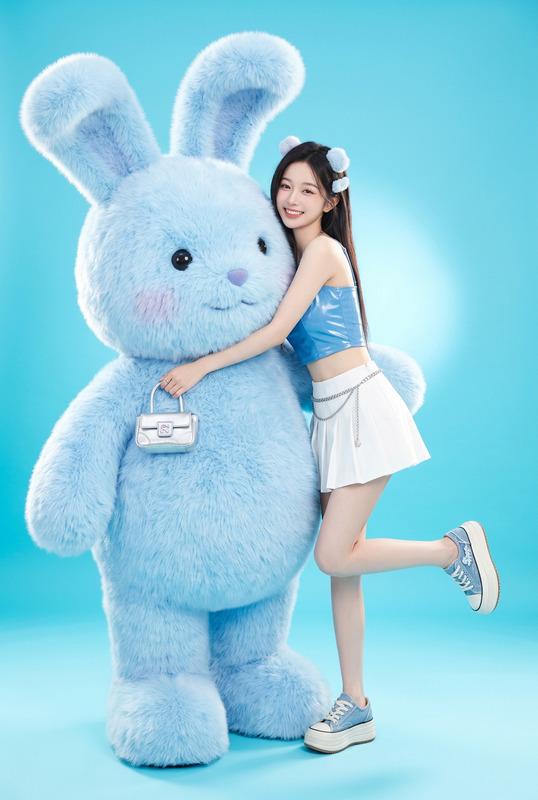
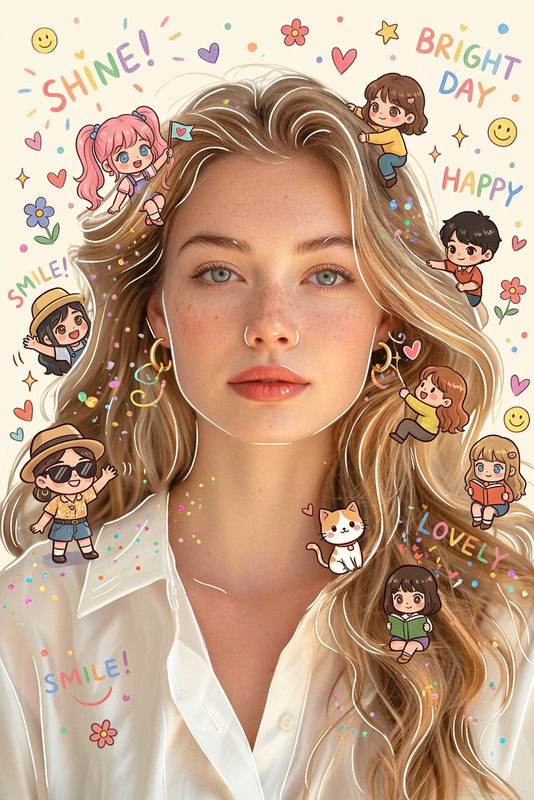
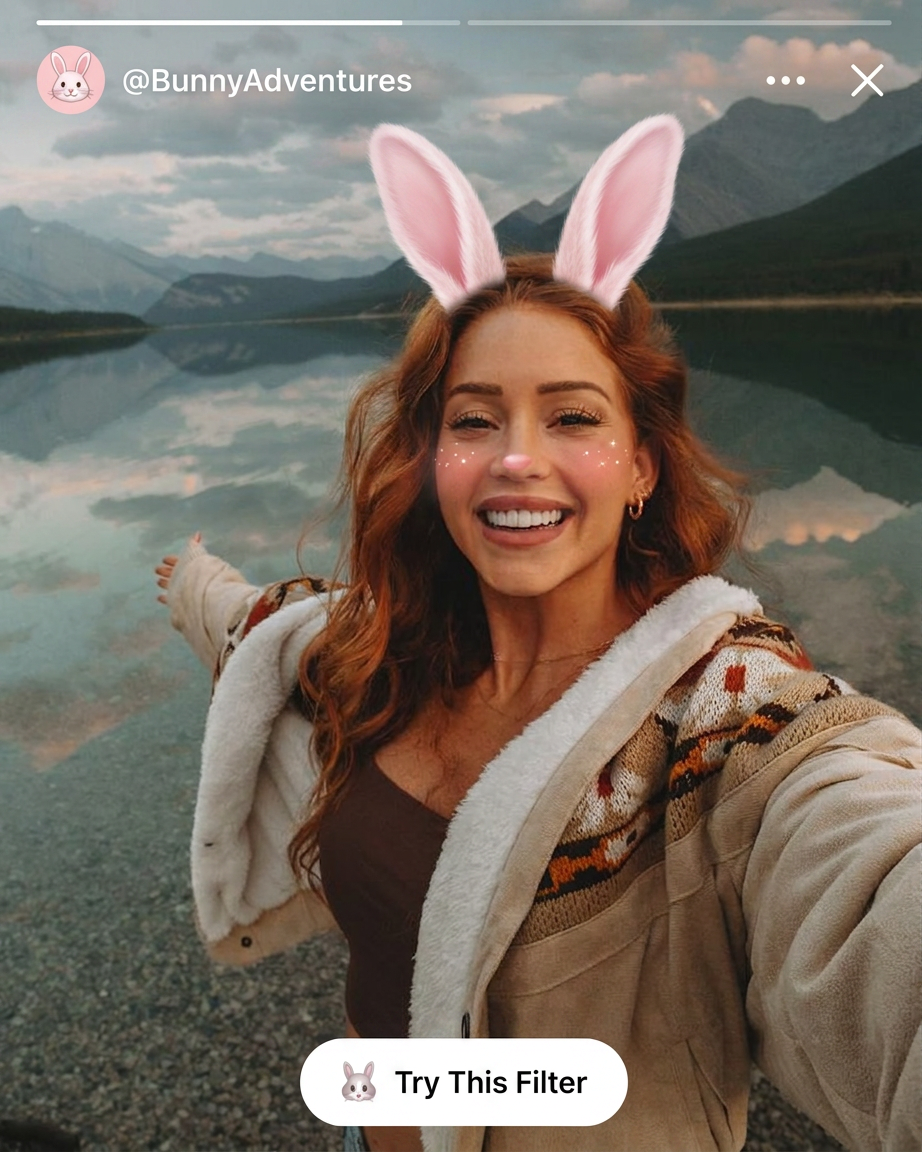
Use the uploaded image as the subject and transform it into a playful social-media bunny filter. Add soft pink bunny ears aligned naturally to the head angle, subtle blush, tiny sparkles, smooth skin glow, clean portrait lighting, pastel highlights, and a polished mobile-filter aesthetic with crisp facial detail.
Any aspect ratio
Overview
Transform your photos into playful, shareable moments with the Bunny Filter, a powerful tool in our AI Image Editor suite. Utilizing the nano-banana-2 model, this filter applies charming elements like bunny ears, blush, and sparkles, enhancing your images with a whimsical touch.
What It Does
The Bunny Filter overlays soft pink bunny ears aligned to your photo's head angle and adds a subtle blush. It incorporates tiny sparkles and a glow effect for smooth skin, enhanced by clean portrait lighting. The pastel highlights and crisp facial detail provide a polished mobile-filter aesthetic, ensuring your photos stand out on social media.
Who It's For
This filter is ideal for influencers, content creators, and anyone looking to add a fun twist to their photos. Whether you're enhancing your selfies or looking to create engaging content for your followers, the Bunny Filter is the perfect addition to your toolkit. Pair it with our AI Image Generator for creative inspiration.
Summary
The Bunny Filter offers a playful and vivid transformation for your images, perfect for social media sharing and personal enjoyment. Enhance your photos effortlessly with this advanced filter, part of our AI Image Editor capabilities powered by the precise nano-banana-2 model.
How to Use
Choose Your Base Image

Customize Your Filter

Generate and Download

Use Cases
Social Media Engagement
- Instagram stories
- TikTok fun videos
- Snapchat filters
Self-Improvement Projects
- Photography practice
- Creative challenges
- Self-portrait projects
Content Creation
- Newsletters
- Blog posts
- Creative portfolios
Best Practices
Align Ears Correctly
Ensure the bunny ears are naturally aligned with the subject's head angle to maintain realism.Play with Lighting
Utilize the portrait lighting feature to ensure your photo lighting complements the bunny filter aesthetics.Subtle Use of Effects
Less is more when applying blush and sparkles; subtlety can greatly enhance the final result.