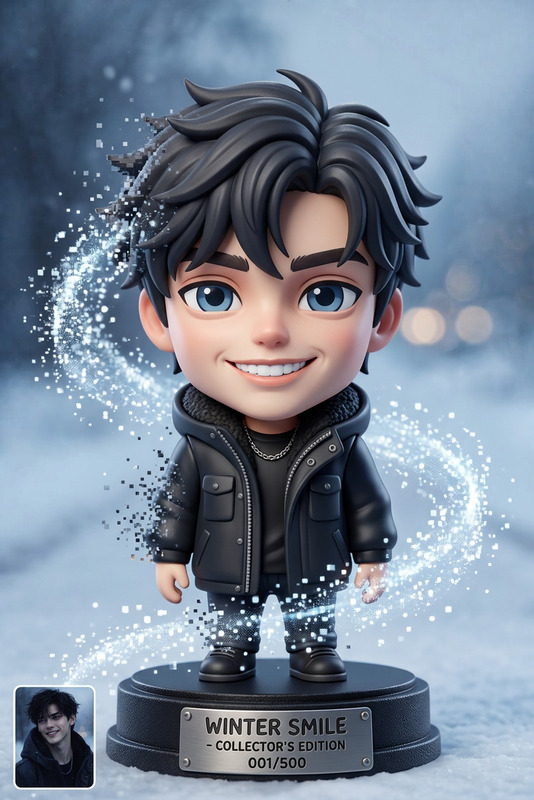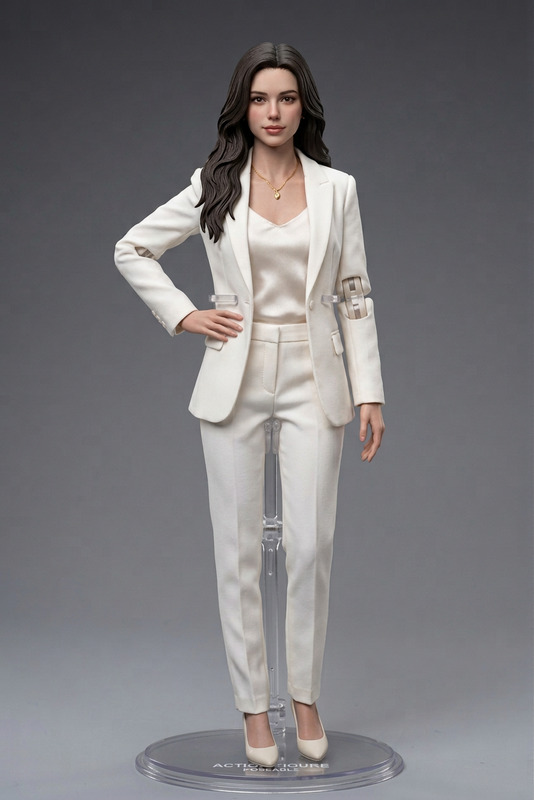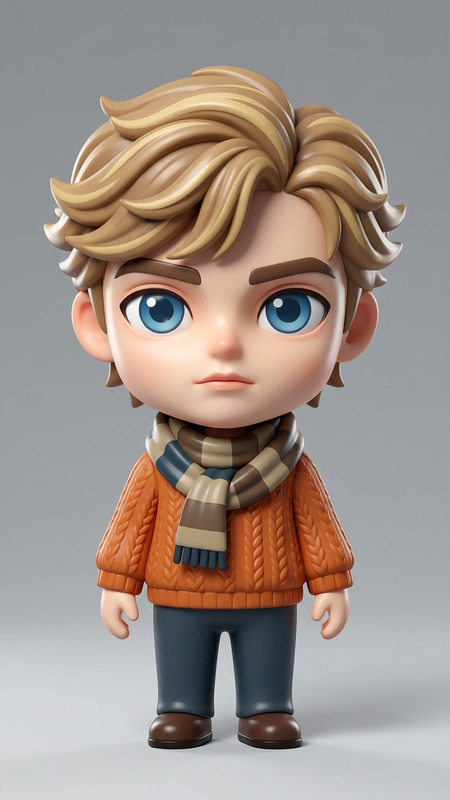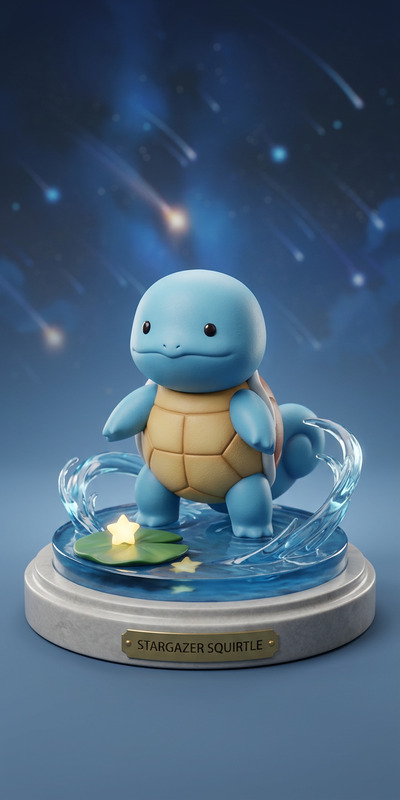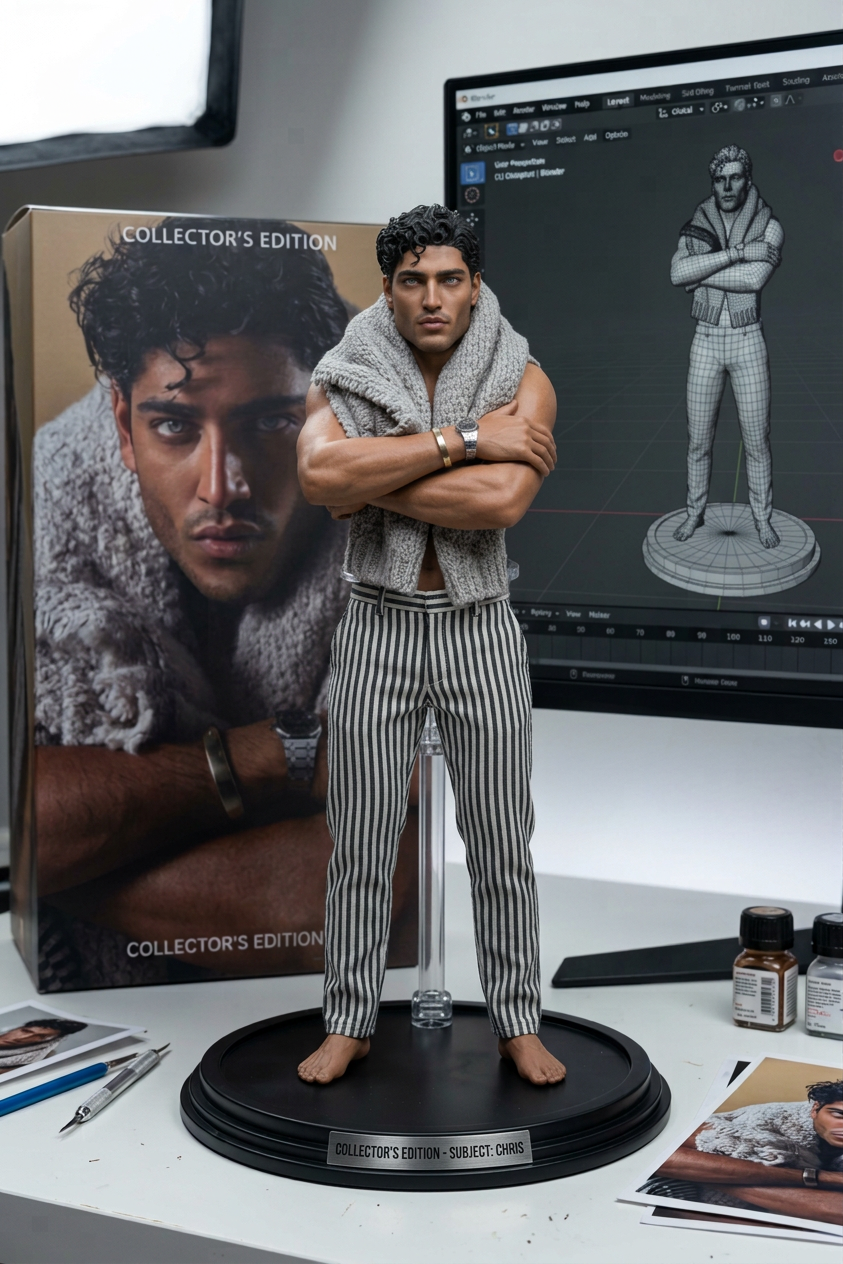
Character Figure Studio Setup
- Model
- Nano Banana 2
- Image
- 843 × 1264 px
Prompt
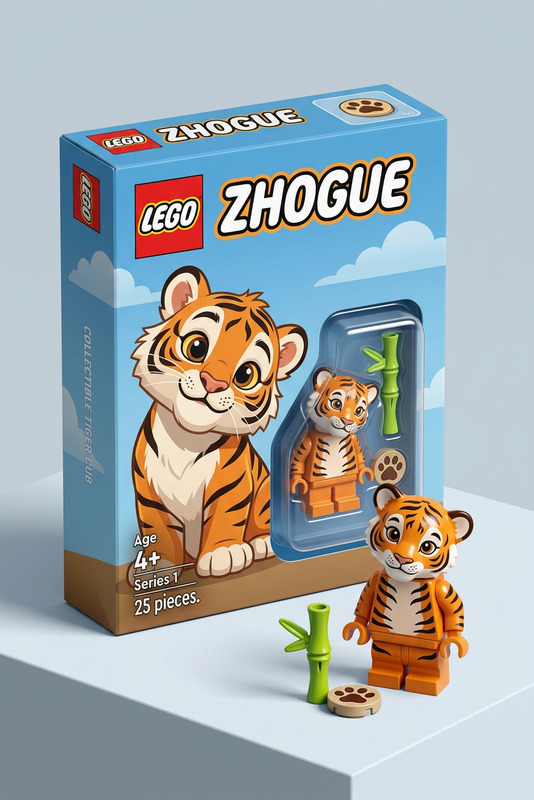
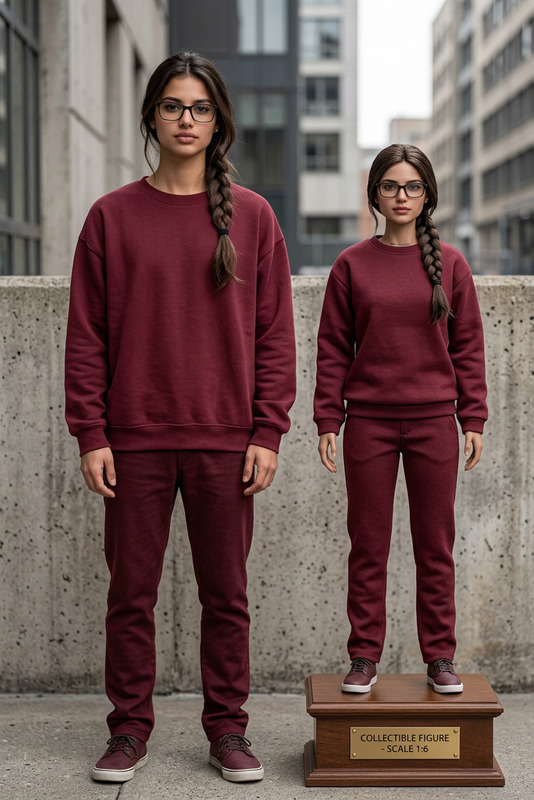
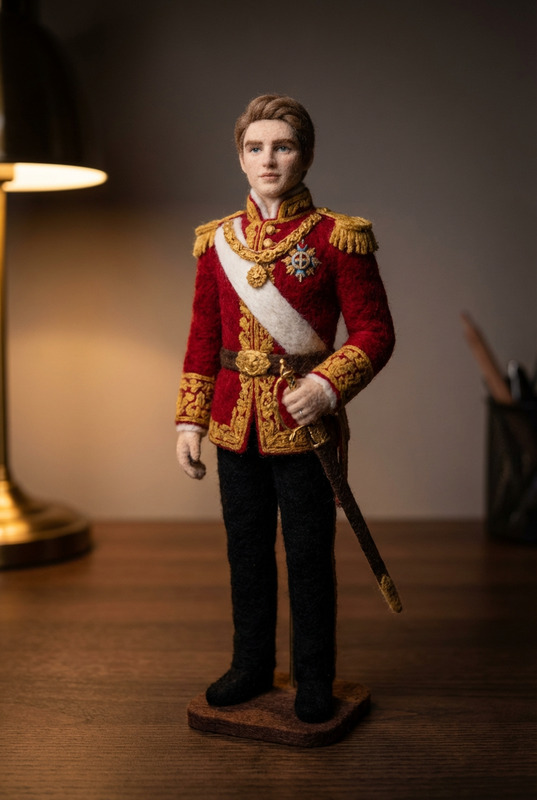
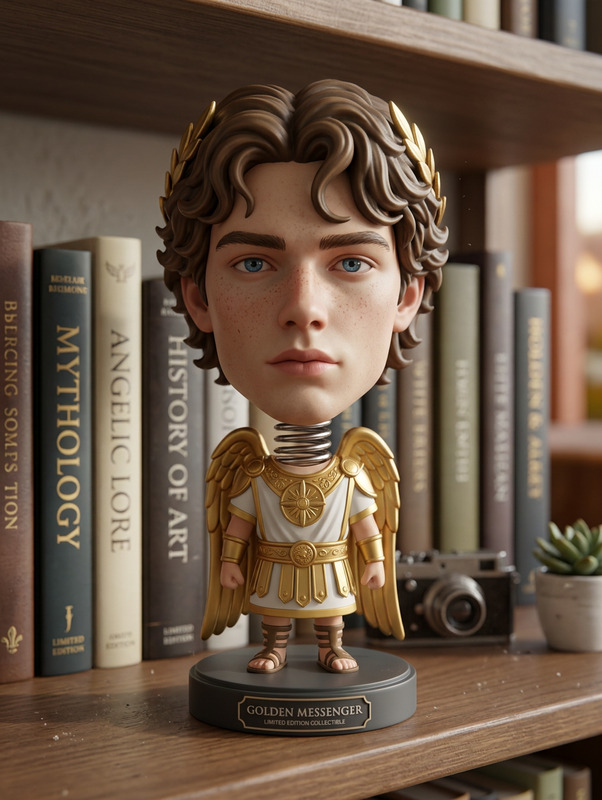
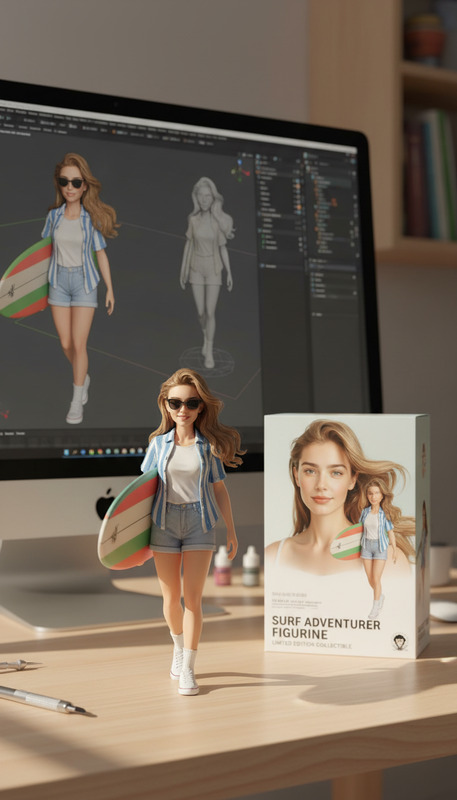
Transform the subject into a detailed character figure (toy/statue style) while preserving likeness and proportions. Place the figure standing on a round plastic base in the foreground. Behind it, include a product box featuring the character’s printed image. Add a computer screen displaying the Blender modeling process of the same character. Set the entire scene indoors with realistic lighting, soft shadows, and a clean workspace/studio environment. Ensure cohesive perspective, scale, and a polished, believable setup.
Any aspect ratio
Overview
The Character Figure Studio Setup template empowers digital artists and designers to create realistic character figures with just a few clicks. Harness the power of the AI Image Editor using the nano-banana-2 model to transform subjects into detailed toy-statue representations. This tool integrates cutting-edge AI technology to ensure that your character's likeness and proportions are preserved in a polished studio environment.
What It Does
This template takes your subject and converts it into a high-quality character figure, creating a realistic depiction with specific attention to detail. It places the character on a round plastic base and simulates a comprehensive studio setup complete with a product box and a screen showing the Blender modeling process. This setup is ideal for presentations, portfolio showcases, and concept art development, providing a cohesive and believable scene.
Who It's For
Designed for artists, designers, and creators in the gaming and collectible industries, this template is perfect for those who require the visualization of character concepts in a studio setting. Whether you are working on gaming cinematics or creating promotional content for new products, this tool will streamline your workflow with high-quality results.
Summary
With the Character Figure Studio Setup template, creating professional-grade character representations becomes straightforward. Utilize the AI-driven features of the tool for producing stunning visual content that communicates your design intentions clearly and effectively. Explore the potential of transforming any image into a lifelike studio depiction that mirrors practical product photography setups.
How To
Choose Your Template

Customize Your Inputs

Generate and Download

Use Cases
Gaming Concept Art
- Visualize character assets
- Develop marketing content
Collectible Promotions
- Showcase product packaging
- Highlight character features
Concept Design
- Create believable scenes
- Refine design proposals
Best Practices
Focus on Likeness
Ensure that the character's likeness is preserved to maintain recognition and authenticity.Consider Lighting
Adjust the scene's lighting settings to enhance the realism of the character figure setup.Match Perspectives
Align the character's perspective with the workspace to maintain a cohesive and polished look.