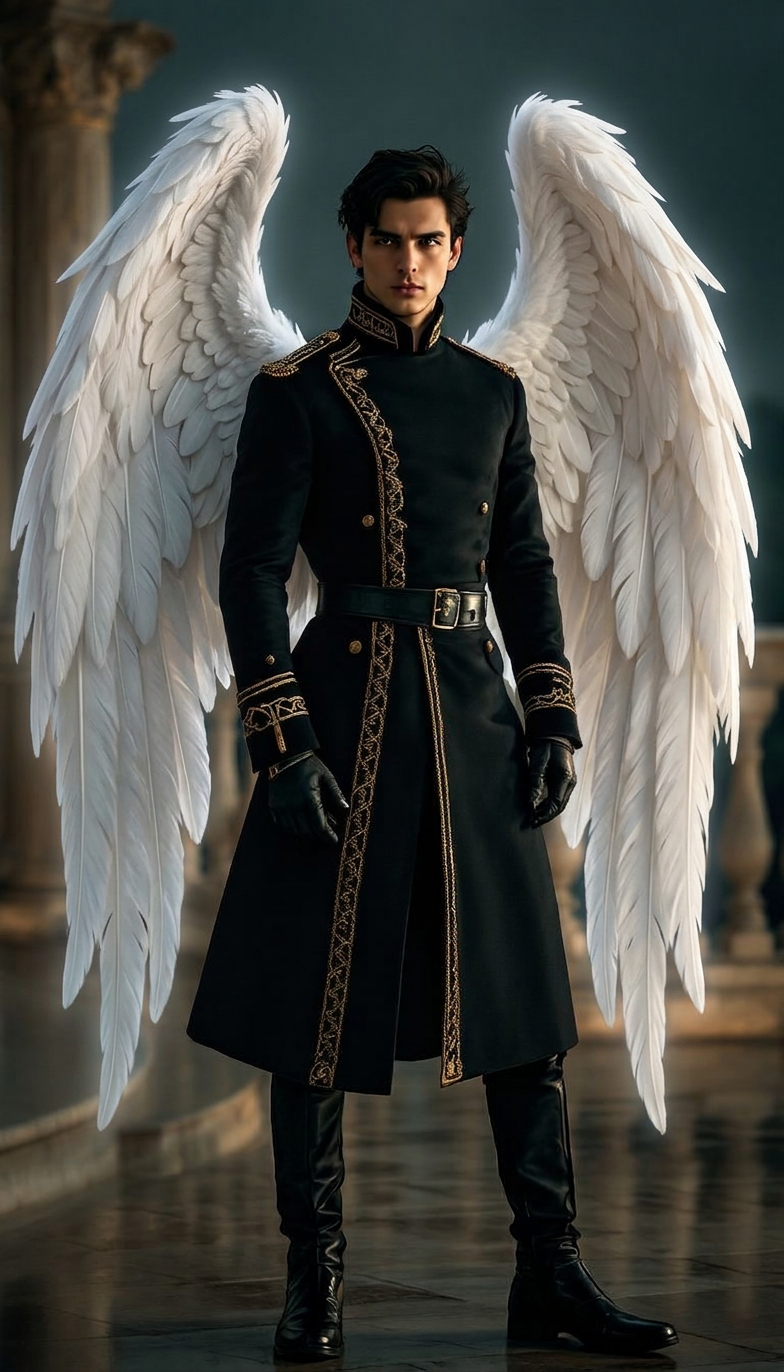
Angelic Wings
ai-image-editor
Any aspect ratio
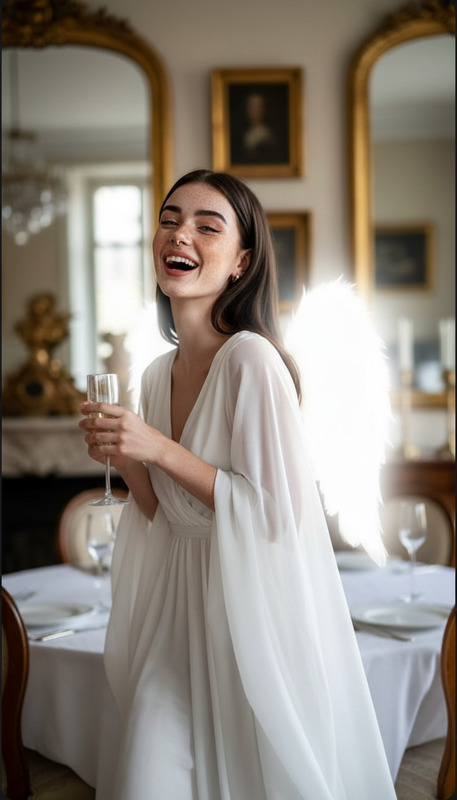
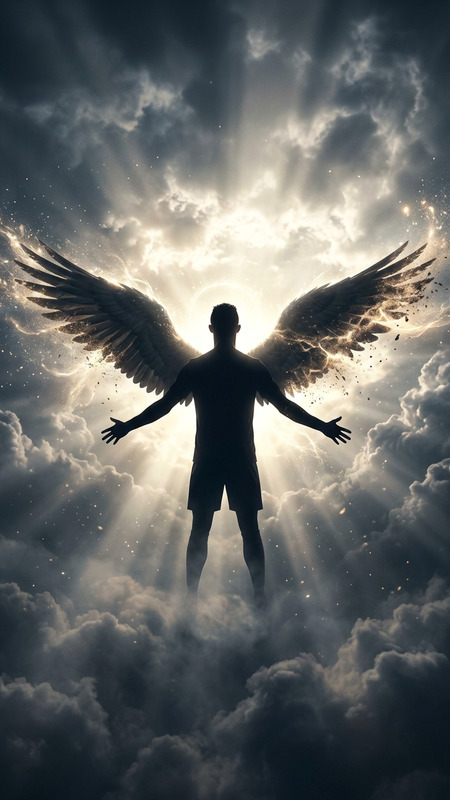
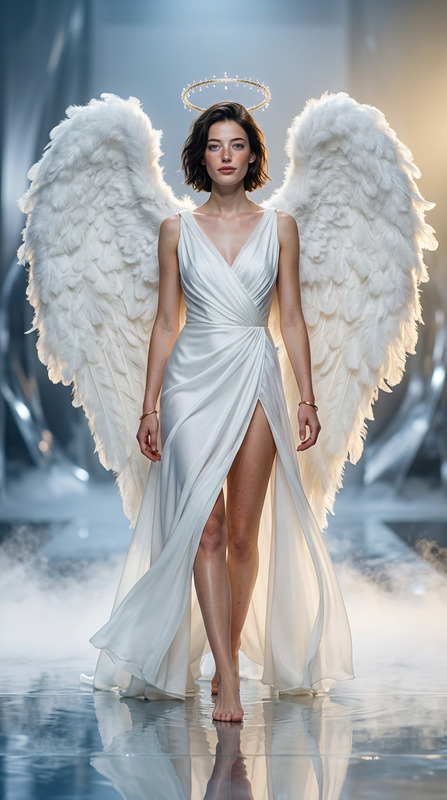
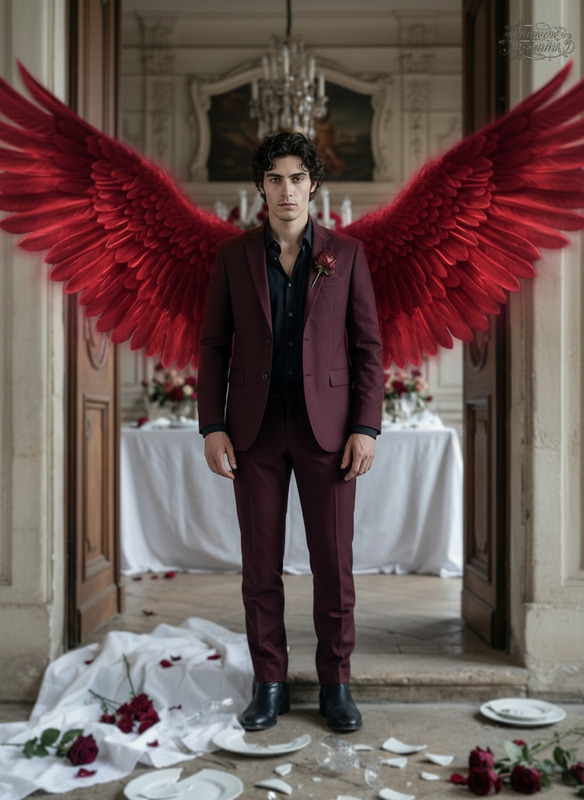
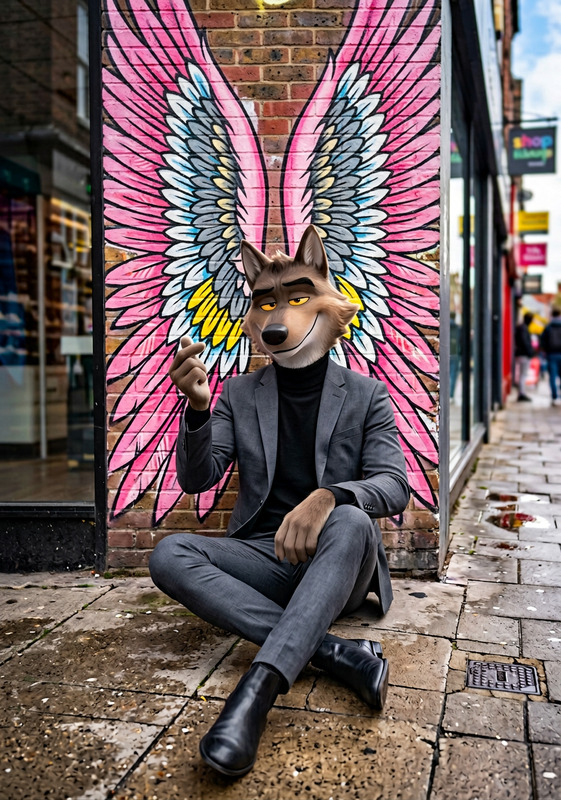
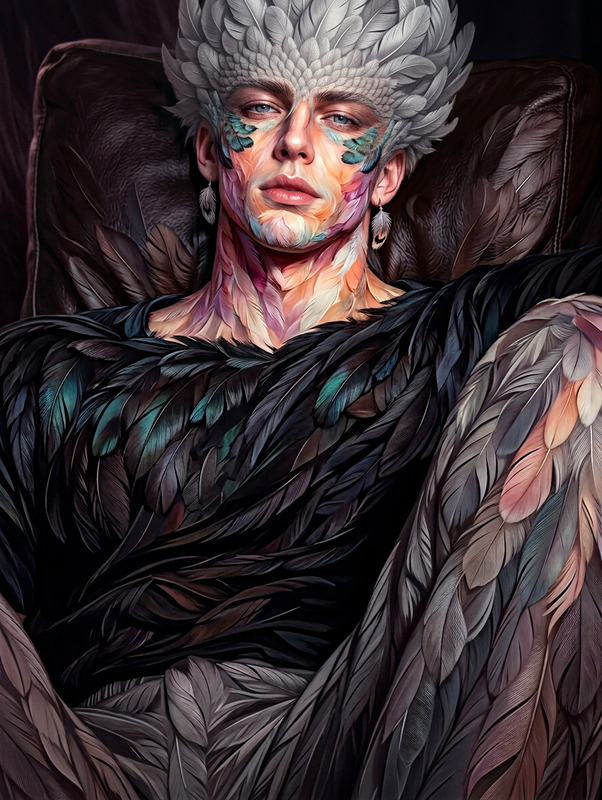
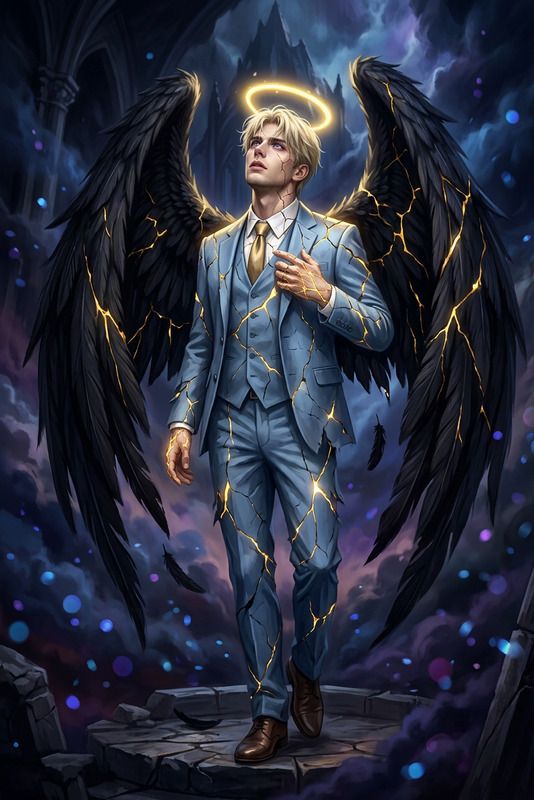
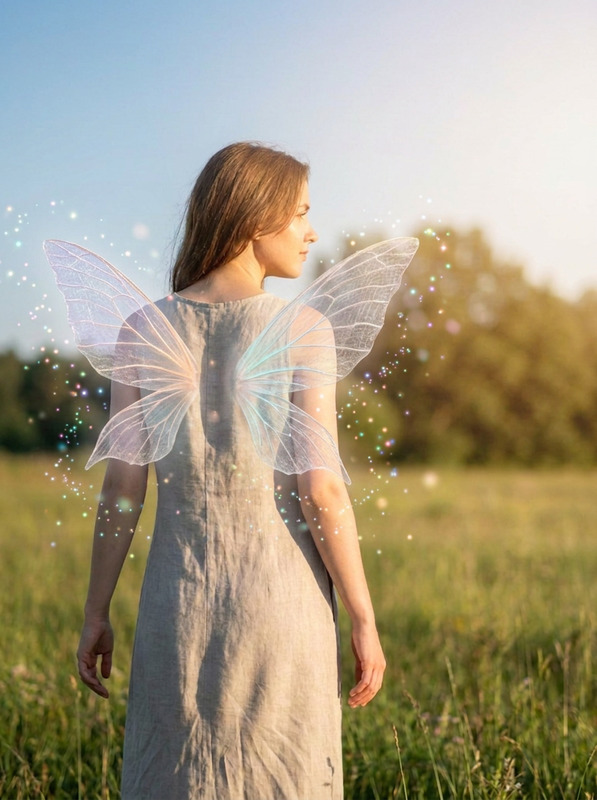
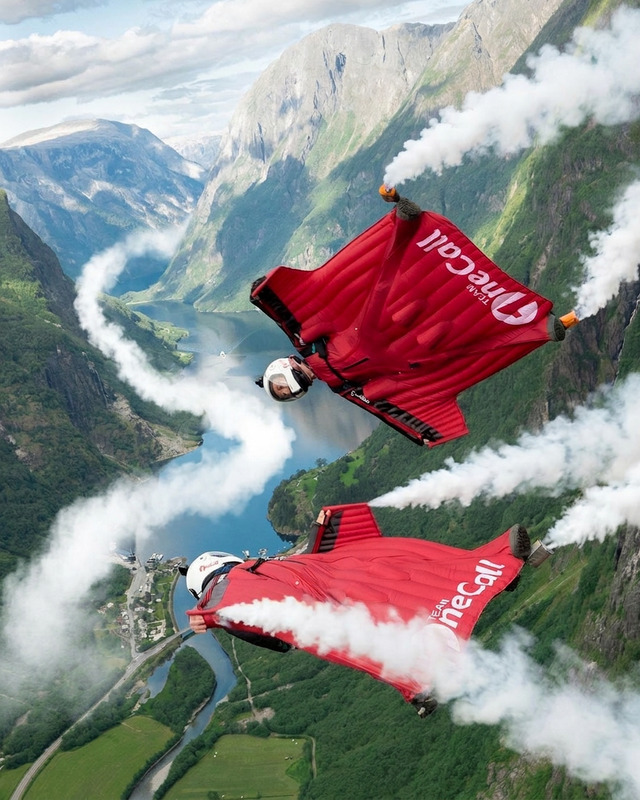
Add extremely large white feathery angel wings to the person, extending wide and tall behind them. The wings should be highly detailed with layered feathers, soft texture, and natural curvature. Use realistic lighting with subtle translucency at the feather edges and gentle shadows cast onto the body. Ensure seamless attachment to the back with believable anatomy. Keep the subject’s identity and pose intact. Cinematic, ethereal atmosphere, high detail, photorealistic.
AI Image Editor Template: Transform Any Photo in Minutes
Turn a rough idea into a polished visual with this Magic Hour AI Image Editor template. Whether you’re a marketer cleaning up campaign assets, a founder iterating on product shots, or a creator prototyping concepts, this template shows how to go from “quick mockup” to “publish-ready” image in a single flow.
What This Template Does
This template is built on the AI Image Editor and is designed to help you:
- Edit any image with natural language instructions
- Replace or remove objects and backgrounds
- Improve lighting, colors, and overall aesthetics
- Generate multiple creative variations from one source image
- Export assets for social, ads, decks, and landing pages
Under the hood, AI image editing combines techniques from diffusion models and image inpainting, similar to workflows described in research like “High-Resolution Image Inpainting with GANs” and modern diffusion-based editors. The benefit for you: you describe what you want, the model handles masking, blending, and realism.
How to Remix This Template in Magic Hour
You can recreate and customize this template directly in Magic Hour by starting with the AI Image Editor and then layering other tools as needed.
Step 1: Start With a Base Image
Use any of these as your starting point:
- Upload a product photo, headshot, or scene from your computer
- Generate a concept image first using:
- AI Photo Generator for realistic photos
- AI Art Generator or AI Illustration Generator for stylized visuals
- AI Character Generator or AI Anime Generator for characters and avatars
Once you have a base, open it in the AI Image Editor.
Step 2: Clean Up and Fix Issues
Common production-ready fixes you can apply:
Remove distractions:
Use the editor in combination with:- AI Remover
- Remove Object from Photo
- Watermark Remover
to erase logos, text, or unwanted people, then refine the result in the editor.
Repair or restore:
- For old or damaged photos, run them through Old Photo Restoration first, then use the editor for targeted touch-ups.
- For blurred or low-res assets, use Unblur Image or AI Image Upscaler before detailed editing.
Color and style consistency:
- Use the editor to harmonize colors or match a brand palette.
- For black-and-white assets, use Photo Colorizer, then refine tones in the editor.
Step 3: Change Backgrounds, Settings, and Context
This template is ideal for quickly testing different contexts around the same subject:
Product & ecommerce imagery
- Place products into studio-style scenes, lifestyle environments, or seasonal setups using the editor.
- Combine with AI Background Generator to create on-brand backgrounds, then fine-tune composition in the editor.
- Use AI Outfit Generator or AI Fashion Generator to style models and then adjust details via editing.
Brand & marketing visuals
- Create clean hero images for landing pages, ads, and decks.
- Use Thumbnail Maker or Album Cover Generator to generate layouts, then tweak faces, objects, and elements in the editor.
- For logos and icons, pair with AI Logo Generator and AI Icon Generator, then refine edges, shadows, or compositions.
Scene redesign and environments
- Design interiors and exteriors by starting with AI Interior Design Generator or Architecture Generator, then use the image editor to adjust layouts, decor, or materials.
- For maps, fantasy art, or game worlds, start with Fantasy Map Generator, Dark Fantasy AI, or DND AI Art Generator and refine visual details in the editor.
Step 4: Edit Faces, People, and Styling
For creators and marketers, realistic and consistent people imagery is critical. This template pairs well with:
Portraits & headshots
- Generate or update professional portraits using AI Headshot Generator or AI Selfie Generator, then use the editor for subtle retouching, lighting fixes, or background changes.
- For quick identity edits, use Gender Swap and then refine hair, clothing, or environment inside the editor.
Face editing & enhancement
- Use AI Face Editor or AI Face Generator to get a base face, then tweak expressions, accessories, or context in the image editor.
- For talking or animated content later, keep faces clear and consistent so they work well with AI Talking Photo or Face Swap.
Clothing & style
- Re-style people in your images with AI Clothes Changer or AI Outfit Generator, then polish folds, lighting, and background integration with the editor.
Step 5: Extend to Video, GIFs, and Motion
Once your edited image is final, you can use it as a starting point for richer formats:
Turn images into videos
- Use Image to Video or Text to Video to animate your edited asset into short clips.
- For stylized motion, explore Animation templates or Animated Characters Generator.
Add speech, lip sync, or face swaps
- Bring your edited subject to life with AI Talking Photo.
- Use Lip Sync templates to match mouth movement to audio, or Face Swap Video templates for creative campaigns.
- For GIF-centric workflows, pair with AI GIF Generator or Face Swap GIF.
Refine final video quality
- If you convert edits into video sequences, upscale and enhance with Video Upscaler.
- Add subtitles with Auto Subtitle Generator for social or global distribution.
Example Use Cases for This Template
This AI Image Editor template is especially useful for:
Founders & marketers
- Rapidly iterating on landing page hero images, app mockups, and social ads
- Localizing visuals for different markets without reshooting
- A/B testing ad creatives by changing backgrounds, props, or style
Designers & creative teams
- Turning rough concepts into presentable mockups for clients
- Creating consistent brand imagery across different channels
- Enhancing AI-generated art so it meets production quality
Developers & product teams
- Generating on-brand visuals for product dashboards and documentation
- Creating placeholder art and avatars using Avatar Generator or Full Body Generator, and refining them with the editor
- Prototyping UI/UX illustrations with Comic Book Generator or Optical Illusion Generator, then adjusting details in the editor
Creators & social-first brands
- Generating memes with AI Meme Generator, then editing faces, backgrounds, and details
- Designing book covers, album covers, and thumbnails using Book Cover Generator and Album Cover Generator, then polishing in the editor
- Crafting stylized characters with Disney AI Generator, Graffiti Generator, or Superhero Generator and finishing them in the image editor
Tips for Getting High-Quality Results
Based on common best practices in AI image editing and content creation:
Start from the best possible source
Use upscaling and restoration tools first, then edit. Clean inputs produce more realistic results.Iterate in small steps
Make one or two focused changes at a time, regenerate, and pick the best variation. This mirrors professional design workflows and avoids over-editing.Maintain consistency across assets
Reuse the same characters, styles, and environments across multiple images. Tools like AI QR Code Generator, AI Icon Generator, and AI Logo Generator help keep a coherent visual language.Think multi-format from the start
If you know you’ll convert an image to video or talking content, keep faces clear, backgrounds clean, and composition centered so it works well with Video to Video templates, AI Voice Generator, or AI Voice Cloner.
How to Build Your Own Version of This Template
To create a customized version tailored to your workflow:
Pick your core tools
- Start with the AI Image Editor as the main step.
- Decide if you’ll usually need generation (AI Photo Generator), restoration (Old Photo Restoration), or face editing (AI Face Editor) before editing.
Define your “before → after” journey
- Example: “Raw product photo → Clean background → Styled lifestyle scene → Export for ad.”
- Capture that sequence as your standard workflow using the editor plus supporting tools like Image Background Remover or AI Background Generator.
Link to complementary templates
- If your end goal is motion or talking content, connect this flow with:
Standardize for your team
- Document which tools to use in which order (e.g., upscaling → editing → background changes → export).
- Keep a small library of “reference” images that represent your ideal style and use them consistently across editing sessions.
Use this AI Image Editor template as a base, then remix it with the tools above to match your exact creative pipeline—from static image all the way to animated, voiced, and publish-ready content.