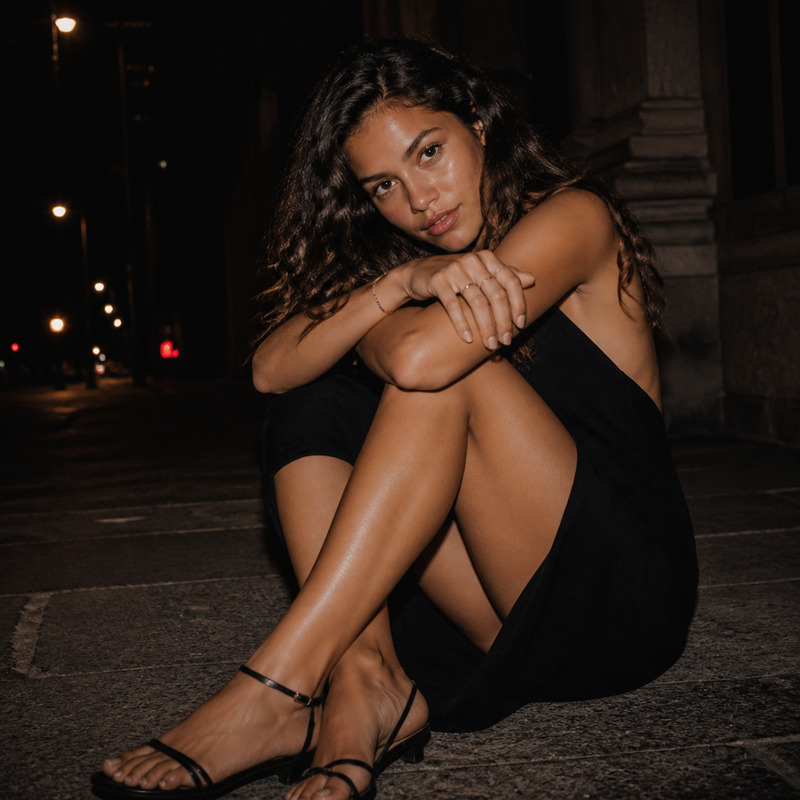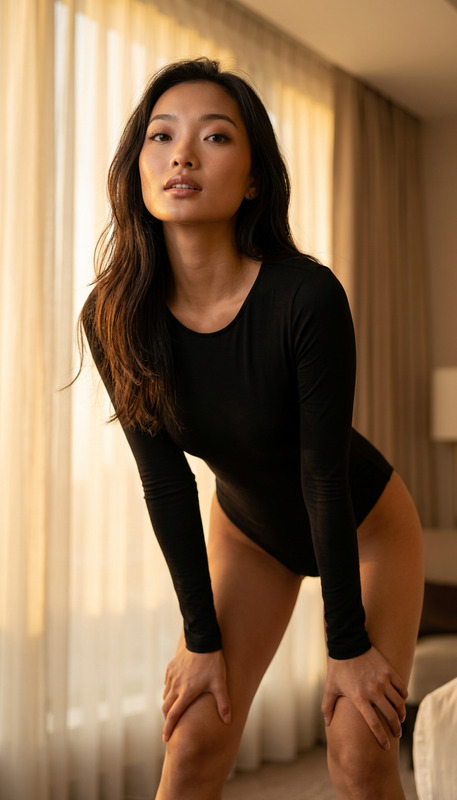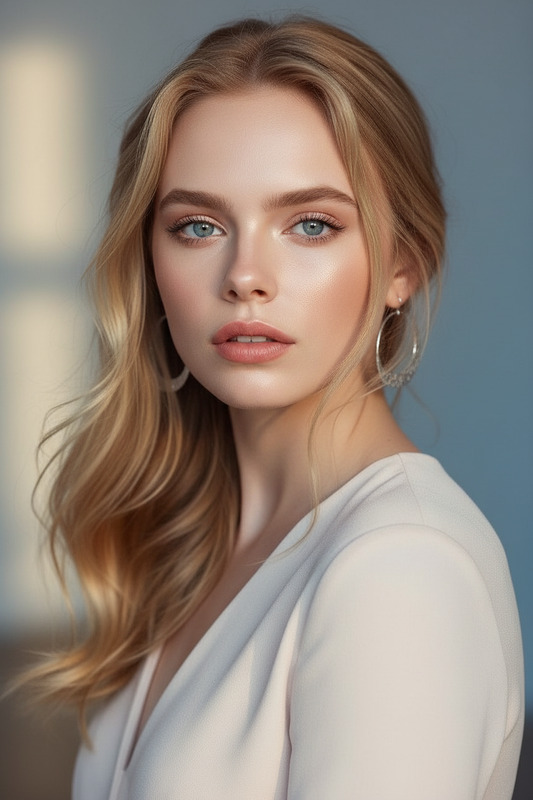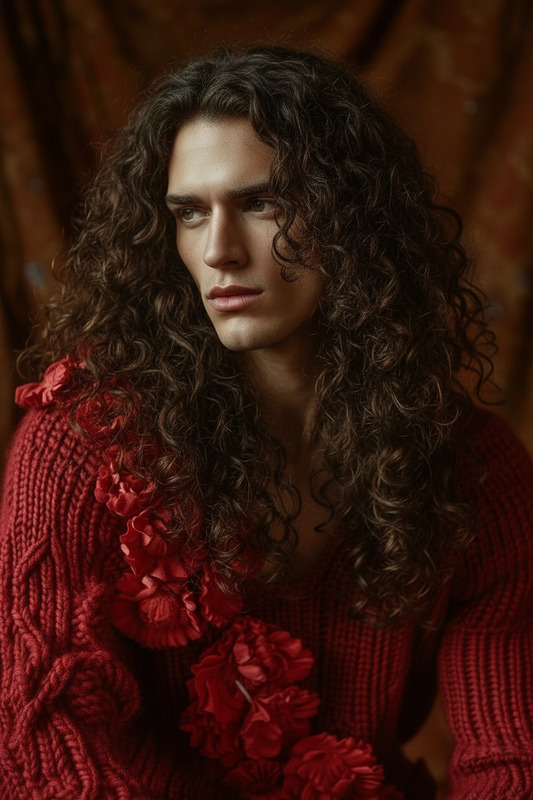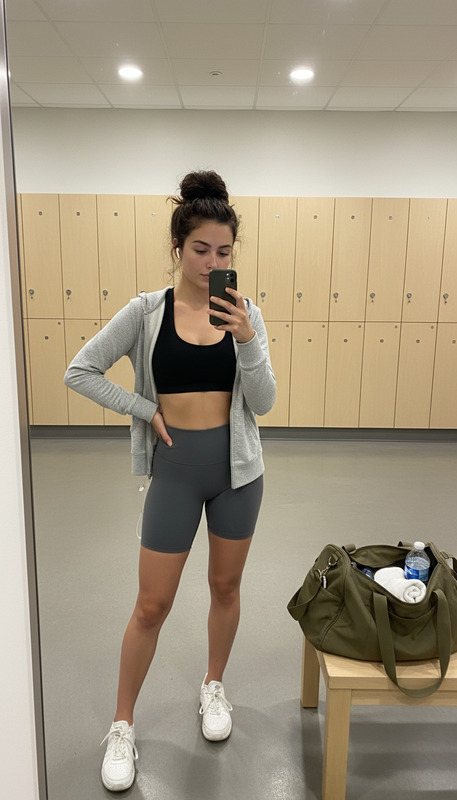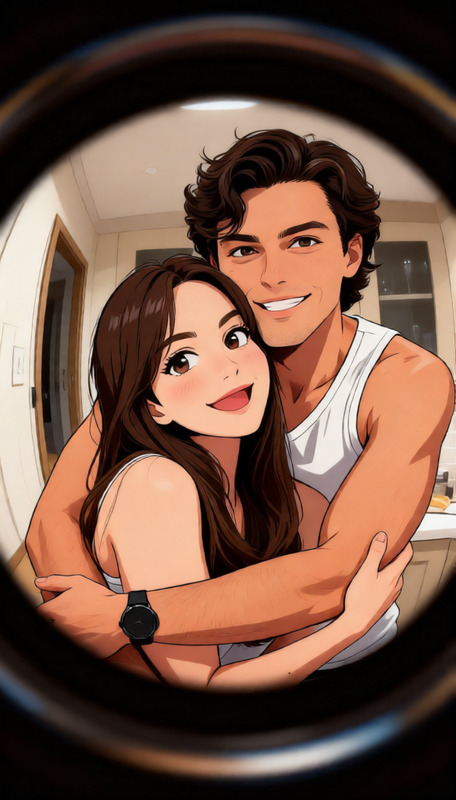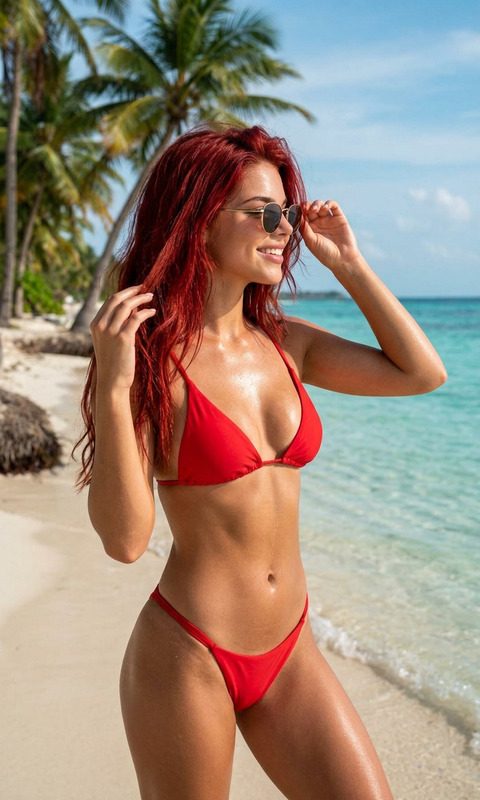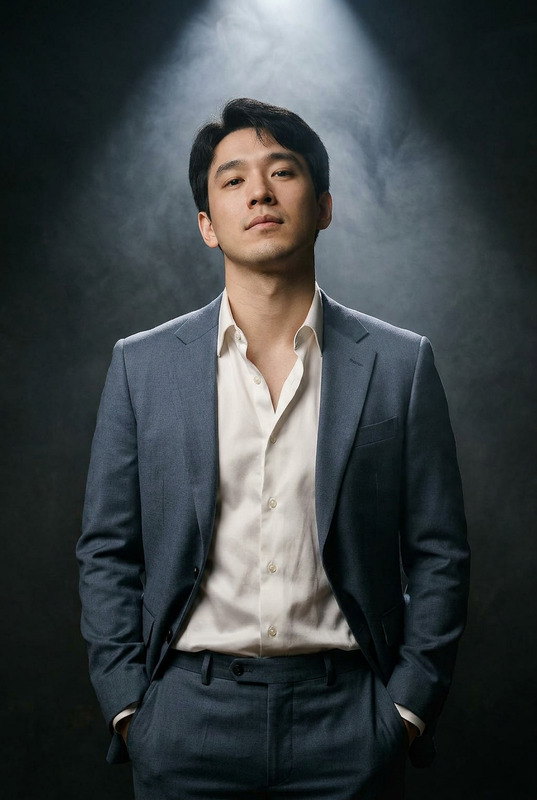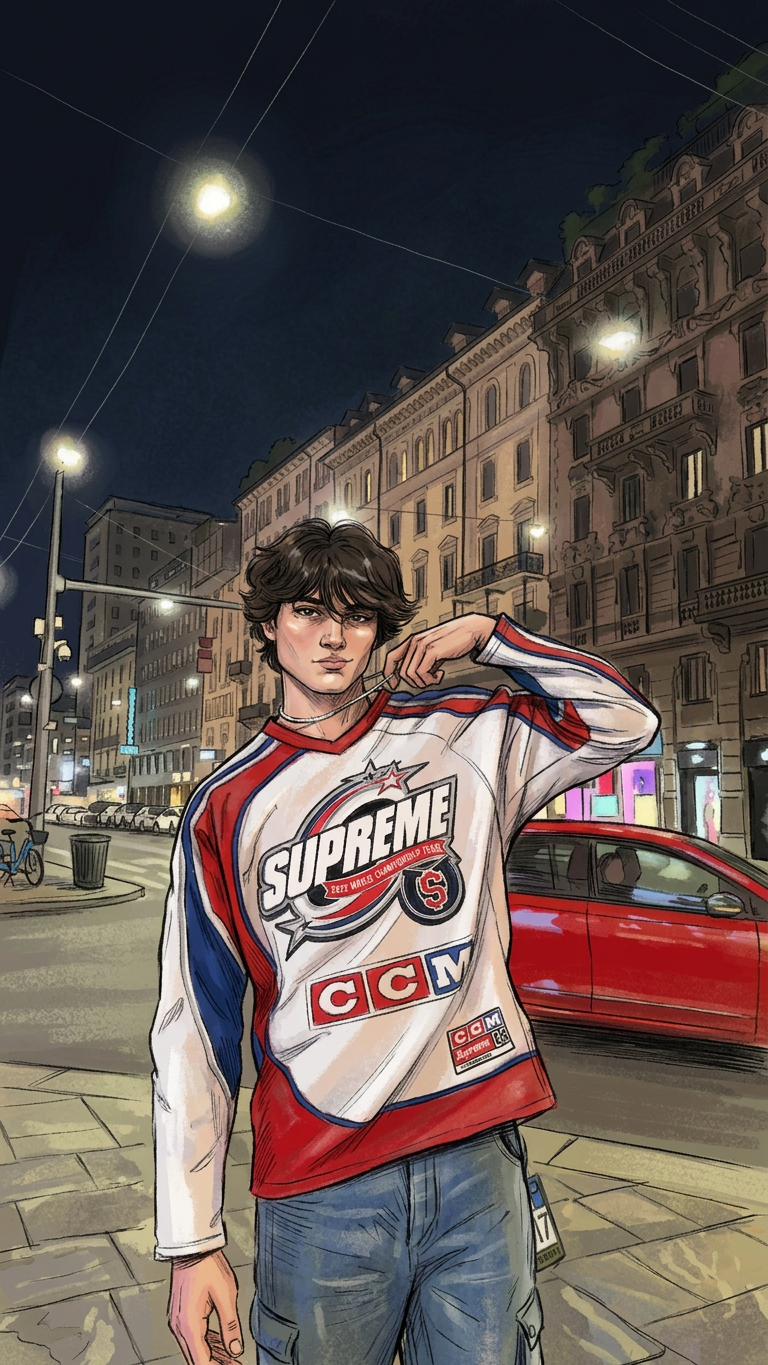
Illustration Scene

Illustration Scene

ai-image-editor

1 clip
1 uses

Any aspect ratio

Prompt

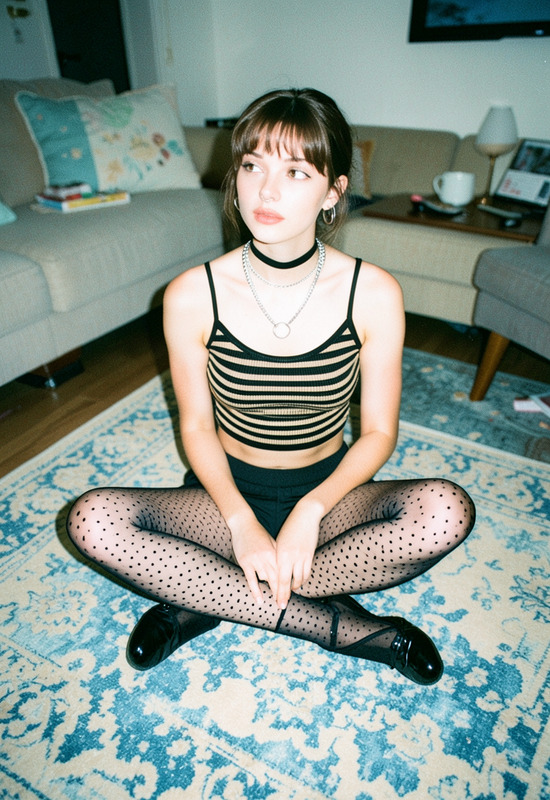
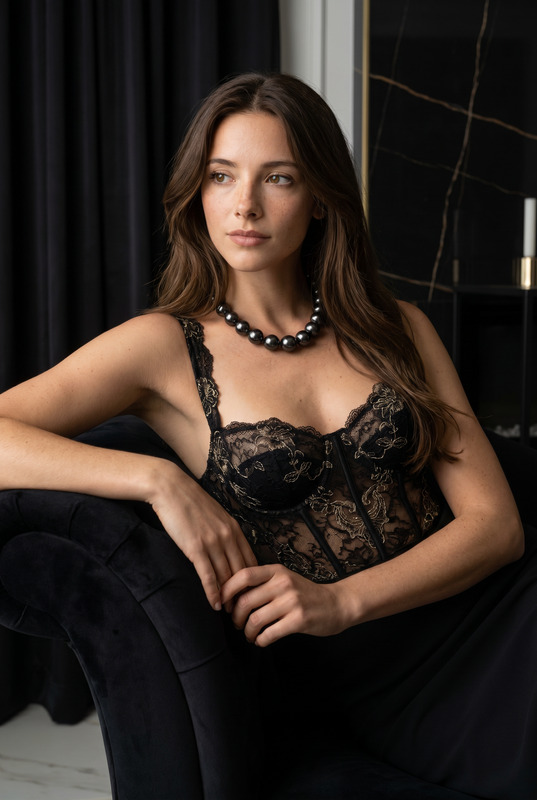
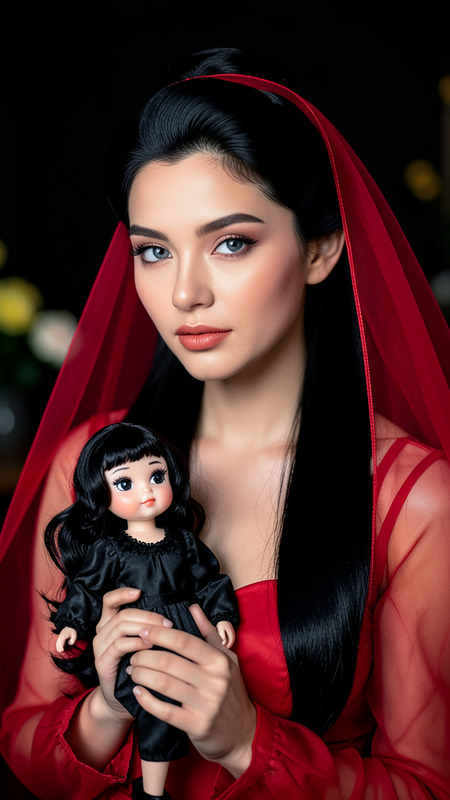
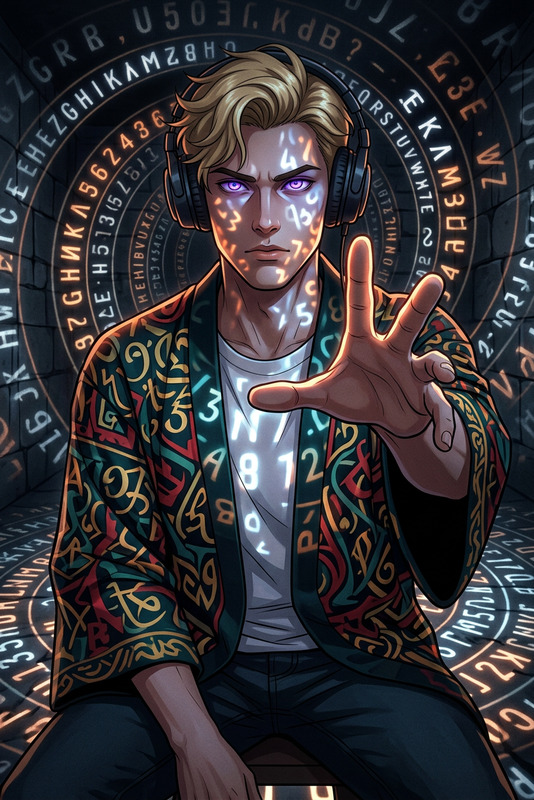
A subject and environment transformed into a stylized illustration, with hand-drawn or sketched lines, painterly shading, and simplified forms, soft textures, artistic composition, slightly exaggerated features, and a cohesive illustrated aesthetic, high detail, creative and expressive mood.

Tags

styles

AI Image Editor Template: Turn Any Photo Into a Polished, On‑Brand Asset in Minutes

Use this template to quickly transform raw images into clean, on-brand visuals with the AI Image Editor. Whether you’re a marketer refining ad creatives, a founder polishing product shots, or a creator iterating on concepts, this template gives you a repeatable, remixable workflow you can customize inside Magic Hour.


What This Template Is For

This AI Image Editor template is ideal for:

  • Cleaning up or enhancing photos (lighting, composition, clutter removal)
  • Reframing or reimagining existing visuals for different channels
  • Turning screenshots or rough drafts into publication-ready assets
  • Updating old designs with new branding, text, or elements
  • Rapidly A/B testing creative variations for campaigns

It’s particularly useful for:

  • Marketing & growth teams (ads, landing pages, social, email)
  • Product and UX teams (UI mockups, product shots, onboarding flows)
  • Founders and solo builders (pitch decks, website imagery, investor docs)
  • Content creators and designers (thumbnails, covers, carousels, memes)

How to Remix This Template in Magic Hour

You can treat every template on Magic Hour as a starting point. To build your own version of this AI Image Editor workflow:

  1. Open the AI Image Editor
    Go to the AI Image Editor. This is the core tool behind this template and supports object removal, background changes, and intelligent image edits.

  2. Upload a Reference Image

    • Use any source: product photos, portraits, screenshots, illustrations, mockups.
    • Higher resolution images will generally give you more detailed results.
    • If you don’t yet have a starting image, you can generate one first with:
  3. Define the Edit Intent Clearly
    In your prompt, be explicit about the transformation you want. For example:

    • “Make this product photo look like a clean studio shot on a pure white background. Remove all clutter, enhance lighting, keep proportions realistic.”
    • “Turn this selfie into a professional LinkedIn-style headshot with soft lighting and a neutral office background.”
    • “Convert this app screenshot into a landing-page hero mockup with a modern gradient background and subtle reflections.”

    Clear intent = more consistent, controllable results.

  4. Use the Editor for Structured Changes
    Within the AI Image Editor, you can:

  5. Export Variants for Testing

This is the core “remix” pattern: start with this template, swap in your own images, refine your prompts, and save it as your personal workflow.


Practical Use Cases and Recipes

Here are common, production-grade workflows you can build from this template:

1. Product Shots → High-Converting E‑commerce Images

  • Upload a rough product photo.
  • Use the template to:
    • Remove irrelevant background elements.
    • Place the product on a clean, brand‑consistent backdrop.
    • Enhance lighting and contrast to highlight key features.
  • Optionally:

2. Social Content & Thumbnails at Scale

  • Start from a screenshot, frame grab, or simple illustration.
  • Use the editor to:
    • Add or refine backgrounds, props, or context.
    • Remove noise and distracting elements.
    • Emphasize faces or key UI.
  • Combine with:

3. Professional Headshots & Profile Images

  • Upload a selfie or informal portrait.
  • Use the AI Image Editor to:
    • Clean up lighting and skin tones.
    • Swap the background to something professional and neutral.
    • Subtly refine facial details while preserving identity.
  • For more specialized flows, you can explore:

4. Design Mockups & Pitch Deck Visuals


Advanced Remix Ideas for Builders and Teams

If you’re a developer, marketer, or startup founder looking to systematize creative production, you can extend this template into multi‑step “pipelines”:

  • Image → Video Storytelling

  • Avatar and Character Systems

  • Campaign‑Specific Visual Systems

    • Start from one master key visual.
    • Use this template to adapt it for:
      • Ads and social (cropping, text‑safe regions, simplified backgrounds)
      • Landing pages and hero images
      • Email headers and in‑product visuals
    • Maintain a consistent “visual language” by remixing the same base style instead of starting from scratch.

Related Magic Hour Tools That Pair Well With This Template

To build more powerful, end‑to‑end creative workflows around the AI Image Editor template, consider integrating:


Best Practices for High‑Quality AI Image Edits

To consistently get strong, production‑ready results with this template:

  • Be concrete in your prompts
    Focus on desired outcome, not just style labels. For example:

    • Better: “Neutral gray studio background, soft shadows, realistic texture, keep brand colors on the label.”
    • Weaker: “Make it look cool and modern.”
  • Work from the highest quality source you have
    The AI Image Editor will preserve and improve detail, but starting from clean, high‑resolution inputs yields clearer final images.

  • Iterate in small steps
    If you’re making major changes (background + objects + style), do it in stages and keep the best intermediate versions. This also makes it easier to trace what worked.

  • Standardize for your brand
    Once you like the outcome (e.g., a specific background, lighting style, or framing), reuse this template and reuse the same description so all your assets feel cohesive.


How to Turn This Into Your Own Reusable Template

Inside Magic Hour, you can effectively “fork” and personalize any workflow:

  1. Start from this AI Image Editor template.
  2. Swap in your own reference image(s).
  3. Refine the description until it reliably produces your preferred look.
  4. Save and reuse this configuration for:
    • New products or releases
    • Different team members or collaborators
    • Ongoing experimentation and A/B testing

Over time, this becomes your internal visual system: a fast, controllable way to generate new, on‑brand assets without repeatedly briefing designers or agencies.


Use this AI Image Editor template as your base layer: clean, consistent, and controllable image edits that plug seamlessly into the rest of the Magic Hour ecosystem. From there, you can branch out into video, avatars, characters, and campaign‑level creative systems—all by remixing the same core workflow.

More Like This

Insufficient credits