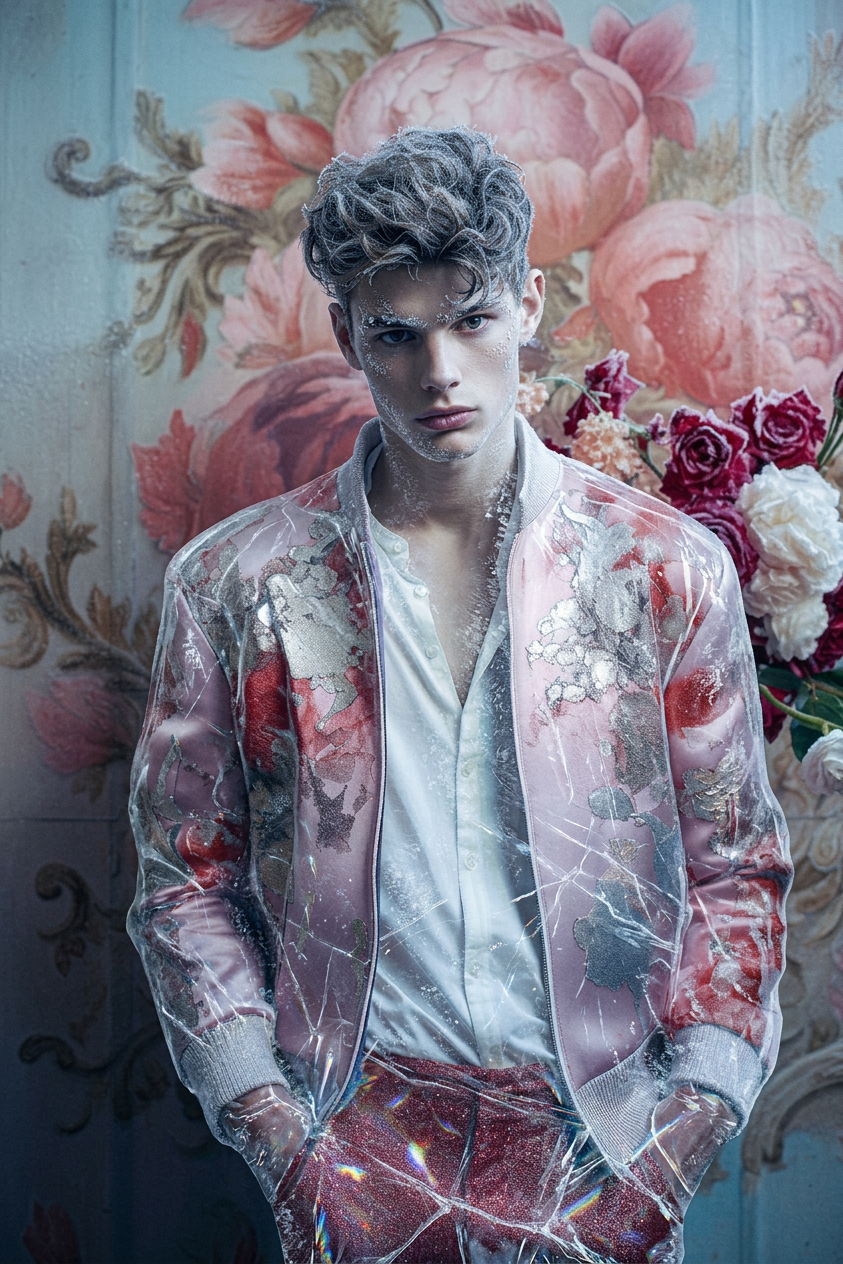
Frozen Glass Aura

Frozen Glass Aura

ai-image-editor

1 clip
4 uses

Any aspect ratio

Prompt

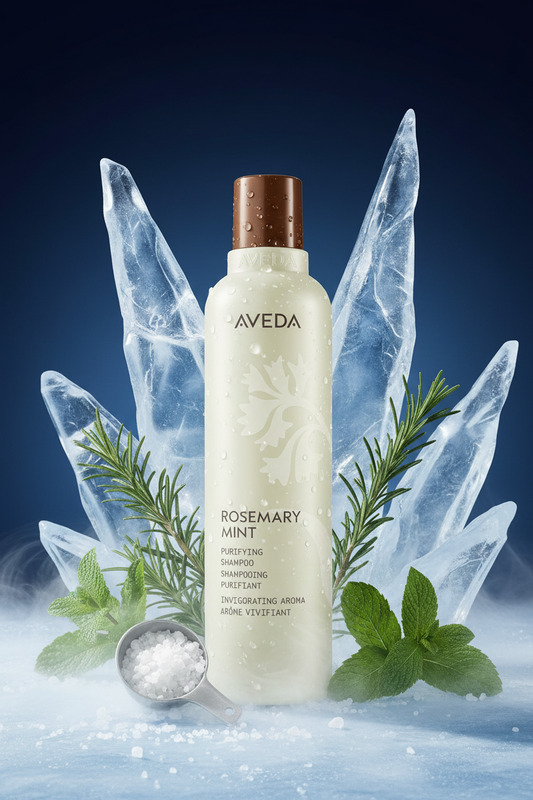
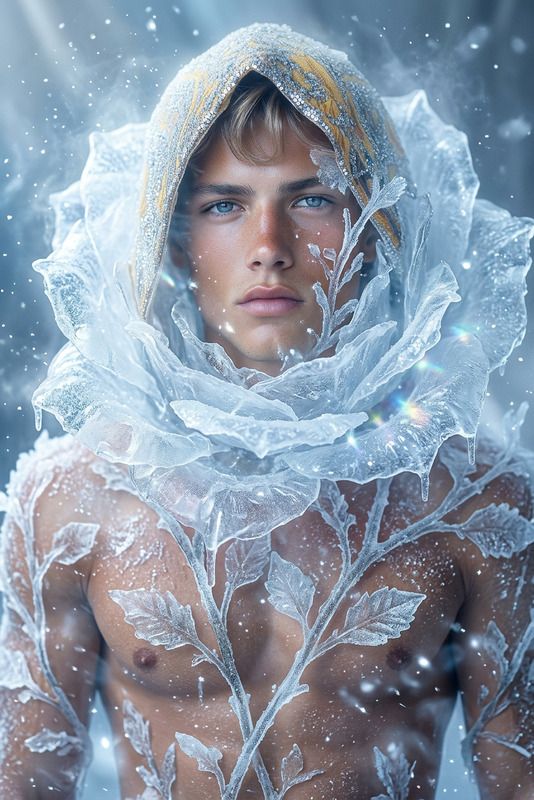
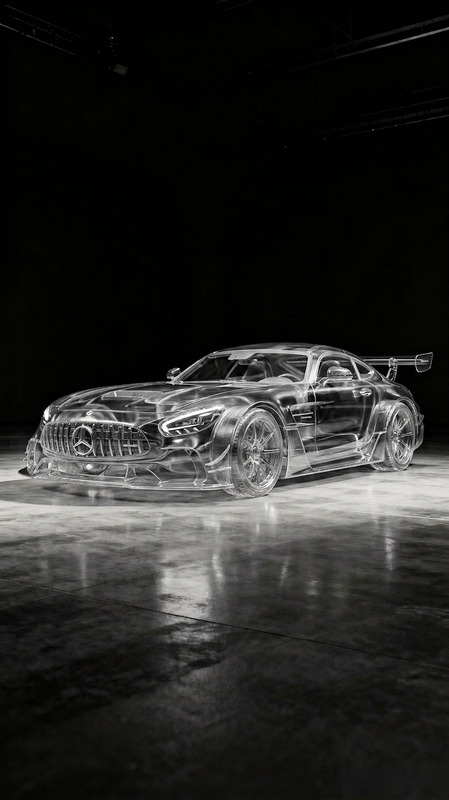
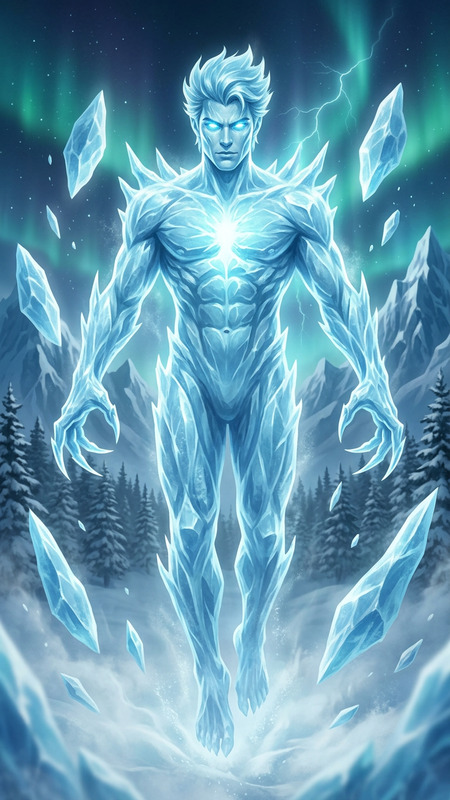
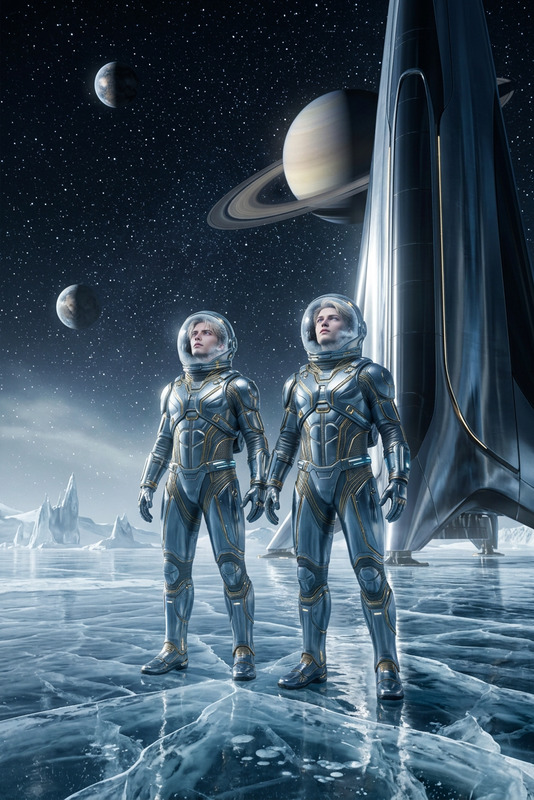
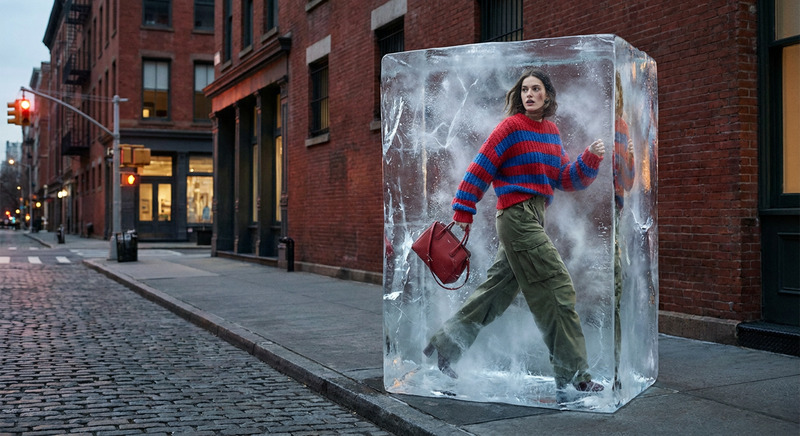
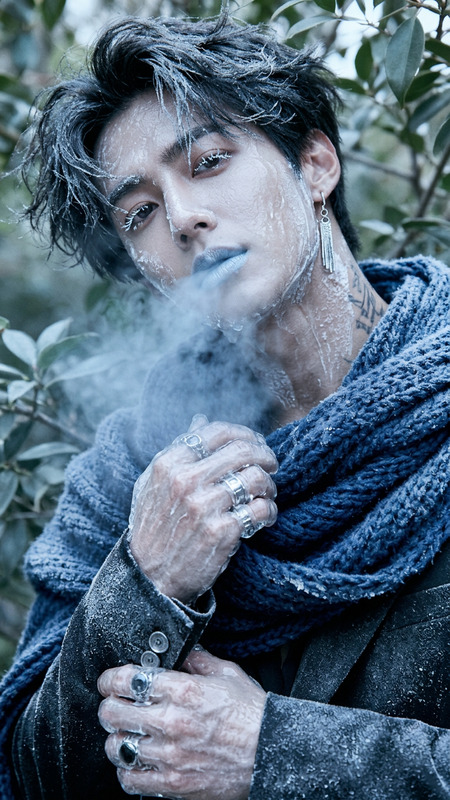
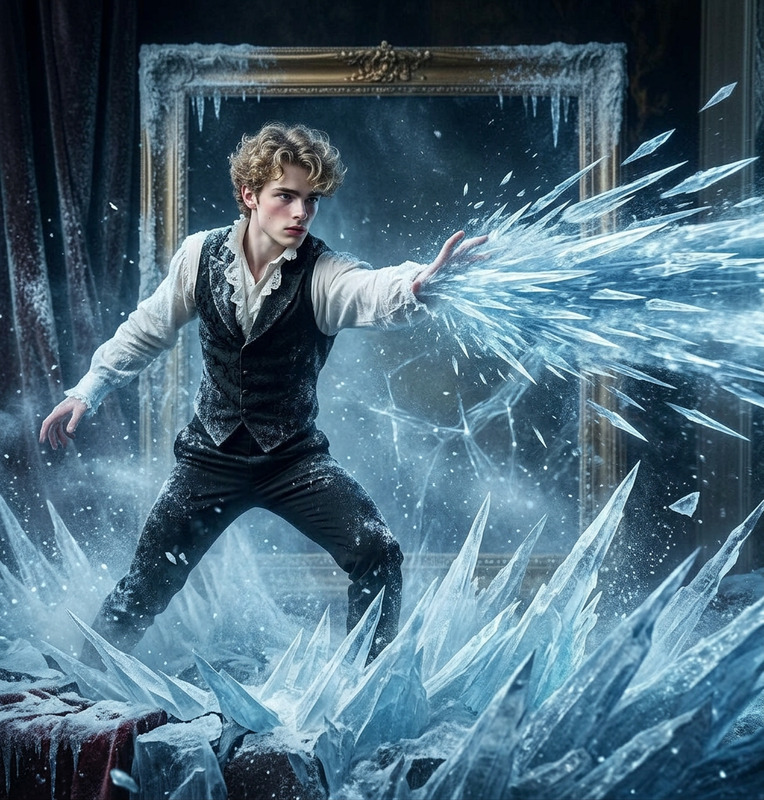
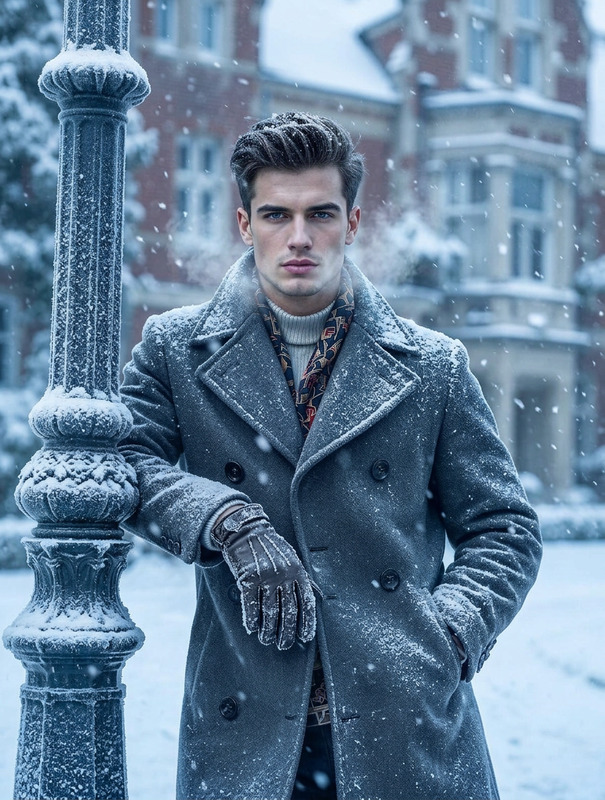
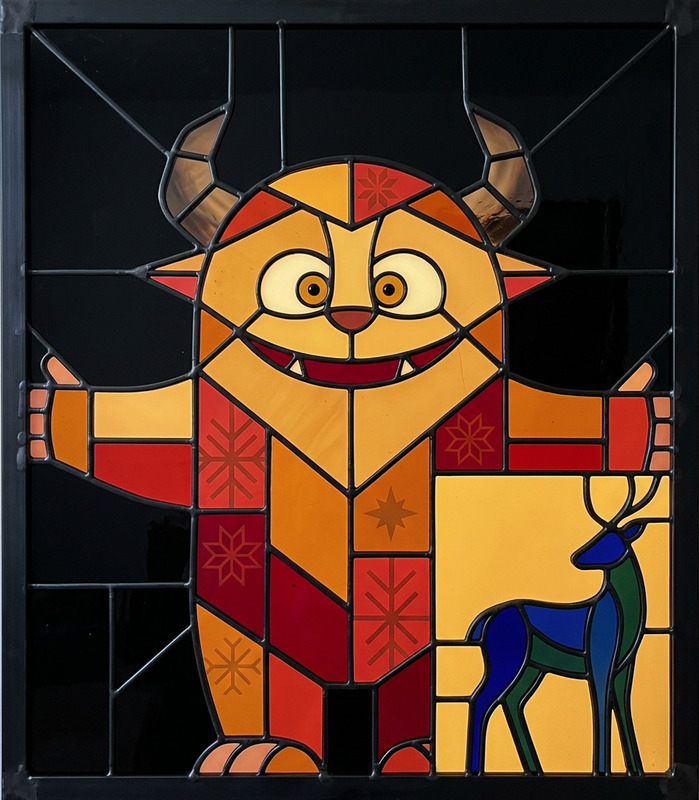
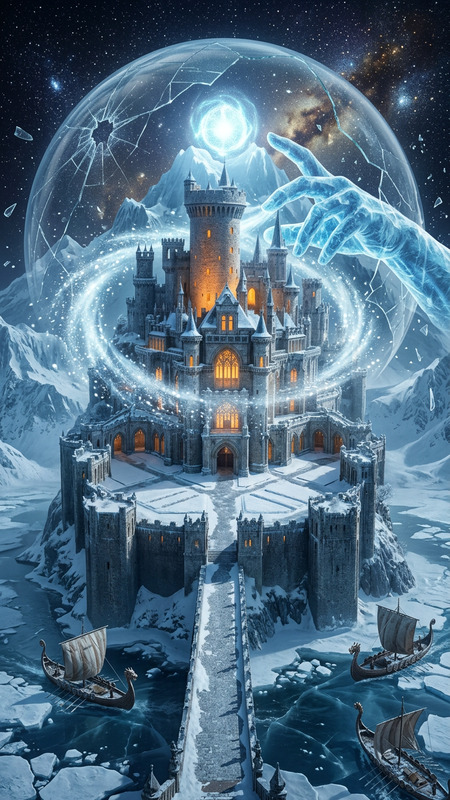
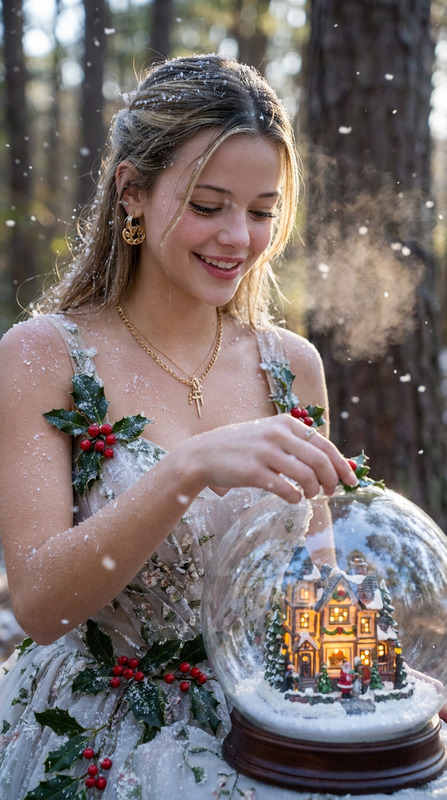
Apply a frosted, icy texture over the subject, giving it a crystalline, frozen appearance while strictly preserving the original shape, structure, and color gradient. The surface should resemble thin layers of ice and frost, with subtle translucency, fine crack patterns, and soft light diffusion. Maintain all underlying colors and gradients, enhancing them with a cool, slightly desaturated tone. Add delicate highlights and reflections as if light is refracting through ice, creating a glossy, chilled finish without distorting the subject’s form.

Tags

visual effects

AI Image Editor Template: Turn Any Photo Into a Studio-Grade Image in Minutes

Use this template as a starting point to transform, fix, or restyle your images with the AI Image Editor. Whether you’re cleaning up product shots, rewriting a background, removing distractions, or building creative concepts for campaigns, this page shows you how to remix the template and make it your own.


What You Can Do With This Template

This AI Image Editor–based template is designed for fast, high‑quality edits that don’t require Photoshop or manual masking. Typical use cases include:


How To Remix This Template in Magic Hour

You can use this template as‑is, or treat it as a blueprint and create your own version inside Magic Hour.

1. Start from the AI Image Editor

  1. Open the AI Image Editor.
  2. Upload the image you want to transform:
    • Product photo
    • Portrait or selfie
    • Illustration, sketch, or in‑progress design
  3. Decide what you want to change: background, objects, style, composition, or overall look.

Tip: If you don’t have a starting image, generate one first with the AI Image Generator or AI Photo Generator, then refine it with this template.


2. Define the Edit in Natural Language

The AI Image Editor responds best to clear, outcome‑focused instructions. Examples of prompts you can adapt:

  • “Replace the background with a clean white studio backdrop, soft shadows, e‑commerce style.”
  • “Make this portrait look like a professional LinkedIn headshot, neutral background, natural lighting.”
  • “Turn this living room into a Scandinavian interior design concept for an apartment listing.”
  • “Remove the person in the background and extend the beach to fill the frame.”
  • “Convert this photo into a comic‑book style illustration, bold lines, flat colors.”

Think in terms of:

  • Subject (what must stay)
  • Change (what should be added, removed, or transformed)
  • Style (photorealistic, illustration, anime, comic, minimal, cinematic, etc.)
  • Use case (ad creative, product page, social post, thumbnail, game asset)

For more stylized workflows, you can cross‑reference other tools for inspiration:


3. Use Targeted Edits for Precision

Instead of regenerating the whole image each time, focus on surgical changes:


4. Create Your Own Reusable Template

Once you’ve dialed in a workflow that works for your brand or project, you can treat it like a reusable template:

  1. Document your prompt pattern
    Save prompt structures like:

    • “E‑commerce product on white background, soft natural shadows, centered composition, no text.”
    • “Professional headshot, eye‑level angle, subtle depth of field, plain background.”
    • “Social post hero image, space for text on the right, high contrast, brand colors emphasized.”
  2. Standardize your visual style
    Mix this template with other specialized tools to ensure consistency:

  3. Apply at scale

    • Quickly spin variations for tests and campaigns
    • Reuse the same prompts on new photos to keep a single, coherent visual language across your site, app, and ads

Connect Image Editing to Video and Motion

Once your images are polished with this template, you can turn them into dynamic assets across other Magic Hour tools:


Advanced, Niche, and Creative Use Cases

For teams and creators who want more specialized workflows, this template pairs well with:


Best Practices for High-Quality AI Image Edits

To get consistent, production‑ready results:

  • Start with the highest‑quality input you have
    Use Unblur Image or AI Image Upscaler to clean up weak sources.

  • Be explicit about what must not change
    Mention details like: “Keep the product label exactly as is” or “Do not alter the person’s face, only change the background.”

  • Describe the final use
    Indicate where the image will live: “website hero,” “Instagram post,” “app icon,” “Kickstarter campaign image,” etc. This helps nudge composition and contrast in the right direction.

  • Stay consistent across a project
    Reuse the same prompt fragments for style, lighting, and perspective so a full campaign or product line looks cohesive.


Related Magic Hour Tools Worth Knowing

If you’re designing a broader workflow around this template, these tools are often used together by teams:


Use this AI Image Editor template as your base, then remix it: swap prompts, chain it with other Magic Hour tools, and standardize your own visual system. In a few iterations, you’ll have a repeatable, scalable editing pipeline tailored to your brand, product, or project.

More Like This