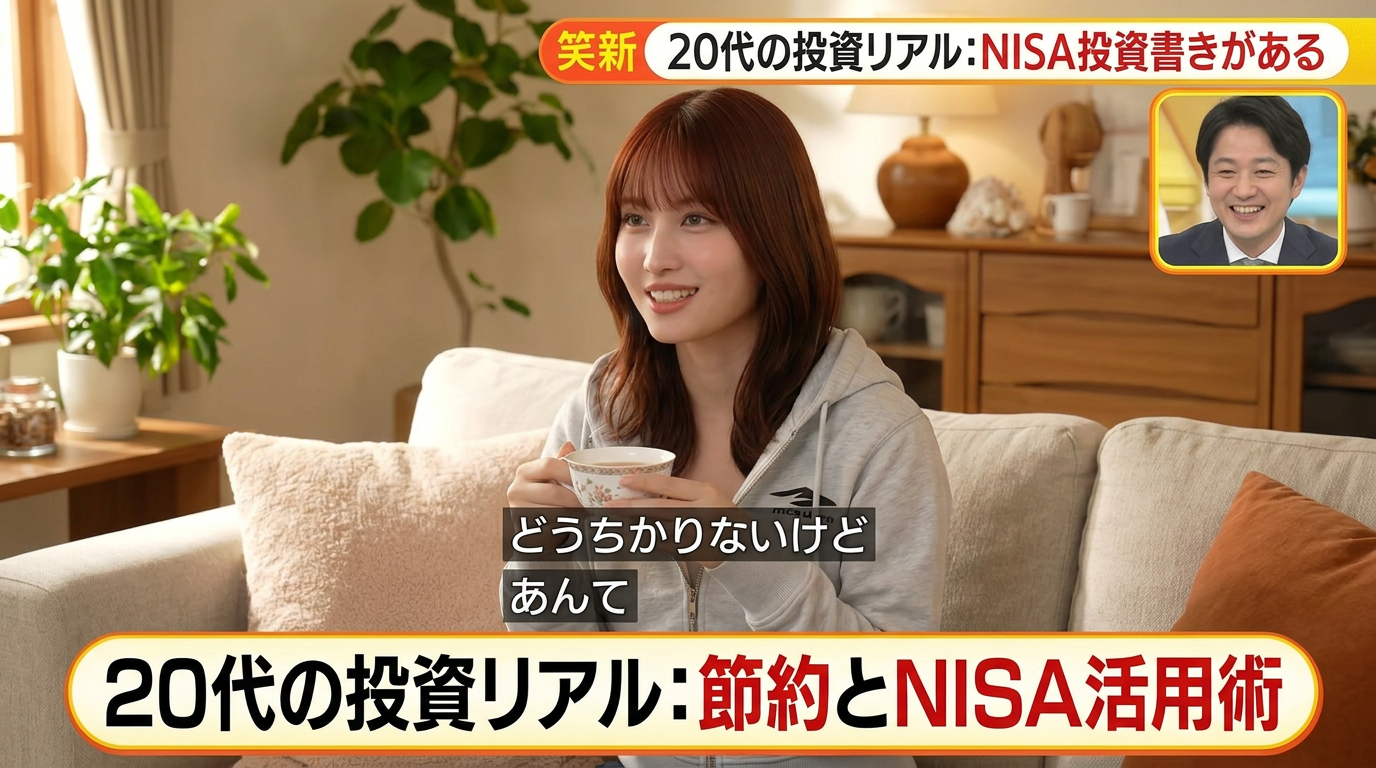
Japanese Morning Show Interview

Japanese Morning Show Interview

ai-image-editor

1 clip
0 uses

Any aspect ratio

Prompt

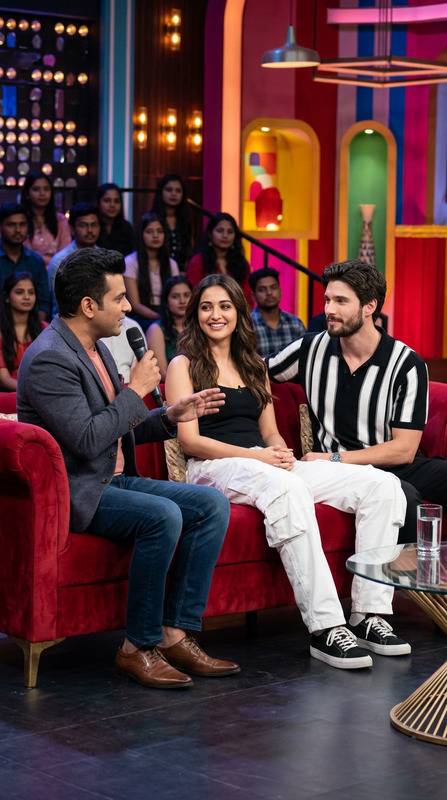
A vibrant Japanese morning TV program scene about personal finance struggles and small investments (NISA-style topic). A young adult guest (early 20s) is being interviewed inside a cozy home living room by an off-camera host. The guest sits on a sofa, slightly nervous but smiling, holding a cup of tea. The frame includes classic Japanese TV layout elements: Bright, colorful lower-third captions in Japanese (clean, readable font) A top banner headline about savings/investment struggles Small reaction bubbles and side captions emphasizing key phrases On-screen subtitle-style dialogue (short sentences, conversational tone) A small inset box showing the studio host reacting Environment: Warm, lived-in home with plants, soft daylight through curtains, wooden furniture, minimal clutter. Visual style: Typical Japanese variety/morning show aesthetic — high saturation, friendly tone, clean overlays, slightly compressed TV look. Camera: Medium shot, eye-level, slight zoom-in feel, handheld subtle movement. Lighting: Soft natural daylight mixed with indoor lighting, bright and approachable. Mood: Informative but light-hearted, slightly emotional, relatable.

Transform any still image into a polished, on‑brand visual with Magic Hour’s AI Image Editor template. This page walks you through what the template does, who it’s for, and how to quickly remix it into your own reusable workflow inside Magic Hour.


What this template is for

This AI Image Editor–based template is designed for creators and teams who need to:

  • Clean up or enhance photos for social, ads, or product pages
  • Change backgrounds, lighting, or style without manual retouching
  • Remove unwanted objects, text, or people from an image
  • Generate multiple on‑brand variations from a single source image
  • Prepare images for downstream use in short‑form video, GIFs, memes, and campaigns

Because it’s built on the AI Image Editor, you can start from any photo or design asset and iterate quickly instead of opening Photoshop or briefing a designer for every minor change.


How the template works

At a high level, this template:

  1. Takes an input image (photo, design, screenshot, or illustration)
  2. Applies AI‑powered editing (enhancement, replacement, style transfer, or cleanup)
  3. Outputs a ready‑to‑use image that can be exported or sent into other Magic Hour tools

Common edits you can accomplish with this template:

You can use this template as a starting point, then extend it into a more advanced pipeline—for example, auto‑generating thumbnails, ads, or character art.


How to remix this template in Magic Hour

You can clone this template and adapt it for your specific workflow in just a few minutes. A typical remix flow looks like:

  1. Duplicate the template

    • Start from this AI Image Editor template.
    • Duplicate it into your workspace to create your own editable version.
  2. Customize the input & instructions

    • Define what type of image your team will upload (e.g., product photo, UGC, portrait).
    • Add clear, reusable instructions for the AI, such as:
      • “Remove background, place subject on a clean white studio background, keep shadows realistic.”
      • “Convert this portrait into a professional LinkedIn‑ready headshot that matches tech startup executives.”
      • “Turn this product shot into three variants: lifestyle, studio, and social‑first square crop.”
  3. Chain in additional Magic Hour tools (optional)
    Depending on your use case, you can route the edited image through other tools:

  4. Standardize outputs for your team

    • Decide how and where the output images will be used: ads, landing pages, product detail pages, pitch decks, or internal docs.
    • Name your remixed template clearly (e.g., “Social‑First Product Image Cleanup” or “Founder Headshot Pipeline”) so your team knows exactly when to use it.
    • Store prompt guidelines or brand rules directly in the template description so anyone can reproduce consistent results.
  5. Test, iterate, and systematize

    • Run 10–20 sample images through your remixed template.
    • Adjust your instructions to handle edge cases (busy backgrounds, low light, selfies, screenshots).
    • Once stable, treat this as a reusable “image editing API” for your team—non‑technical teammates can just upload an image and click run.

Practical use cases

1. Performance marketing & growth teams

Growth teams can use this template to:

  • Clean and standardize UGC or founder photos for high‑performing ads
  • Rapidly A/B test creatives by generating multiple variations from one source image
  • Turn static product photos into short product reels by combining with Image‑to‑Video and Animation templates
  • Create platform‑specific assets (e.g., TikTok vertical, YouTube thumbnail, LinkedIn banner) in one pipeline

Pair with:

2. Founders, creators, and personal brands

Solo builders and creators can:

You can even clone this template into “personal presets” customized to your brand colors, lighting styles, and preferred backgrounds.

3. Product, e‑commerce, and catalog teams

For product imagery, this template helps you:


Advanced pipelines built on this template

Because the template is image‑first, it sits naturally at the center of more complex workflows:


Tips for getting reliable, repeatable results

For teams that care about consistency and scale, treat this template like a semi‑structured API:

  • Be explicit in your instructions

    • Specify composition, lighting, and style (“soft natural light”, “studio lighting”, “flat lay”, “cinematic portrait”).
    • Call out constraints (e.g., “keep subject’s face and proportions realistic”, “do not change brand colors”).
  • Define default use cases

    • Describe the primary scenario in the template description: “Use for founder headshots,” “Use for static product photos,” etc.
    • This makes it easier for teammates to choose the right template without guesswork.
  • Version your templates

    • When you make major changes, clone a new version instead of overwriting the old one.
    • Name versions with intent, such as “v2 – social‑optimized” or “v3 – high‑contrast ads.”
  • Connect with video and audio when relevant


When to use this template vs. other tools

Use this AI Image Editor template when:

  • You already have an image and need it cleaner, sharper, or on‑brand
  • You want a repeatable editing workflow your team can run without design tools
  • You plan to feed the edited image into other Magic Hour tools (video, GIFs, memes, avatars, etc.)

Consider starting instead with:

In practice, teams often:

  1. Generate or collect source images
  2. Standardize them through this AI Image Editor template
  3. Distribute them into specialized tools for video, audio, or campaign‑specific outputs

Build your own reusable AI image pipeline

By remixing this template, you effectively create an internal “image editing service” that:

Clone this template, adjust the instructions to your brand and use case, then save it as a named workflow for your team. From there, you can expand into face swaps, talking photos, animated characters, and fully automated creative pipelines—all powered by the same AI Image Editor foundation.

More Like This