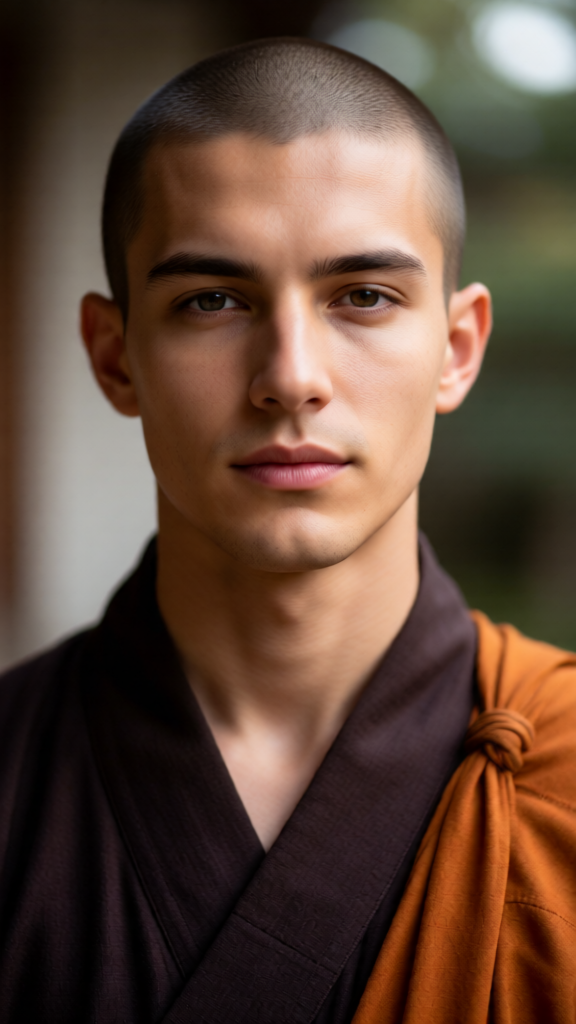
Zen Portrait

Zen Portrait

ai-image-editor

1 clip
9 uses

Any aspect ratio

Prompt

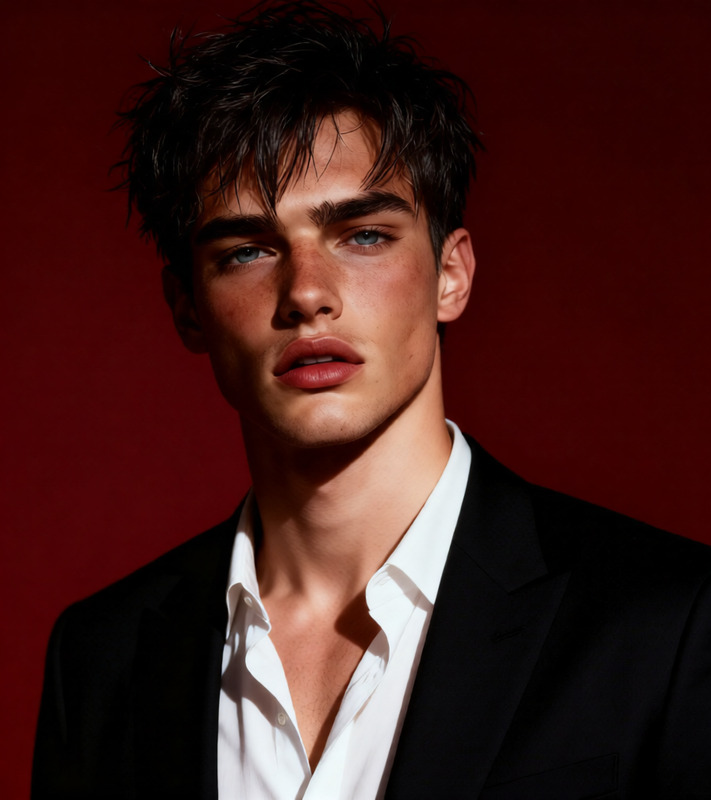
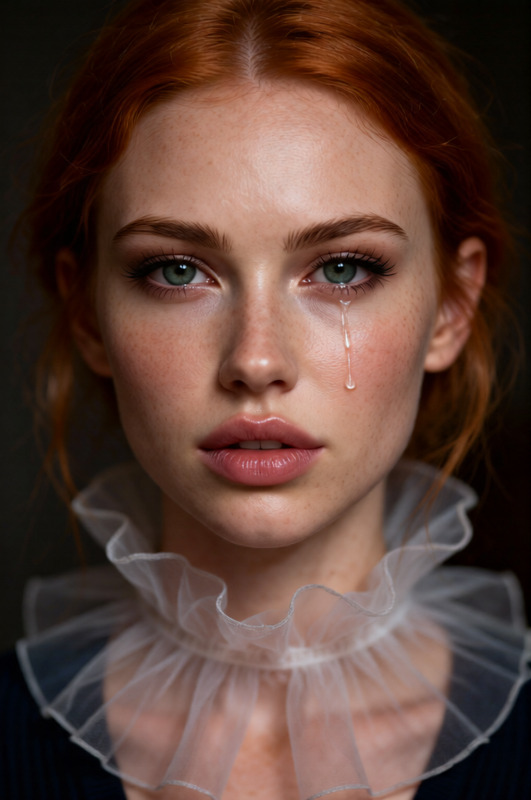
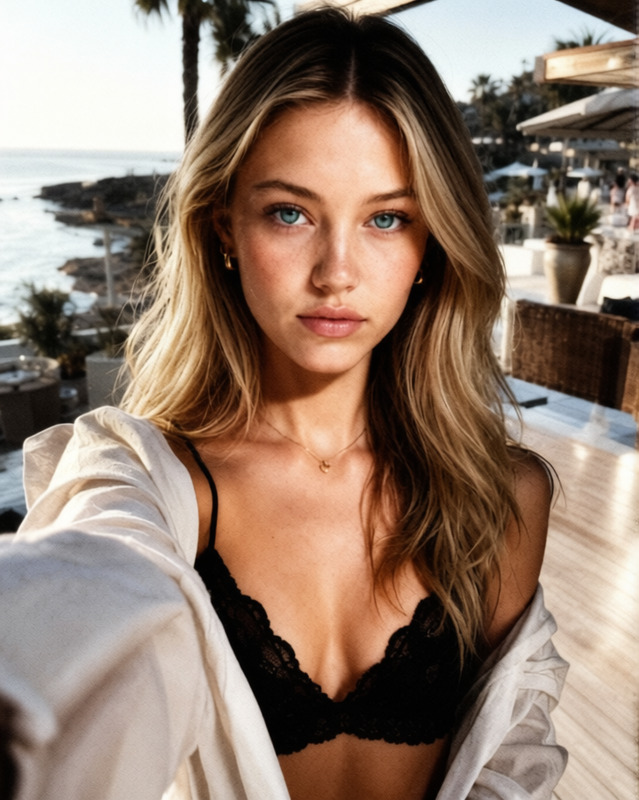
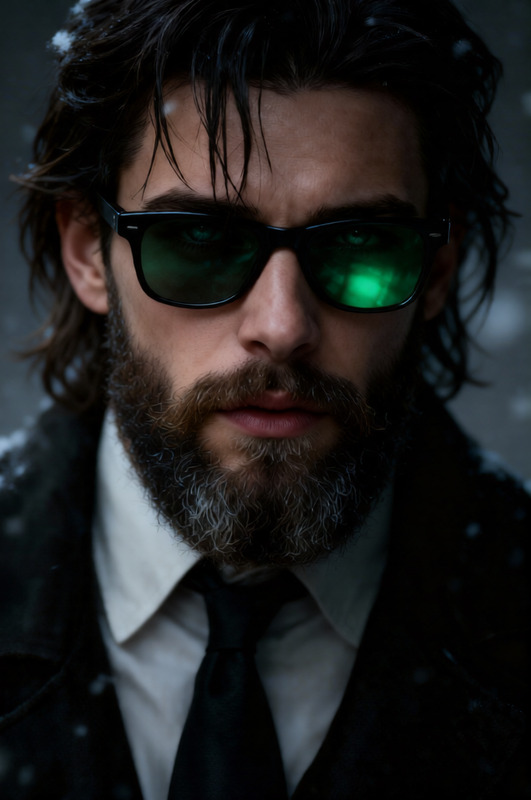
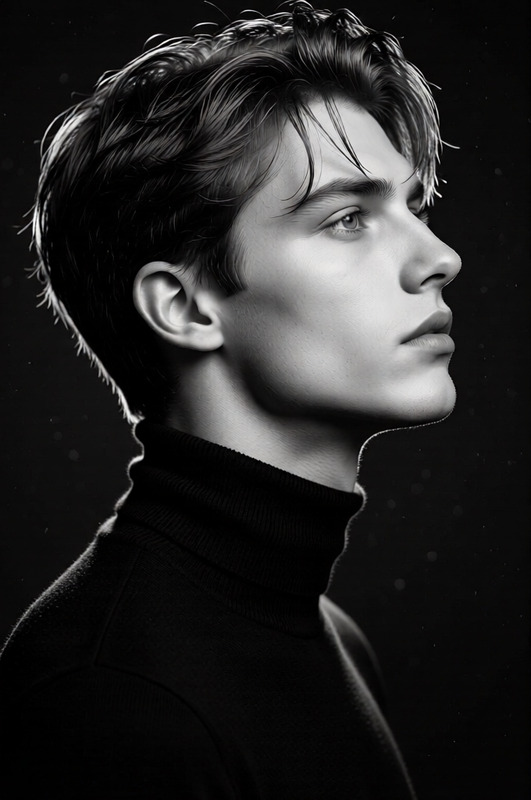
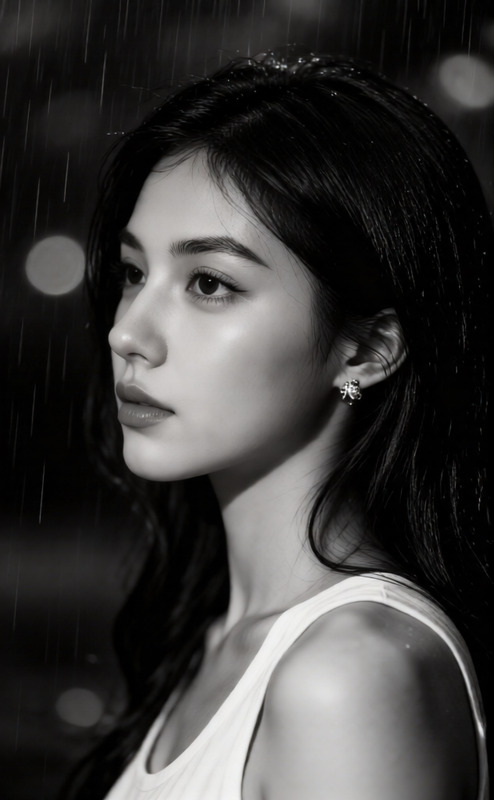
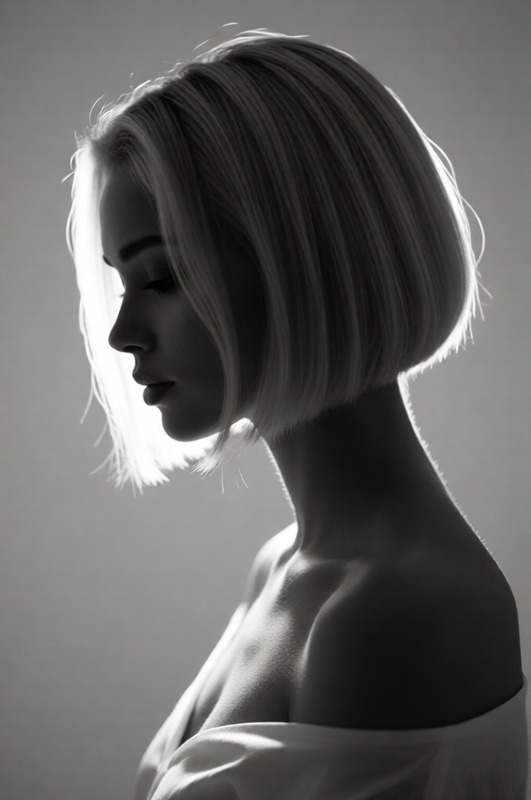
Generate a realistic, high-resolution portrait of a serene young zen monk with a calm, peaceful expression, captured with cinematic lighting and shallow depth of field as if shot on a 35mm f/1.4 lens; the image features vibrant yet natural tones inspired by Fuji color film, with soft background blur and gentle light shaping the face; the composition remains minimal and contemplative, with subtle stylistic variations enhancing depth while preserving a grounded, authentic atmosphere and refined photographic realism.

AI Image Editor Template: Instant Background Replacement

Transform any photo by cleanly removing and replacing the background in seconds using Magic Hour’s AI Image Editor. This template is built for creators, marketers, founders, and teams who need production-ready visuals fast—without manual masking or complex design tools.


What this template does

This template uses AI to:

  • Remove the original background from your image (people, products, objects, scenes)
  • Add a new, AI-generated or uploaded background that fits your goal (e.g., studio look, lifestyle scene, branded color, fantasy environment)
  • Preserve subject detail (hair, edges, lighting) for polished, realistic results

It’s ideal for:

  • Product shots for e‑commerce, ads, and landing pages
  • Profile images and AI headshots
  • Social posts and campaign creatives
  • Pitch decks, startup pages, and investor updates
  • Concept art, mockups, and creative experiments

Under the hood, this template relies on Magic Hour’s segmentation and inpainting capabilities: the model isolates the subject, removes the background, and then fills in a new scene that matches your prompt or reference.


How to remix this template in Magic Hour

You can create your own version of this template in a few steps:

  1. Open AI Image Editor
    Go to the AI Image Editor. This is the core tool behind this template and supports object removal, background replacement, and fine-grained edits.

  2. Upload your source image

    • Use a high-resolution image when possible; this gives the model more detail to work with.
    • For portraits or people, front-facing or ¾ angles work best.
    • For products, use clear, well-lit photos with minimal motion blur.
  3. Remove or mask the original background

    • Use the editor to select or erase the background area behind your subject.
    • For precise control (e.g., hair or transparent objects), zoom in and refine the edges.
    • You can also combine this with the image background remover if you want a fully cut-out subject before compositing.
  4. Define your new background
    You can drive the new background in several ways:

    • Text-based prompt: Describe the scene you want behind your subject (e.g., “soft natural light studio backdrop in light gray,” “modern office with glass walls,” “sunset beach with pastel sky”).
    • Concept art and creative scenes: For more stylized outputs, combine this with tools like the AI art generator, dark fantasy generator, or AI background generator to ideate scenes, then integrate them in the editor.
    • Brand-centric backgrounds: Use color fields, gradients, or minimal environments that match your brand palette for cleaner ad creatives and landing pages.
  5. Refine the composite

    • Adjust composition to ensure your subject sits naturally in the new environment.
    • If you want to enhance clarity or remove noise after compositing, pass the image through the AI image upscaler or unblur image.
    • For further retouching (face, skin, expression), you can chain with the AI face editor.
  6. Save or extend your template

    • Save the final result as your “base style” and reuse it for other images to maintain a consistent visual language across campaigns, product sets, or social content.
    • To build more complex workflows (e.g., turning your edited image into motion), you can connect it with image-to-video or text-to-video.

Advanced use cases & workflows

Because this template is powered by AI Image Editor, you can remix it into broader pipelines:

1. E‑commerce & product visuals

  • Start with a raw product photo.
  • Use this template to put the product on:
    • Clean studio backgrounds for marketplaces
    • Lifestyle scenes that match your buyer persona
    • Themed or seasonal environments (holidays, events, limited drops)
  • Then:

This approach mirrors best practices from e‑commerce guides (e.g., Shopify’s recommendations on clean, consistent product photography), but removes the need for studio reshoots or complex Photoshop work.

2. Startup, SaaS, and campaign creative

  • Create hero images for your website by:
  • Reuse the same background look for:

This yields a cohesive brand visual system without hiring a full-time designer.

3. Creator and influencer workflows

  • Cleanly remove backgrounds from photos for:
    • Thumbnails: pair with the thumbnail maker
    • Reels/TikTok cover images
    • Merch mockups and sponsorship visuals
  • Turn static edited images into short clips using:

4. Character, fiction, and design workflows

If you generate characters or worlds using tools like the AI character generator, AI anime generator, fantasy map generator, or DND AI art generator, you can:

  • Drop your characters into new backgrounds that match your setting.
  • Iterate quickly: keep the same character, change only the environment (city, forest, spaceship, etc.).
  • Prepare clean cover art using the book cover generator or album cover generator, while refining composites with AI Image Editor.

Related Magic Hour tools worth combining with this template

You can extend this template into richer media by chaining it with other Magic Hour products and tools:


Tips for high-quality background replacements

To get production-grade results when remixing this template:

  • Use clean source images

    • Avoid heavy motion blur or extreme low light.
    • Ensure the subject is reasonably separated from the original background (contrast, lighting).
  • Match lighting and perspective

    • When prompting backgrounds, mention lighting conditions: “soft diffused light,” “harsh midday sun,” “neon night city,” etc.
    • Try to align camera angle (e.g., “eye-level shot,” “top-down,” “low angle”) to help the AI generate a coherent environment.
  • Maintain consistency for brand use

    • Define 1–3 “core background styles” and reuse them across visuals (color palette, texture, environment).
    • Consider generating a set of base backgrounds using the AI background generator and then compositing subjects onto them with AI Image Editor.
  • Finish with enhancement tools


Who this template is for

This background-removal and replacement template is optimized for:

  • Founders & startup teams who need on-brand visuals for launch pages, decks, and updates without a design team.
  • Marketers & performance advertisers who want rapid creative iteration for A/B testing across platforms.
  • Creators & influencers looking to standardize their visual identity across thumbnails, banners, and social posts.
  • Designers & developers who want to prototype, test concepts, or build AI-powered content workflows into their products.

By remixing and extending this template with the AI Image Editor and the related tools above, you can go from raw photos to fully branded, multi-channel assets in a streamlined, AI-native workflow.

More Like This

Insufficient credits