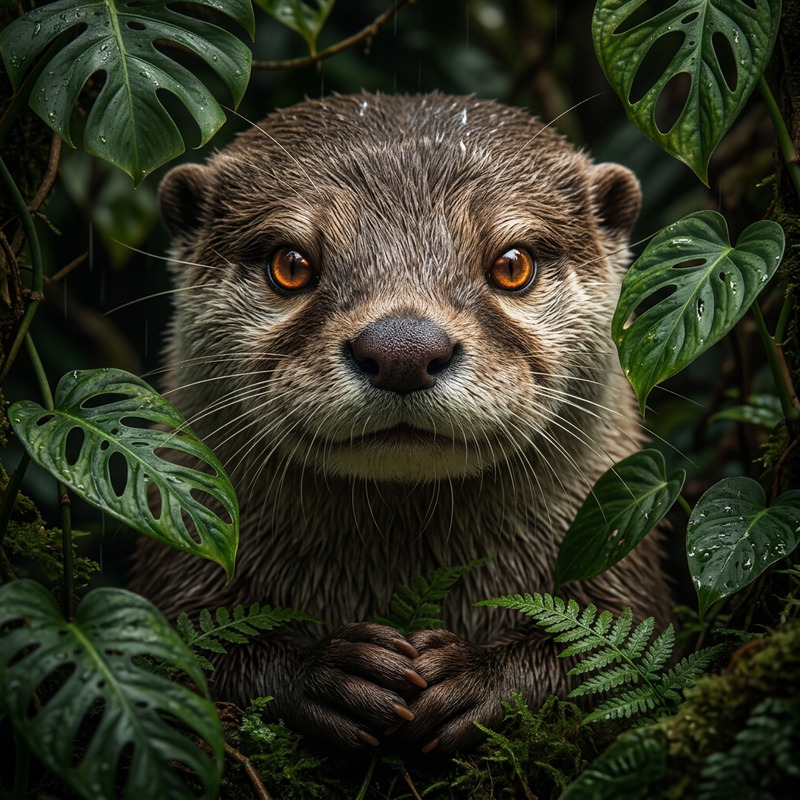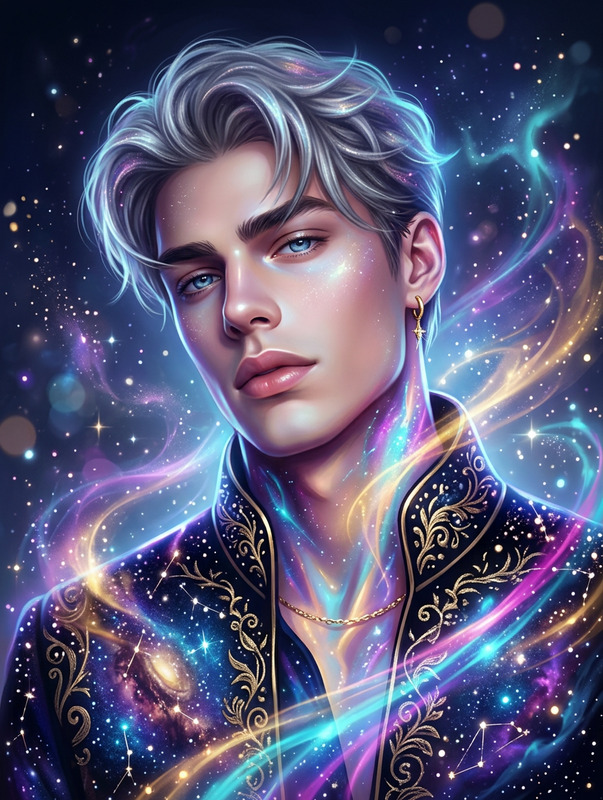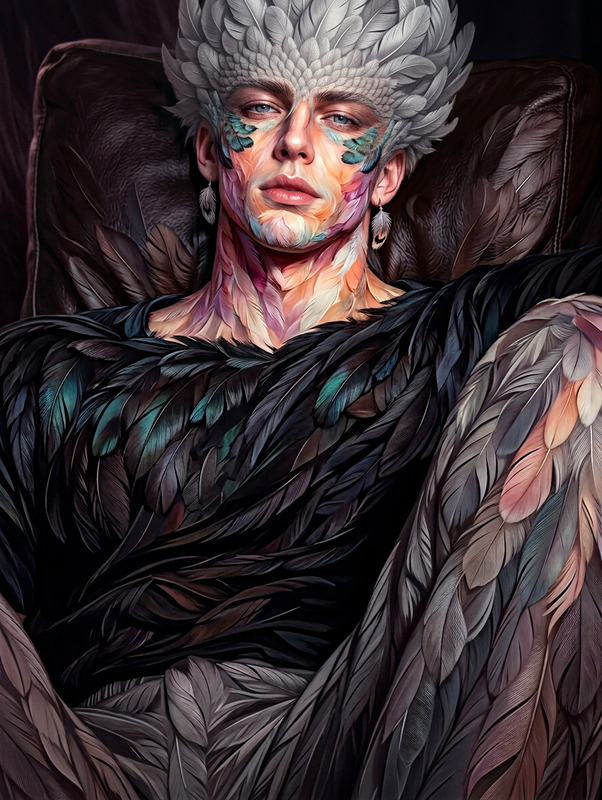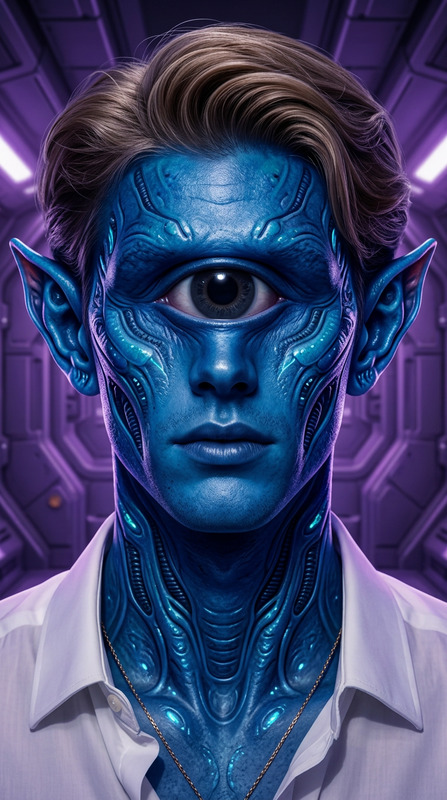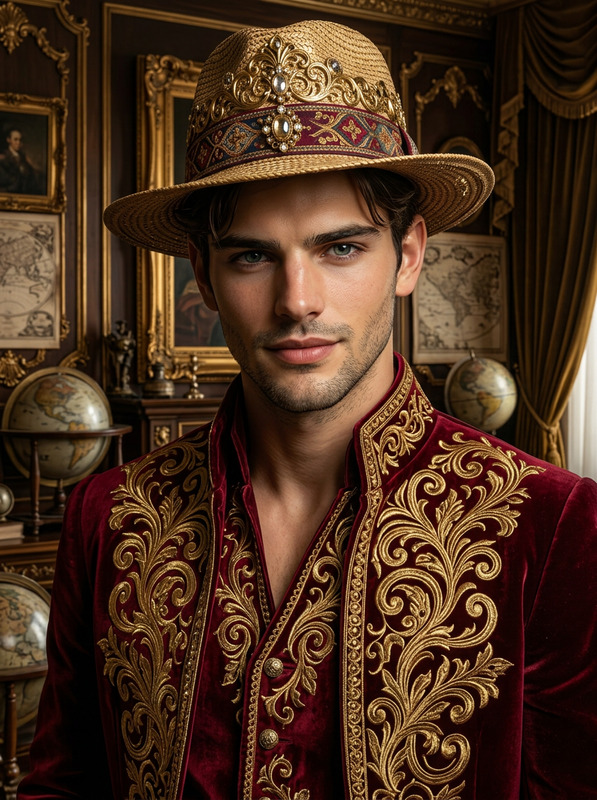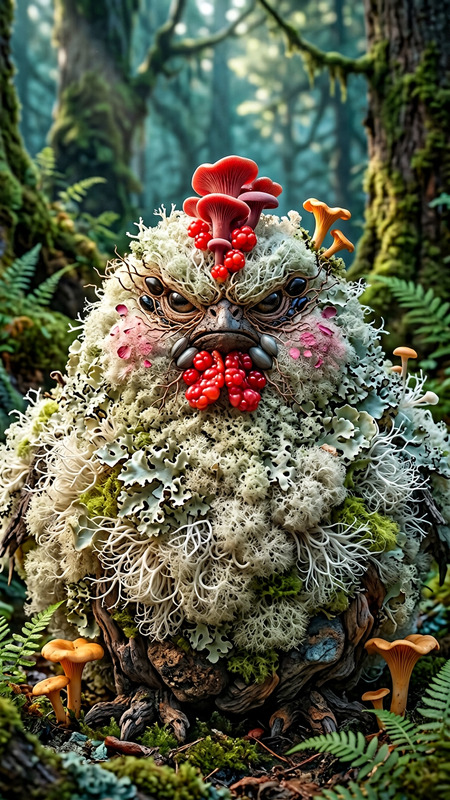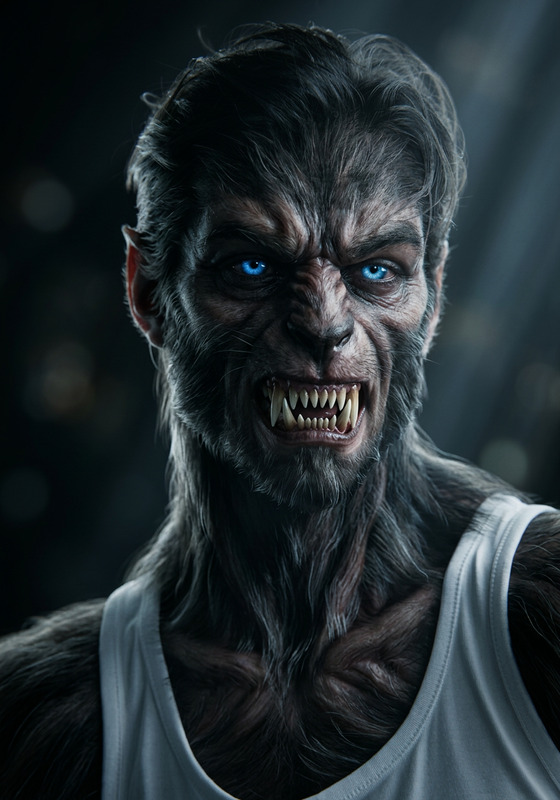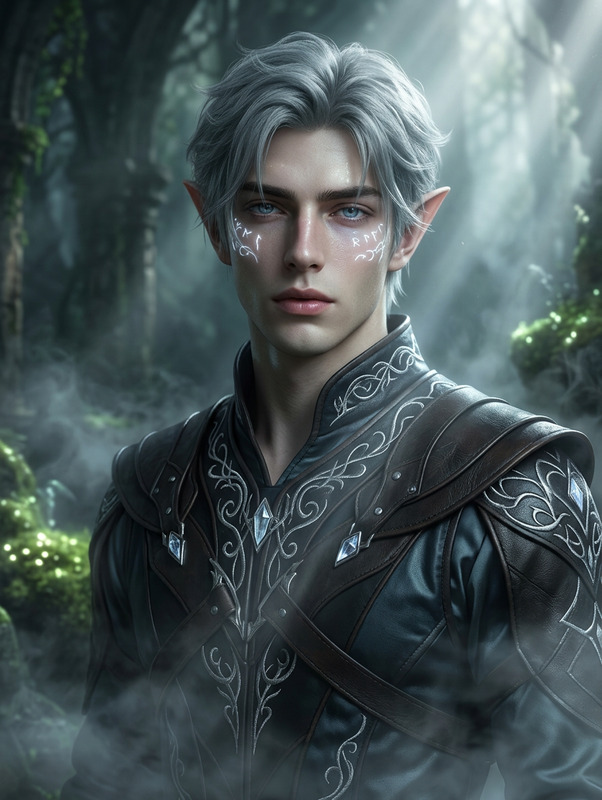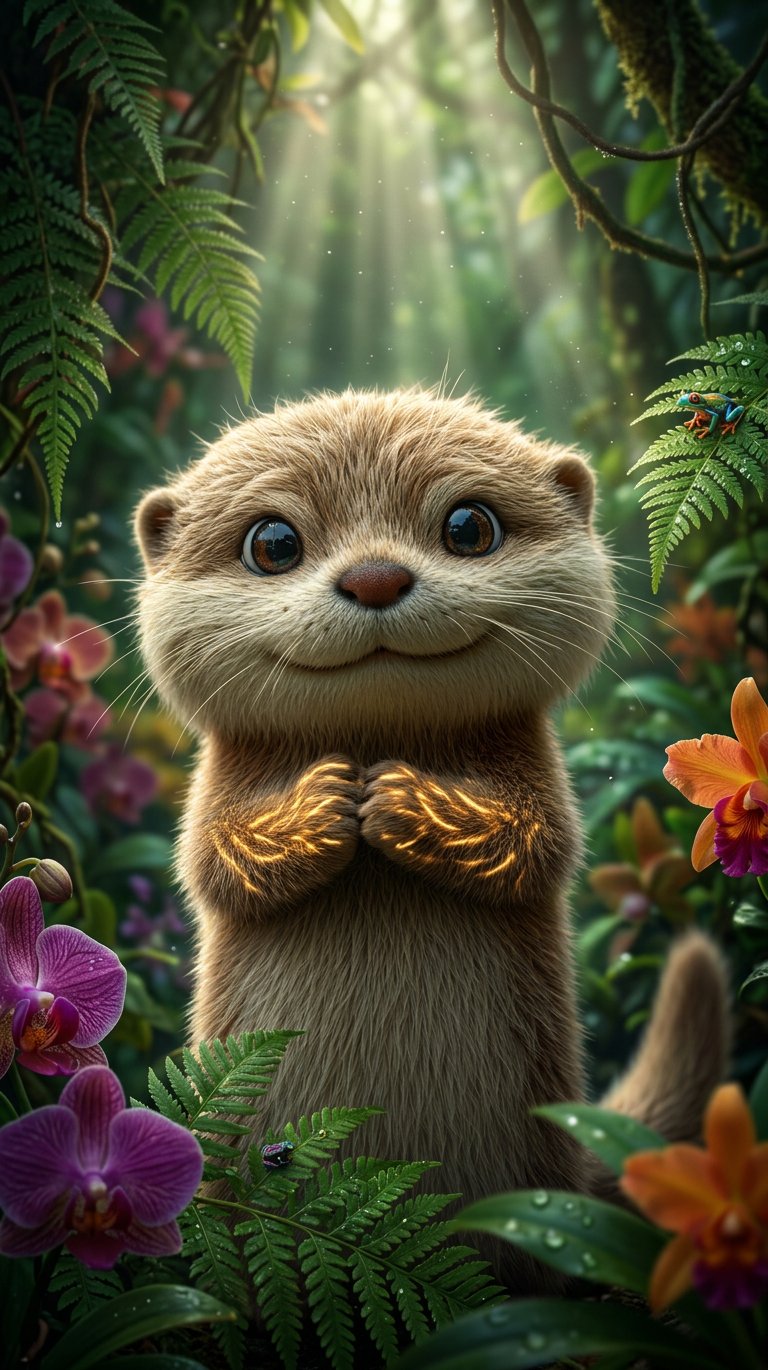
Enchanted Jungle Creature

Enchanted Jungle Creature

ai-image-editor

1 clip
1 uses

Any aspect ratio

Prompt

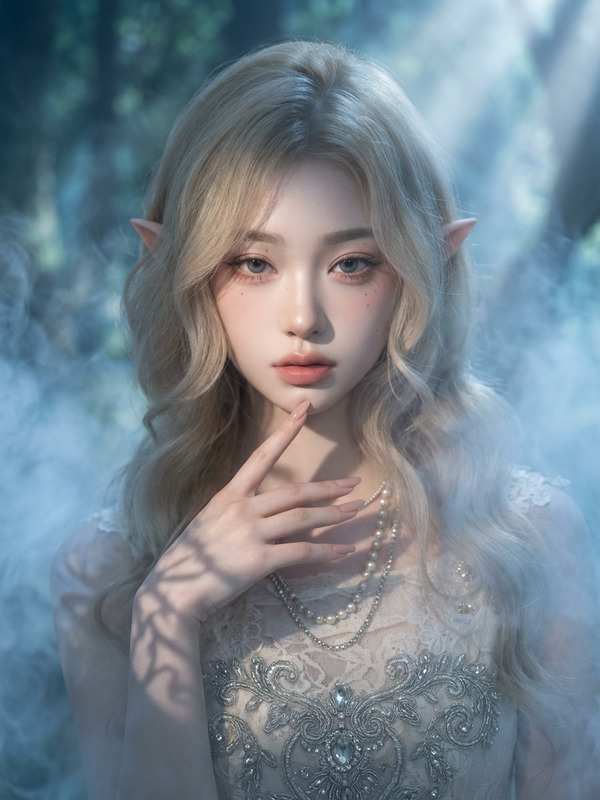
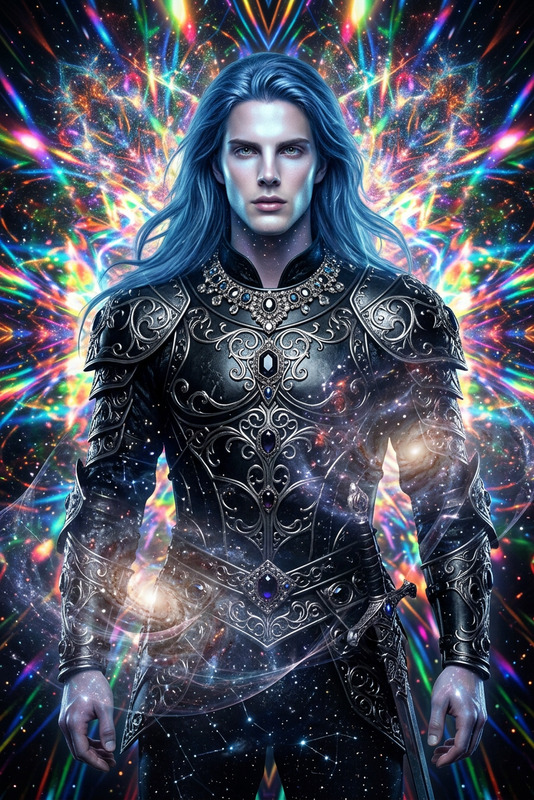
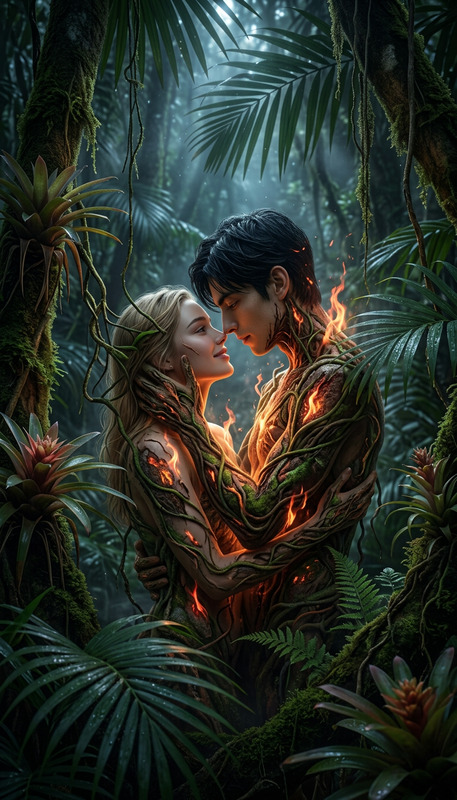
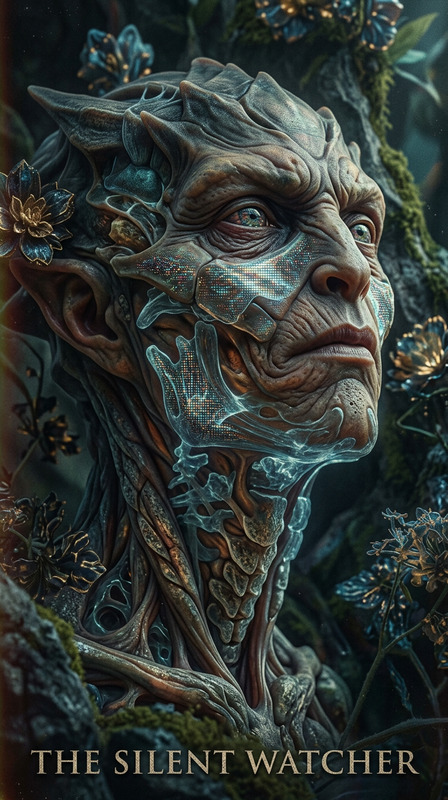
Generate a hyper-realistic close-up portrait of a magical creature set within a lush jungle environment, featuring vibrant colors and rich natural detail; soft beams of light filter through dense foliage, creating enchanting, dappled lighting with high dynamic range; the creature is sharply focused with intricate textures, while the background remains softly immersive; the composition is vertical portrait format, emphasizing a mystical, vivid, and atmospheric nature scene.

AI Image Editor Template: Smart, Fast Image Editing for Creators & Teams

Use this template to quickly turn any image into production‑ready creative with the AI Image Editor. It’s designed for marketers, founders, content teams, and designers who need precise edits without opening Photoshop or briefing a designer.


What You Can Do With This Template

This template is built to showcase what’s possible with AI‑powered, non‑destructive editing. Typical use cases:

  • Marketing & Growth

    • Clean up product photos for landing pages and ads
    • Localize visuals for different markets (backgrounds, signage, on‑screen text)
    • A/B test creative variations in minutes
  • Content & Social

    • Turn basic photos into scroll‑stopping thumbnails and covers
    • Remove distractions or people from backgrounds
    • Polish UGC and screenshots for newsletters and blogs
  • Product, UX & Startup Teams

    • Mock up product shots, dashboards, and UI states
    • Visualize brand concepts, packaging, or in‑product illustrations
    • Create quick visual assets for investor decks and internal docs
  • Creators & Personal Use

    • Enhance portraits and AI headshots
    • Remove unwanted objects or photobombers
    • Turn photos into stylized artwork or sketches

How to Remix This Template in Magic Hour

You can build your own version of this template in a few steps:

  1. Open the AI Image Editor
    Go to the AI Image Editor. Upload the image you want to edit (product shot, portrait, screenshot, illustration, etc.).

  2. Define Your Edit Goal Clearly
    Before you start, decide what you need:

    • “Remove background and replace with a clean studio look.”
    • “Turn this raw product photo into something suitable for a SaaS landing page hero.”
    • “Remove people from the background and keep only the main subject.”
    • “Make this portrait look like a professional LinkedIn headshot.”

    The clearer your goal, the better your edit instructions will be.

  3. Use Text Instructions for High‑Level Changes
    In AI Image Editor, use natural language to describe the change you want. Examples:

    • “Remove the clutter on the table and replace with a neutral wooden surface.”
    • “Change the background to an office environment with soft natural light.”
    • “Turn this into a minimal, flat‑style illustration suitable for a slide deck.”
    • “Make the overall lighting brighter and more consistent; keep it realistic.”

    Referencing known styles or use cases often improves results:

    • “Make this look like an Apple‑style product photo.”
    • “Style this like a clean SaaS landing page hero image.”
    • “Turn this into a comic‑book style illustration” (also see the comic book generator).
  4. Use Region‑Based Edits for Precision
    For targeted changes (logos, objects, faces), select the specific area first, then edit. Typical patterns:

    • Select a logo area → “Replace with a generic placeholder logo”
    • Select a face → “Enhance lighting and smooth skin slightly, keep identity realistic”
    • Select a background object → “Remove this sign and fill in with a plain wall” (you can also try remove object from photo or AI remover).

    Region‑level control is especially helpful for:

    • Cleaning up product photos
    • Editing UI screenshots without breaking layout
    • Changing specific clothing or accessories (see also AI clothes changer)
  5. Generate Variations and Compare
    Instead of stopping at the first result, quickly:

    • Generate a few style variations
    • Compare which version fits your brand or campaign best
    • Download or continue iterating on the strongest one

    For experimental work (brand explorations, concept art, etc.), you can combine this with:


Best Practices for High‑Quality AI Image Editing

To get reliable, production‑ready outputs, follow these guidelines:

  1. Start From the Highest‑Quality Source You Have

    • Use images that are sharp, well‑lit, and not overly compressed
    • If you only have a low‑res file, upscale it first with the AI image upscaler or unblur image
  2. Be Explicit in Your Instructions
    Instead of “make this better,” specify:

    • “Increase brightness slightly, reduce harsh shadows, keep colors realistic.”
    • “Make the background a soft gradient, keep the subject exactly the same.”
    • “Make this blog header image more visual: add subtle abstract shapes in the background.”
  3. Protect Brand Consistency
    For teams:

    • Use a consistent treatment across assets (same type of background, lighting, and color mood).
    • Keep typography and logos intact—edit around them instead of on top of them where possible.
    • If you’re generating net‑new visuals, define a repeatable style in your prompt (“flat illustration with 2–3 colors,” “photorealistic with shallow depth of field,” etc.).

    You can also prototype brand visuals using:

  4. Use Specialized Tools for Edge Cases
    The AI Image Editor covers most workflows, but some tasks are faster with dedicated tools:


Example Workflows You Can Clone

Use these as blueprints you can remix into your own templates:

1. High‑Converting Product Image Template

  • Start with a raw product photo
  • In AI Image Editor:
    • Remove background → replace with clean, on‑brand studio or gradient background
    • Remove reflections or clutter around the product
    • Add subtle shadows or reflections for realism
  • Optional:

2. Professional Profile & Headshot Template

  • Start with a selfie or informal portrait
  • In AI Image Editor:
    • Clean up background to a neutral color or office setting
    • Slightly improve lighting and skin tone while keeping it realistic
    • Remove distracting elements (busy backgrounds, logos, signage)
  • If you need multiple styles or outfits, combine with:

3. YouTube Thumbnail / Social Cover Template

  • Upload a key frame or portrait
  • In AI Image Editor:
    • Enhance facial clarity and lighting
    • Simplify or replace background with bold, high‑contrast colors
    • Remove noisy elements that will be unreadable at small sizes
  • Then add text and layout using:

Combine Image Editing With Other Magic Hour Tools

For more advanced pipelines, you can chain this template with other Magic Hour products:


How to Turn Your Workflow Into a Reusable Template

Once you’ve dialed in an edit flow that works for your brand or project:

  1. Document Your Steps

    • Capture your typical prompts (“clean studio background,” “SaaS hero illustration,” etc.)
    • Note which elements are always edited (background, product, text, UI components)
  2. Save Your Input/Output Pair Examples

    • Keep a small set of “before/after” references that represent your ideal outcome
    • Use these references to maintain consistency across your team
  3. Standardize for Your Team

    • Decide on a single “house style” for product photos, avatars, UI shots, and illustrations
    • Share your prompt snippets and examples in your internal docs or design system
  4. Remix Other Magic Hour Templates

    • Use this AI Image Editor template as a base, then connect it to:
      • Face‑swap video for campaigns with influencers or UGC
      • Lip‑sync to quickly repurpose edited portraits into short video content
      • Video‑to‑video to restyle existing video content once you’ve locked in your visual look

When to Choose AI Image Editor vs. Other Tools

Use the AI Image Editor when you need:

  • Direct, controlled edits to an existing image
  • Object removal, background changes, or targeted retouching
  • Consistent, brand‑safe outputs based on real photos or designs

Use complementary tools when you need to:


Getting Started

To start using or remixing this template:

  1. Go to the AI Image Editor
  2. Upload an image that matches your use case (product, portrait, UI, illustration)
  3. Apply the prompt patterns and workflows above
  4. Iterate until you have a repeatable process, then standardize it as your own Magic Hour template for your team or brand

This page is designed to be both a working reference and a prompt library for creators, marketers, and builders who want reliable, on‑brand AI image editing they can scale across campaigns and products.

More Like This