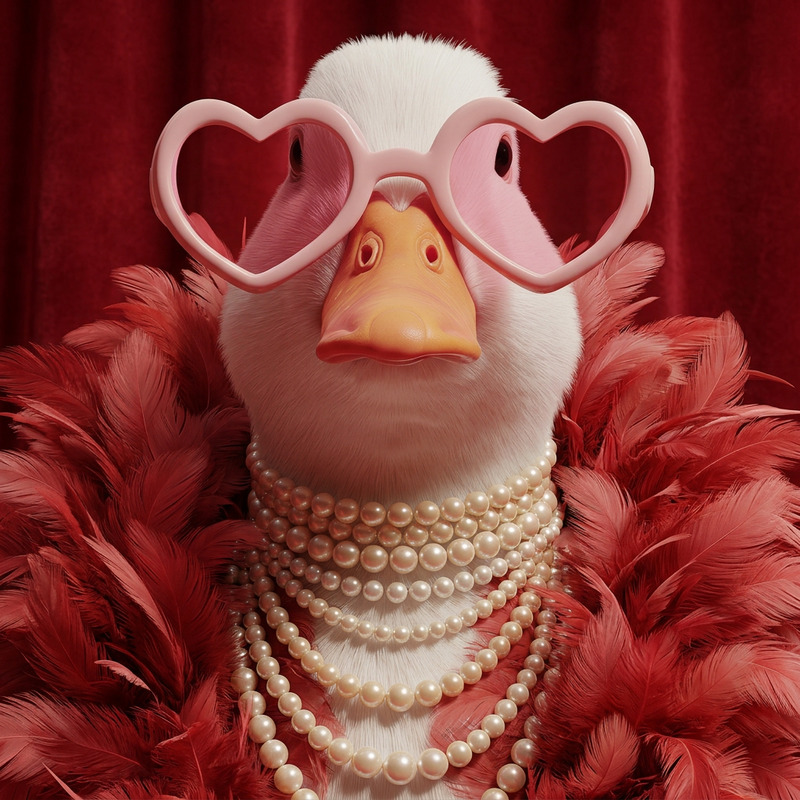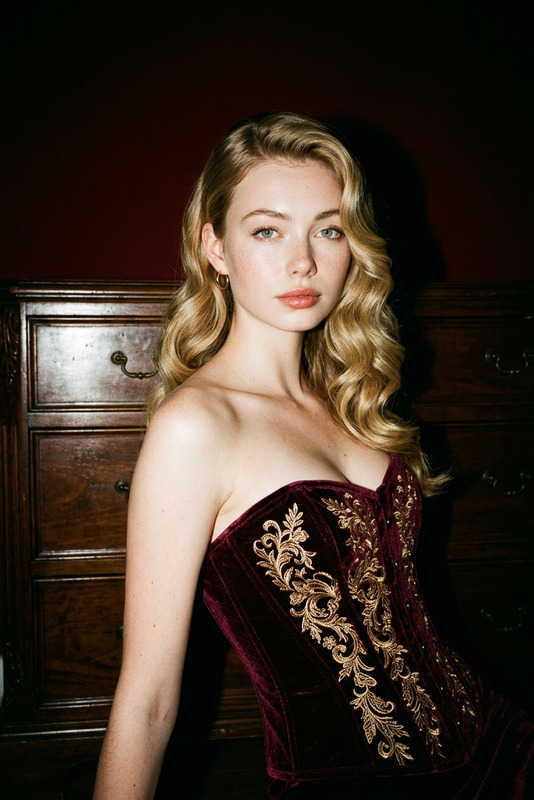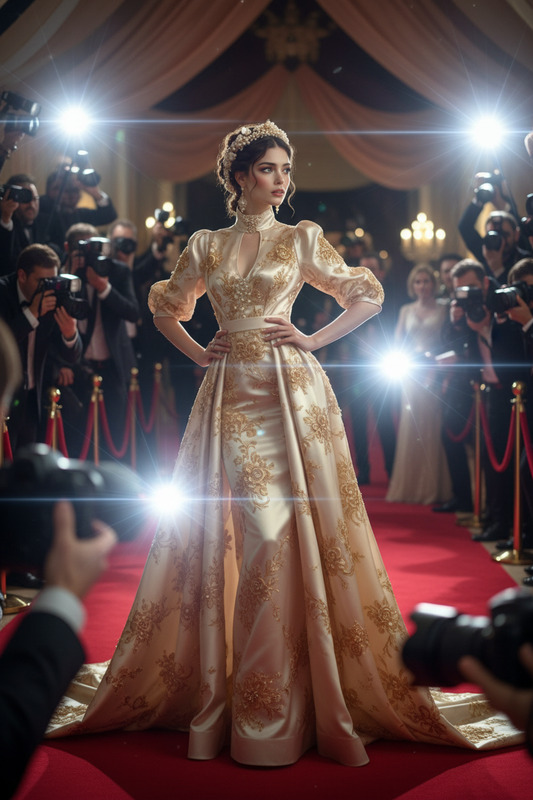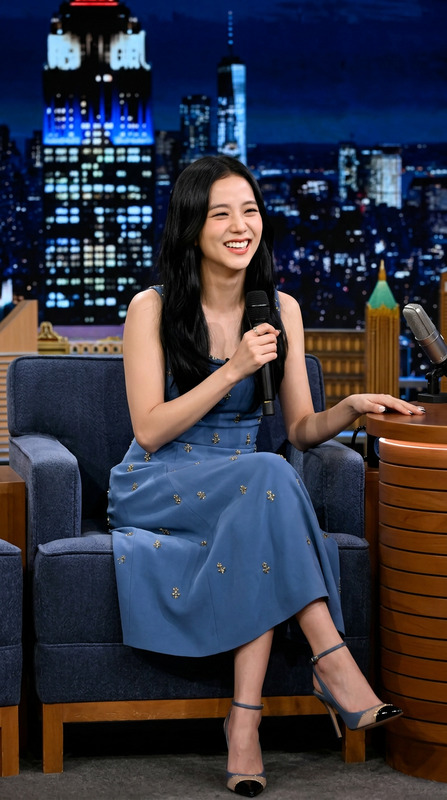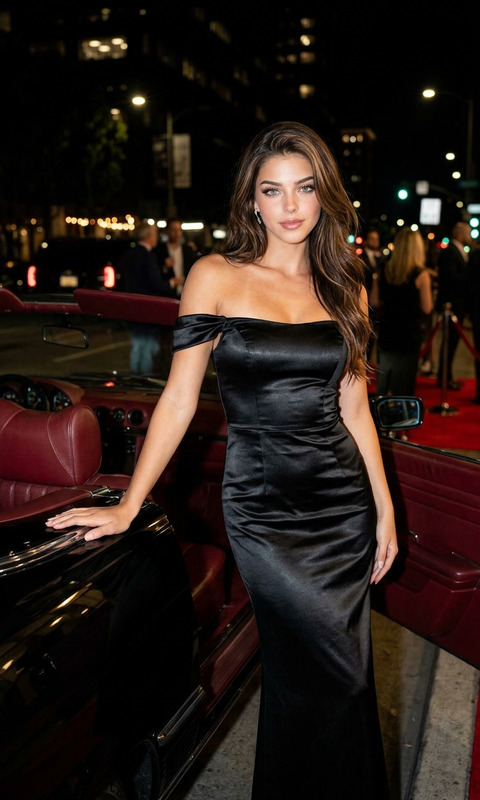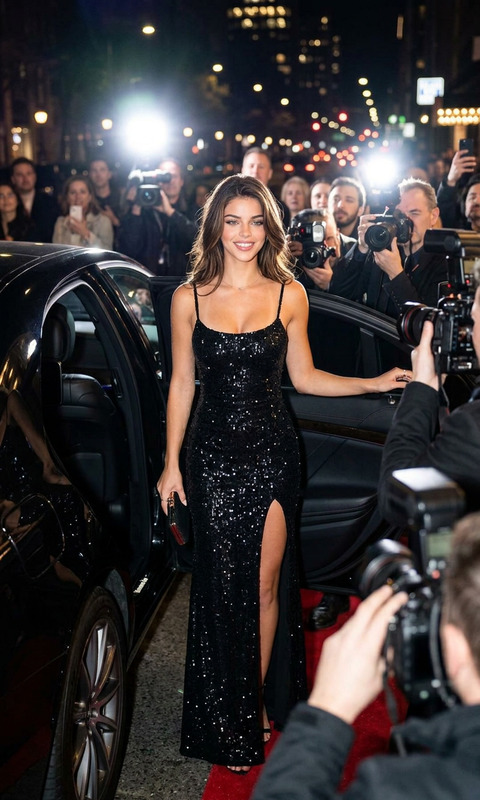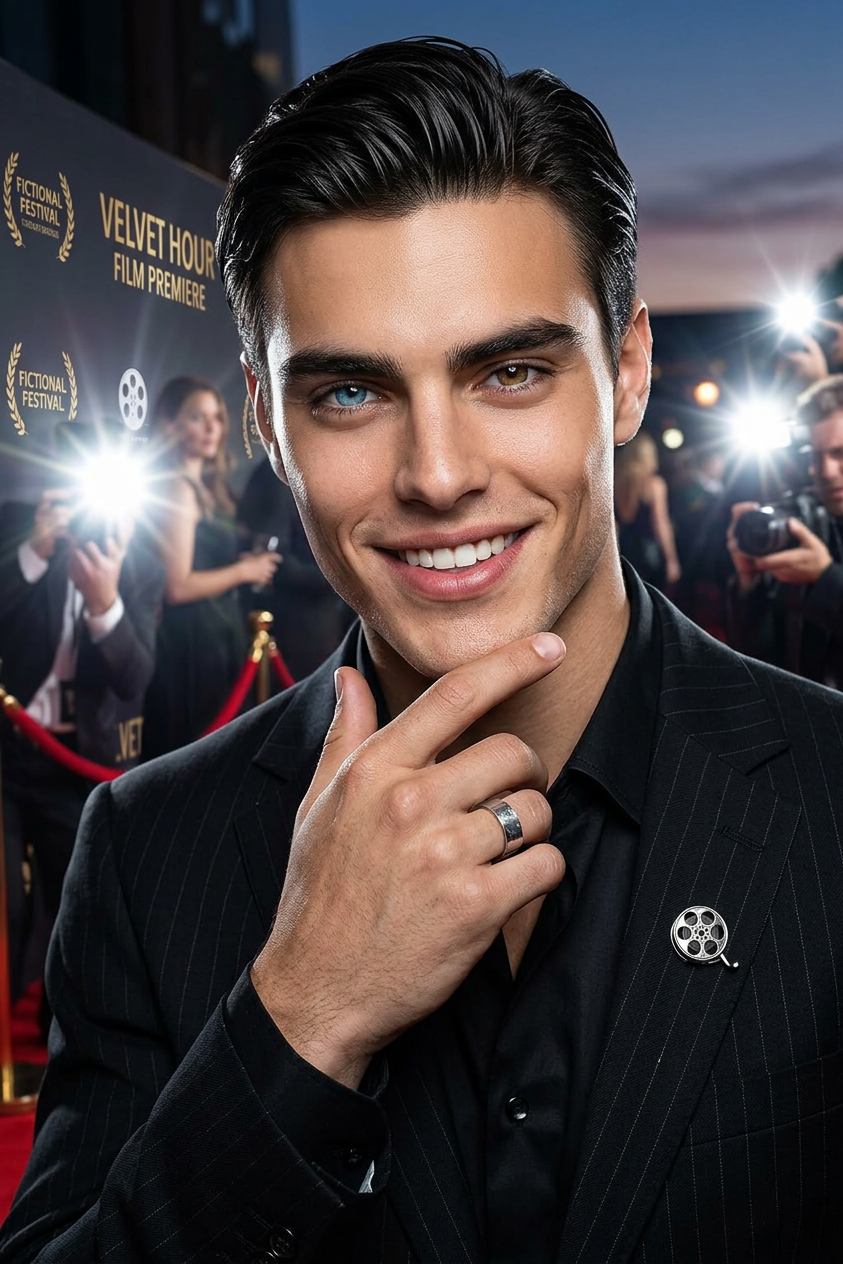
Red Carpet Flash Premiere

Red Carpet Flash Premiere

ai-image-editor

1 clip
2 uses

Any aspect ratio

Prompt

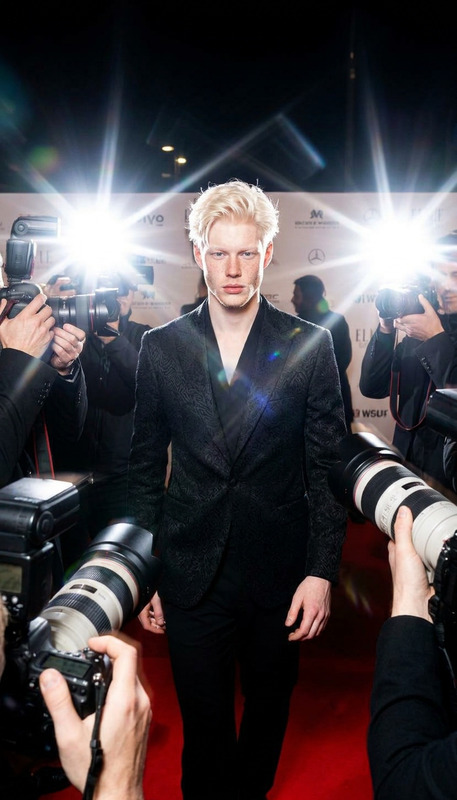
The subject wearing a tailored black suit at a film premiere, captured on the red carpet with paparazzi flash, confident smile, high-fashion editorial photography style, cinematic lighting, shallow depth of field, luxury event atmosphere, ultra-realistic, high resolution.

AI Image Editor Template: Turn Any Photo into High‑Impact, On‑Brand Visuals

Use this template to quickly transform, clean up, or restyle photos with the AI Image Editor. It’s built for creators, marketers, and product teams who need polished visuals fast—without a full design stack.


What This Template Is Best For

This template is optimized for:

  • Marketing & ad creatives
    • Refresh underperforming ads by changing backgrounds, props, or lighting.
    • Localize campaigns (e.g., update signage, language, or contextual details).
  • Product & e‑commerce imagery
    • Replace messy backgrounds with clean, branded environments.
    • Add or remove product details (labels, packaging variations, accessories).
  • Social & content teams
    • Generate multiple visual variants for A/B testing.
    • Turn rough photos into consistent assets for newsletters, blogs, or socials.
  • Founders & indie builders
    • Quickly create landing page hero images, app mockups, and pitch visuals.
    • Iterate on visual concepts before investing in full production.

All edits are powered by the AI Image Editor, which lets you precisely modify parts of an image or restyle the entire scene while keeping key details intact.


How to Remix This Template in Magic Hour

You can treat this template as a starting point and adapt it to your own use case.

1. Open the template in Magic Hour

  • Launch this template from the Magic Hour interface.
  • The base example shows a typical “before/after” transformation using AI editing.

2. Swap in your own image

  • Upload your product shot, headshot, social graphic, or scene photo.
  • Aim for reasonably high resolution—if your source is low quality, you can later enhance it with the AI Image Upscaler.

3. Define what you want to change
Use clear, concrete instructions, for example:

  • “Replace background with a minimalist studio setting, soft shadows.”
  • “Remove clutter on the table; keep laptop and coffee cup.”
  • “Turn this daytime city street into a cinematic night scene with neon signs.”
  • “Change outfit to a formal navy blazer and white shirt for a LinkedIn headshot.”

The AI Image Editor is good at localized edits (background replacements, object removal, outfit changes) and global style changes (lighting, color grading, stylization).

4. Run your first edit and review

  • Check whether the output matches your visual goals: composition, clarity, and brand fit.
  • If needed, iterate with more specific directions (e.g., “make lighting warmer,” “reduce visual noise in the background,” “simplify color palette to two main colors”).

5. Create multiple variants for testing
Once you like one version, duplicate it and explore different directions:

  • Different backgrounds for different campaigns (studio vs lifestyle vs abstract).
  • Different color schemes aligned to specific brand guidelines.
  • More or less aggressive retouching depending on channel (paid ads vs organic social).

These variants are especially useful for performance marketers who want visual diversity for A/B tests or creative fatigue mitigation.


Practical Use Cases & Workflows

1. Product & E‑commerce Photos

For online stores and product-led SaaS:

  • Start with a raw product image.
  • Use the AI Image Editor to:
    • Replace distracting backgrounds with clean, on-brand settings.
    • Add subtle reflections, shadows, or surfaces to make products feel grounded.
    • Remove unwanted objects or branding conflicts.

Then, if you want to add motion for ads or socials, you can:

2. Professional Headshots & Profiles

Founders, operators, and teams can:

  • Upload a casual photo.
  • Clean up the background and adjust outfit or lighting with the AI Image Editor.
  • For larger teams, consider the AI Headshot Generator for consistent, studio‑quality looks.

You can also enhance older or low‑quality photos with:

3. Landing Pages, Pitch Decks & App Previews

For startups and product teams:

  • Use the AI Image Editor to:
    • Convert raw screenshots into mocked‑up devices on clean backgrounds.
    • Place product images into contextual scenes (desks, offices, outdoor shots).
    • Align lighting and color grading so multiple images look like one cohesive shoot.

For more conceptual visuals (e.g., abstract hero images, story‑driven illustrations), pair this with:

to create net‑new scenes, then refine details and branding with the editor.

4. Social Content, Memes & Campaign Creatives

Content and brand teams can:

  • Quickly adapt the same base visual for different platforms (IG, X, LinkedIn, TikTok thumbnails).
  • Use the AI Image Editor for:
    • Text cleanup (e.g., remove old copy areas so you can overlay new typography).
    • Consistent brand elements (background colors, motifs, props).
  • For memes or playful assets, you can complement this with the
    AI Meme Generator.

To take social visuals further:


How to Build Your Own Version of This Template

If you want a customized template tailored to your workflow (e.g., “founder headshots,” “SaaS UI hero shots,” or “UGC‑style product photos”), follow this pattern inside Magic Hour:

  1. Pick a strong base example

    • Upload one image that represents your ideal “after” look for your use case (e.g., a polished founder photo, a hero shot of your app, a lifestyle product image).
  2. Document your transformation pattern
    Write down, in natural language, what the editor should usually do, for example:

    • “Clean background, keep subject sharp, neutral soft lighting, subtle vignette.”
    • “Always place product at center, clean white background, soft drop shadow, no text.”
    • “Convert casual selfie into professional LinkedIn‑style portrait, muted background, business‑casual outfit.”
  3. Test across several inputs

    • Run 3–5 very different images (different people, products, environments) through your “pattern” and see how consistent the outputs feel.
    • Update your instructions to be more explicit about what must stay fixed (e.g., logos, product shape) versus what can change (background, color scheme).
  4. Save your pattern as your internal template

    • Use this as your team’s “one‑click” editor: upload → apply your pattern → minor tweaks.
    • Share the workflow across marketing, design, and product so teams get consistent visuals without heavy coordination.

Power‑Combos: Using This Template With Other Magic Hour Tools

For more advanced workflows, consider chaining tools:


Best Practices for Reliable, On‑Brand Outputs

  • Be concrete, not vague

    • Instead of “make this nicer,” say “replace background with light gray gradient, keep subject colors unchanged, soften shadows slightly.”
  • Protect key elements

    • Explicitly call out what must not change: logos, product shapes, key text, face identity.
  • Design for the final channel

    • If the image is for a landing page, consider text overlays and negative space.
    • If it’s for performance ads, leave space for captions and performance badges.
  • Use enhancement tools when needed


Where This Template Fits in the Magic Hour Ecosystem

This AI Image Editor template is a versatile foundation that connects well with:

Using this template as your “edit hub” makes it easy to move from rough input → polished visual → animated or video asset, all inside Magic Hour.

More Like This

Insufficient credits