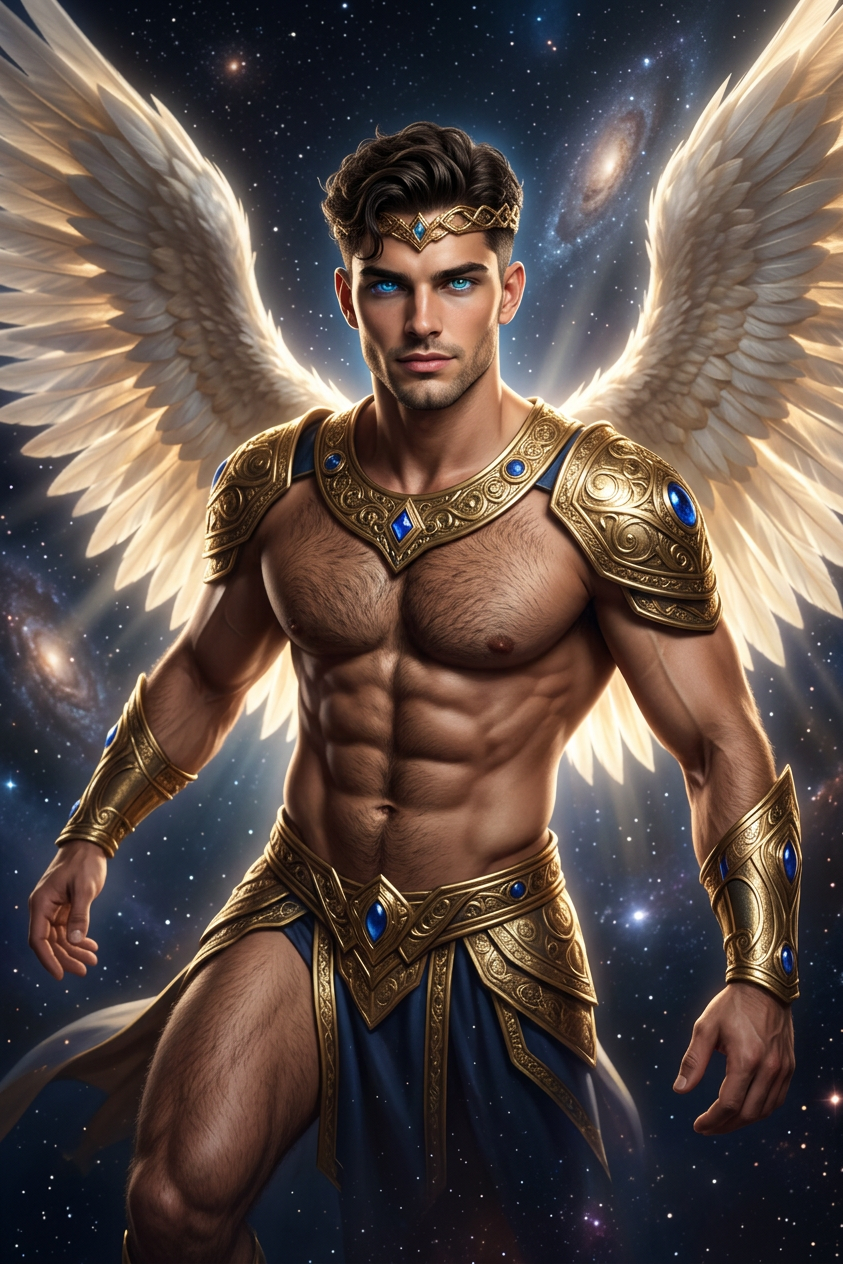
Ascendant Cosmic Archangel
ai-image-editor
Any aspect ratio
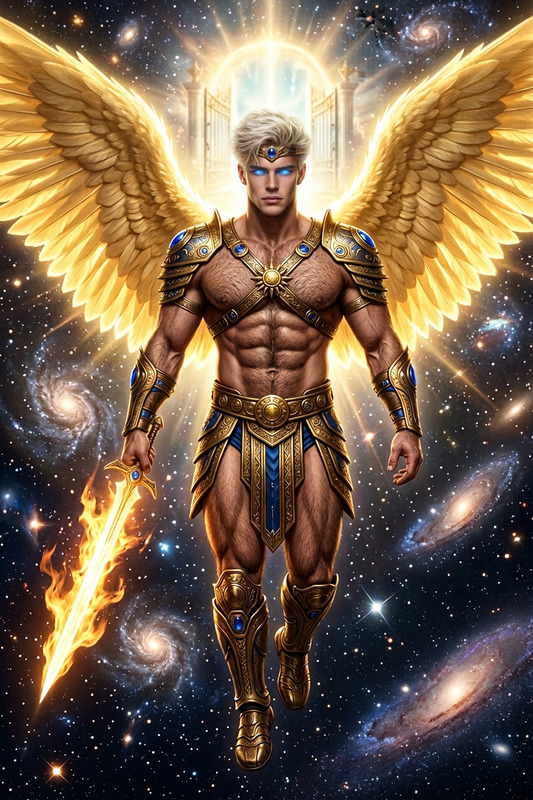
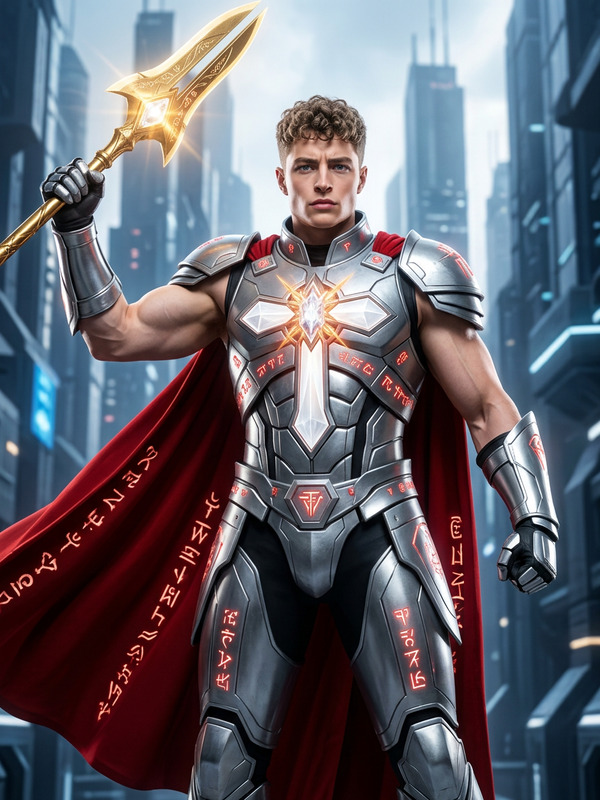
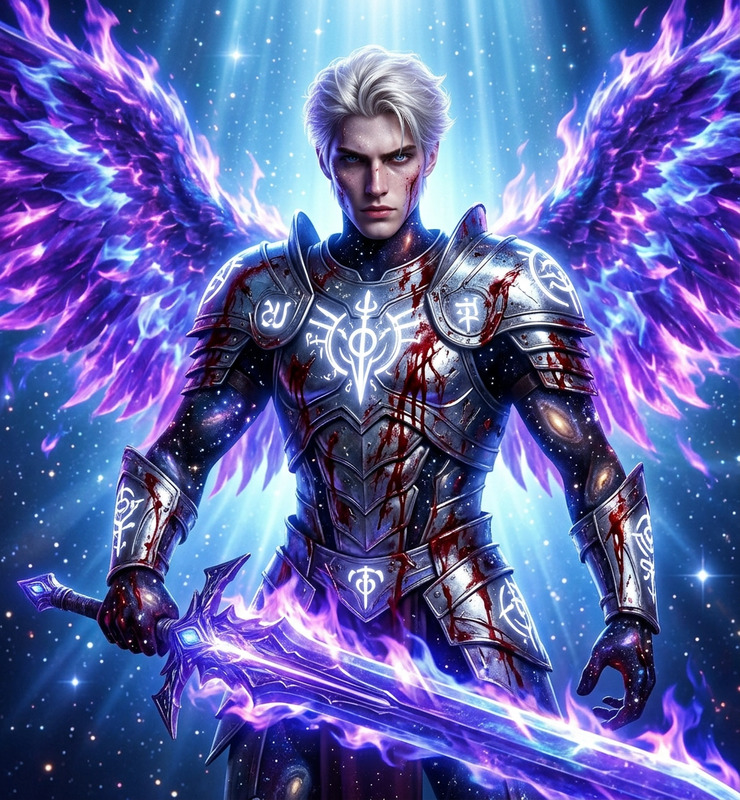
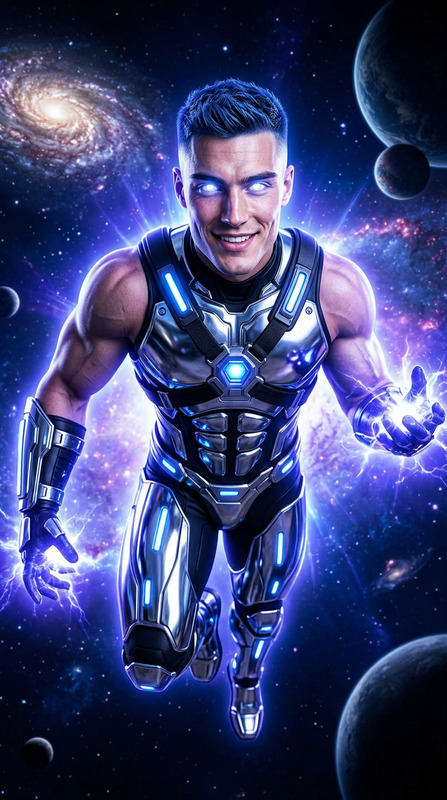
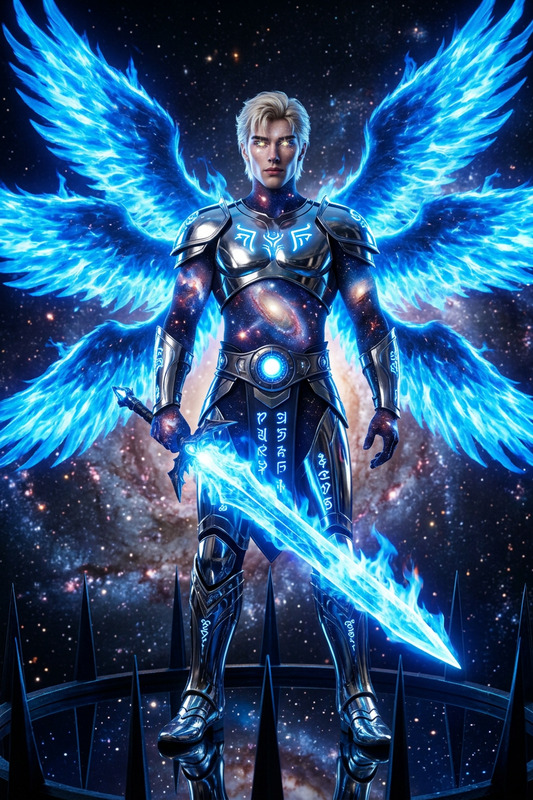
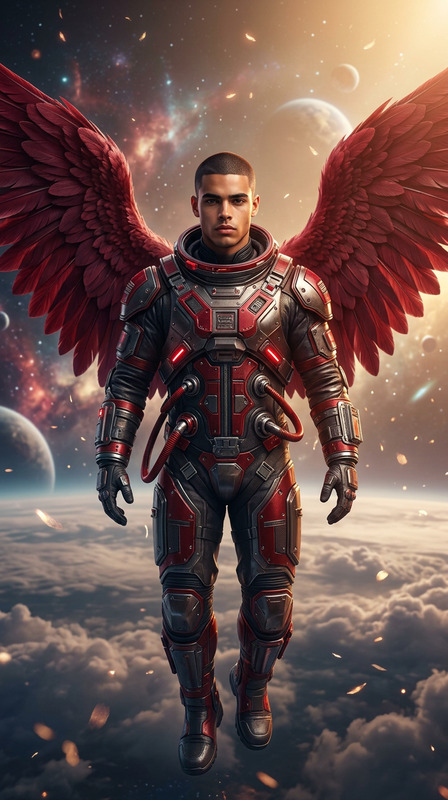
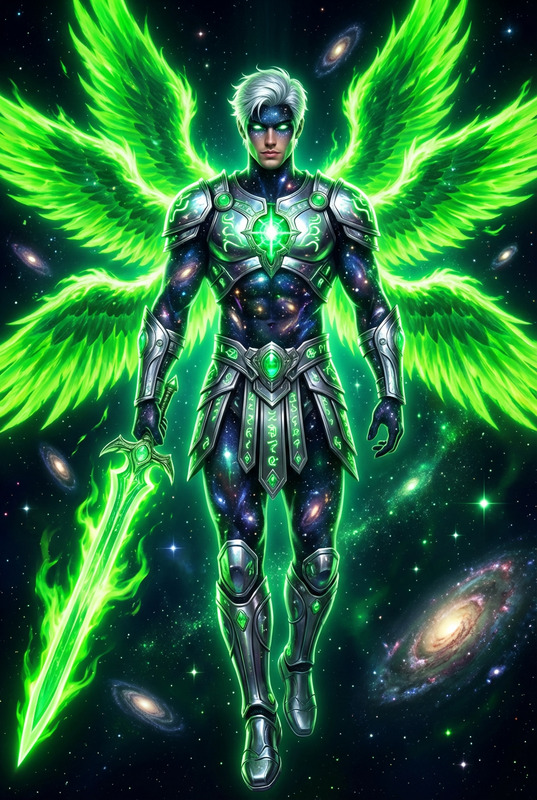
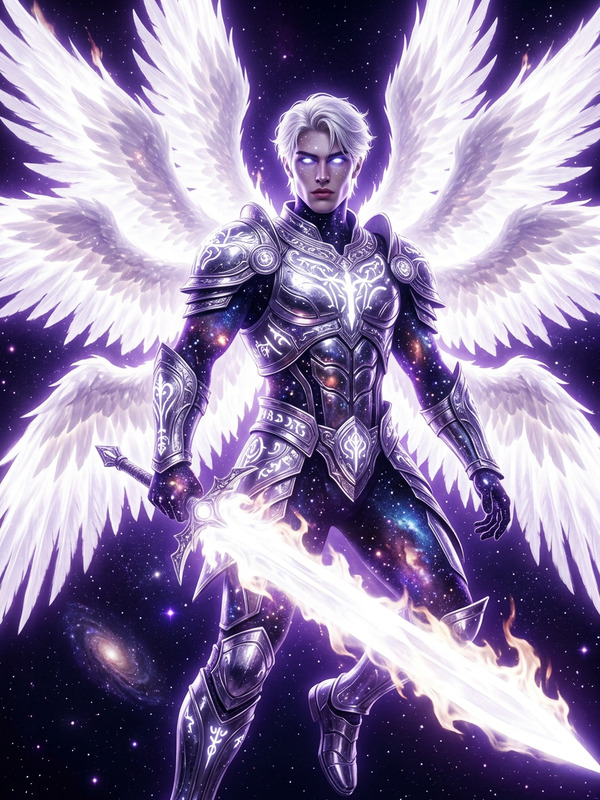
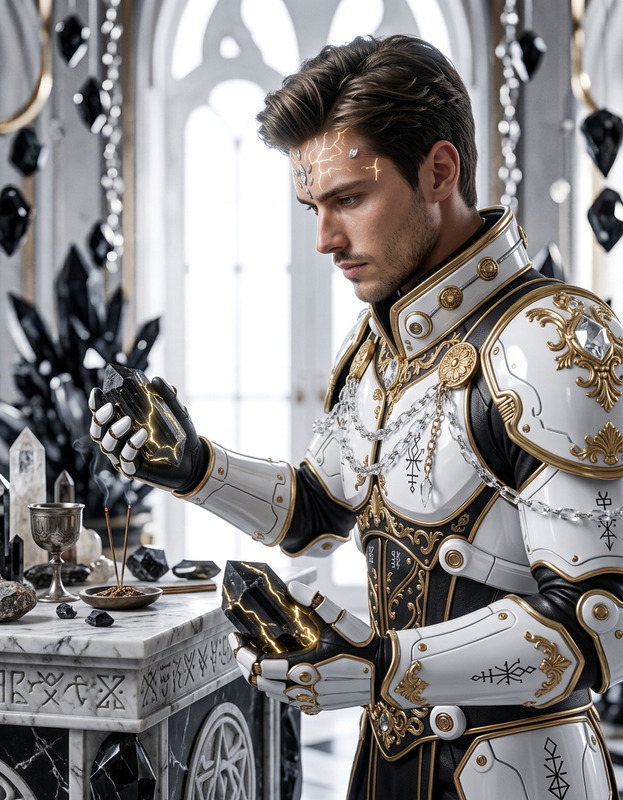
A photorealistic cinematic image of a subject depicted as a divine archangel and guardian of galaxies, with heroic 8-heads-tall proportions and a powerful Greek-god physique featuring sharply defined musculature and natural hirsute texture, short wavy dark brown hair in a modern fade, and chiseled facial features with glowing electric blue eyes. The subject wears an ornate golden circlet and elaborate gold armor with sapphire accents, including pauldrons, bracers, harness, belt, and greaves, with massive radiant wings spread wide and a brilliant golden aura. The subject ascends dynamically through a star-filled cosmic void toward a celestial realm, captured from an extreme low-angle wide perspective with dramatic rim lighting, chiaroscuro shadows, volumetric god rays, and ultra-detailed 8K rendering.
AI Image Editor Template: Professional Before‑and‑After Product Mockups
Turn a rough product photo into polished, studio‑quality marketing visuals in minutes using Magic Hour’s AI Image Editor. This template is built for founders, marketers, designers, and growth teams who need high‑impact images fast—without a full creative team or complex software.
What This Template Is For
Use this template to generate clean, consistent before‑and‑after images for:
- Product launches and landing pages
- App and SaaS UI mockups
- Ecommerce product upgrades (packaging refresh, color variations, new features)
- A/B test creatives for ads and social campaigns
- Case studies, comparison shots, and “version 1 vs. version 2” narratives
Because it uses the AI Image Editor, you can iterate quickly and keep your brand visuals aligned across channels.
How to Remix This Template in Magic Hour
You can recreate or customize this template in a few simple steps:
Open AI Image Editor
Go to the AI Image Editor.Upload Your “Before” Image
- This could be a product photo, UI screenshot, packaging shot, or simple mockup.
- Aim for a clear, frontal view with good lighting—this gives the model more information to work with.
Describe Your “After” Vision in Natural Language
In your edit prompt, be explicit about:- What stays the same: product shape, layout, screen content, logo, or key elements you don’t want changed.
- What changes: colors, textures, materials, background, lighting, reflections, props, or context.
- Output style: realistic photo, flat illustration, 3D render, isometric UI, minimal studio shot, etc.
Example prompt structure you can adapt:
- “Keep the product shape and logo, but update the packaging design to a minimal, modern style with matte finish, soft neutral colors, and studio lighting on a clean, gradient background.”
- “Maintain the layout of this app UI, but redesign it with a dark theme, new accent color, and more modern, minimal controls suitable for a fintech dashboard.”
Generate a First Pass, Then Iterate
- Use the first result as a reference point.
- Refine with more specific instructions: “make the background lighter,” “remove the shadow,” “increase contrast,” “simplify the icons,” etc.
- Treat it like working with a junior designer: direct clearly, review, and iterate.
Create a Before‑and‑After Layout
- Export your edited “after” image.
- Combine the original and edited version into a side‑by‑side composition using your preferred design tool, or re‑upload into the editor and ask for a split‑screen comparison look.
- Use consistent dimensions so your comparisons look professional across your site, pitch decks, and ads.
Proven Use Cases for This Template
1. Ecommerce & DTC Brands
- Visualize packaging redesigns before committing to print.
- Create “old vs. new” comparisons when you launch improved product lines.
- Test different colorways, label layouts, or background scenes for product photos.
Complement this with:
- AI Image Upscaler to sharpen your final assets for high‑resolution marketplaces and print.
- Image Background Remover or AI Background Generator for clean, brand‑consistent backdrops.
2. SaaS & App Products
- Show UI evolution in case studies and product update posts.
- Generate multiple style directions (light/dark mode, industry‑specific themes).
- Turn plain screenshots into polished marketing visuals without full design sprints.
You can also pair with:
- AI Illustration Generator for supporting diagrams and UI‑adjacent illustrations.
- Thumbnail Maker to convert these visuals into YouTube, blog, or course thumbnails.
3. Agencies, Freelancers, and Consultants
- Pitch redesign concepts to clients using their actual assets.
- Show value visually: “before our engagement” vs. “after our redesign.”
- Create multiple creative directions quickly and get faster stakeholder buy‑in.
Support this with:
- AI Logo Generator for alternative brandmarks during concept exploration.
- AI Headshot Generator to produce consistent team or persona shots for pitch decks.
Best Practices for High‑Quality Results
1. Start From a Clean, Focused Image
- Avoid cluttered backgrounds when possible.
- If needed, clean the original first using Remove Object From Photo or the Watermark Remover.
2. Be Explicit in Your Prompts
The model performs best when you state both constraints and goals. For example:
- “Keep the bottle shape and label logo; only change the colors to pastel and switch the background to a soft studio gradient.”
- “Do not change the main product; only add subtle reflections and improve lighting for a premium look.”
3. Maintain Brand Consistency
- Reuse similar wording for color palettes, moods, and lighting styles across projects.
- For multi‑asset campaigns, generate a small set of “hero looks” first, then refine everything else to match.
4. Optimize for Performance, Not Just Aesthetics
- Use your edited images in A/B tests in ad platforms or landing page tools.
- Track which visual changes improve CTR, sign‑ups, or sales, then replicate those characteristics in future prompts.
Advanced Workflows: Combine Tools for More Powerful Templates
Because Magic Hour tools are interoperable, you can build more complex creative systems around this template:
Product → Image → Video
- Start with a product image, create an improved “after” version with AI Image Editor.
- Turn that static visual into motion with Image to Video or Text to Video to demonstrate features or packaging details.
Character or Persona Transformations
- Use AI Face Editor or AI Face Generator to design personas.
- Refine those images with the AI Image Editor for specific campaigns (e.g., different outfits, lighting, or scenarios).
- If you want them animated, connect with Animation templates or AI Talking Photo.
Visual Stories & Carousels
- Build narrative “transformation” carousels (e.g., product v1 → v2 → v3) by applying this template multiple times.
- Add context using AI‑generated illustrations from AI Art Generator or more niche tools like Comic Book Generator.
Related Magic Hour Tools Worth Exploring
Depending on your use case, these products often pair well with AI Image Editor–based templates:
- AI Image Generator – Generate original concepts before refining them with edits.
- AI Photo Generator – Create photorealistic scenes or lifestyle imagery for your products.
- AI Outfit Generator and AI Clothes Changer – Useful when your template involves fashion, models, or wearable products.
- Avatar Generator – Build consistent character systems to showcase app use cases or product stories.
- AI Meme Generator – Spin “before vs. after” transformations into social‑first meme formats.
- Old Photo Restoration and Photo Colorizer – When your “before” image is low quality or historical, restore it before editing.
If you work with video, you can further extend your visuals with:
- Face Swap Video templates – Reuse edited faces or characters in dynamic content.
- Lip Sync templates – Turn static personas into speaking, on‑brand explainers.
- Video to Video templates – Re‑style existing footage to match the updated look of your product or brand.
- Video Upscaler – Keep your upgraded visuals sharp across platforms.
How Creators and Teams Typically Use This Template
Realistic workflows from teams similar to yours:
- Founder / Solo Marketer: Use the template to produce investor‑ready before‑and‑after product shots for a pitch deck over a weekend, without hiring a designer.
- Growth Marketer: Generate multiple visual variations of a landing page hero image, then push them into ad platforms and web experiments to see which combination of background, lighting, and color drives highest conversion.
- Design Lead: Treat the template as a rapid ideation tool. Use it to explore visual directions, then select the strongest ones for manual refinement in your existing design stack.
- Agency Strategist: Build transformation narratives for client proposals—showing how their brand, app, or packaging could evolve—before any production budget is committed.
Getting Started
To adapt this template to your brand:
- Identify a high‑impact “before” image: your main product, hero UI, or packaging.
- Open the AI Image Editor.
- Describe your ideal “after” outcome in precise, business‑oriented language.
- Iterate until the result is specific enough to ship or test.
- Replicate the approach across your product line or content library for consistent, professional visuals.
Use this template as a starting point, then remix it to fit your brand, funnel stage, and experimentation roadmap.