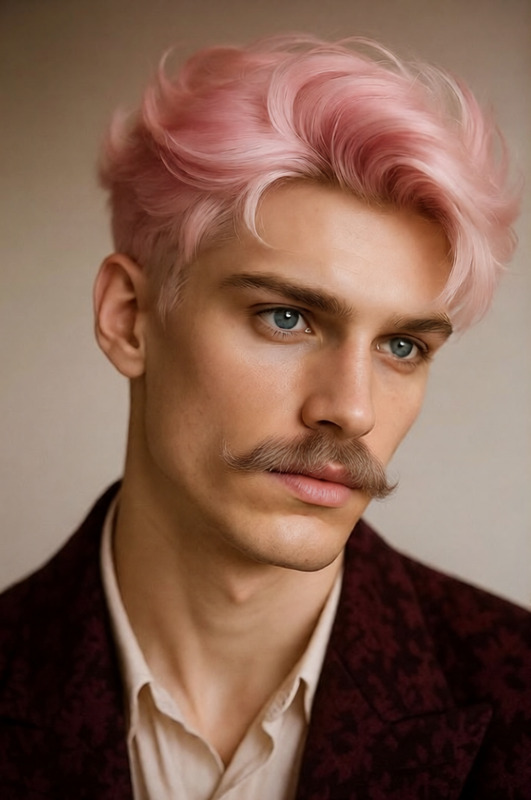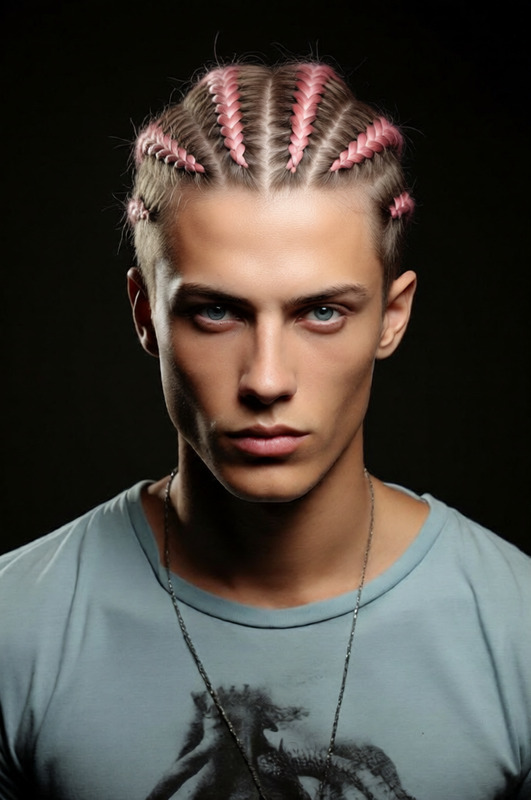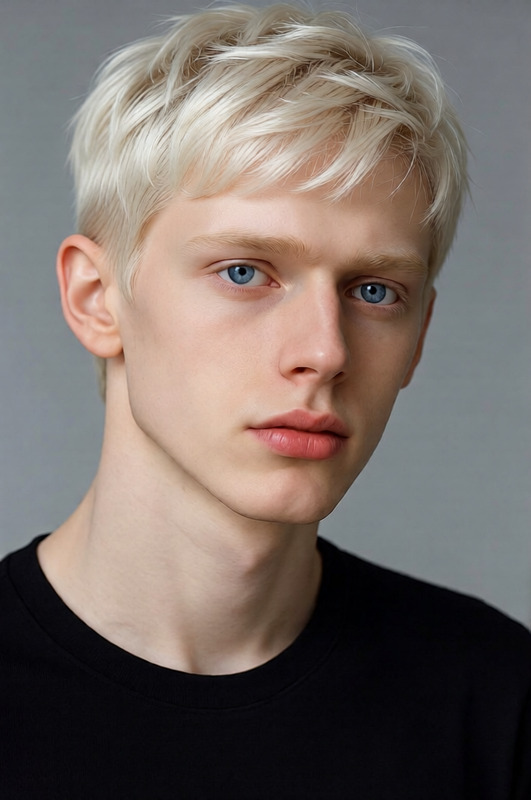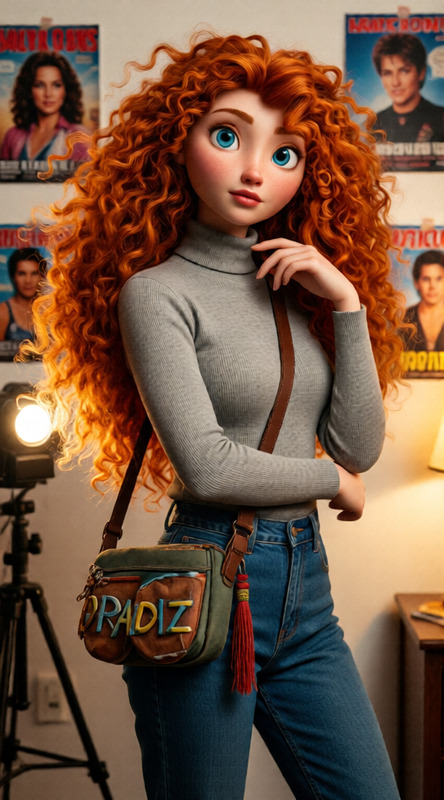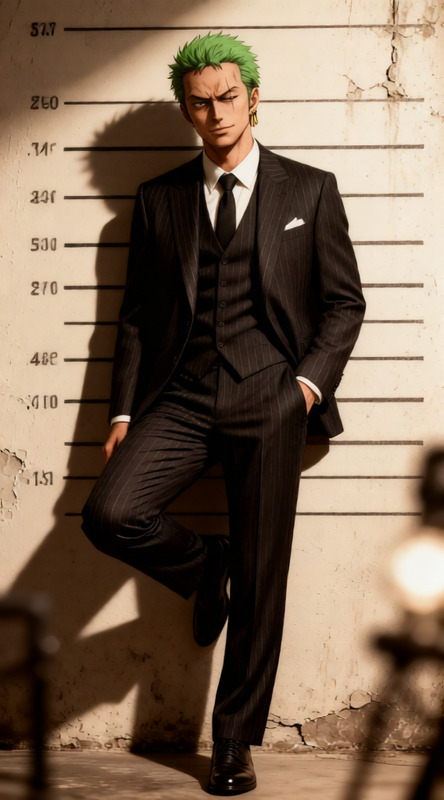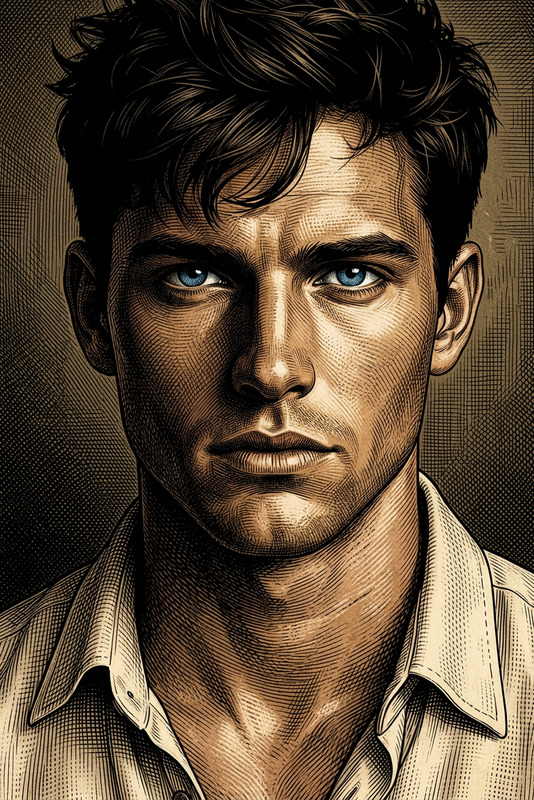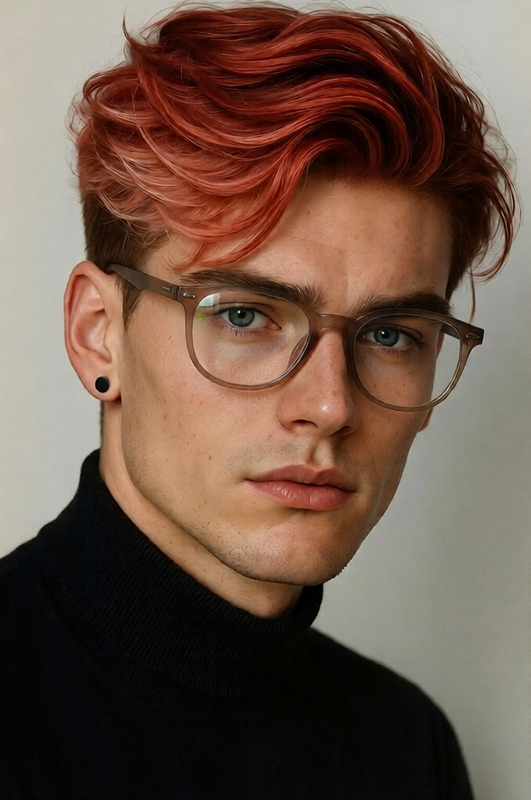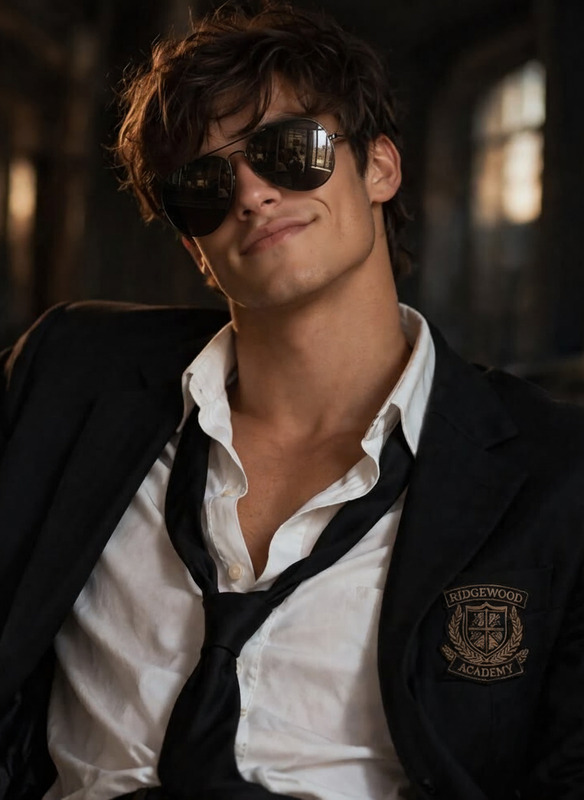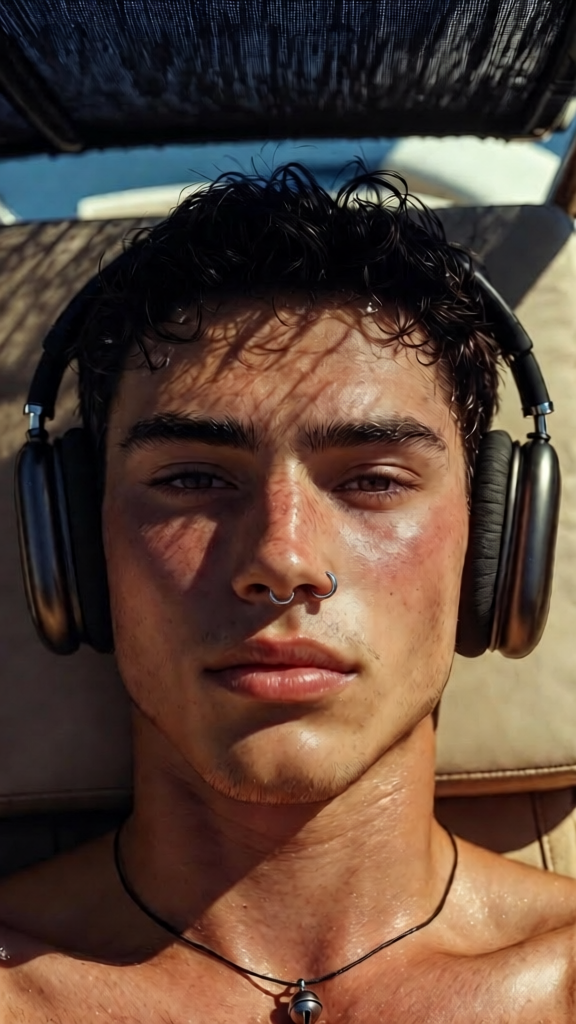
Nose Piercing

Nose Piercing

ai-image-editor

1 clip
2 uses

Any aspect ratio

Prompt

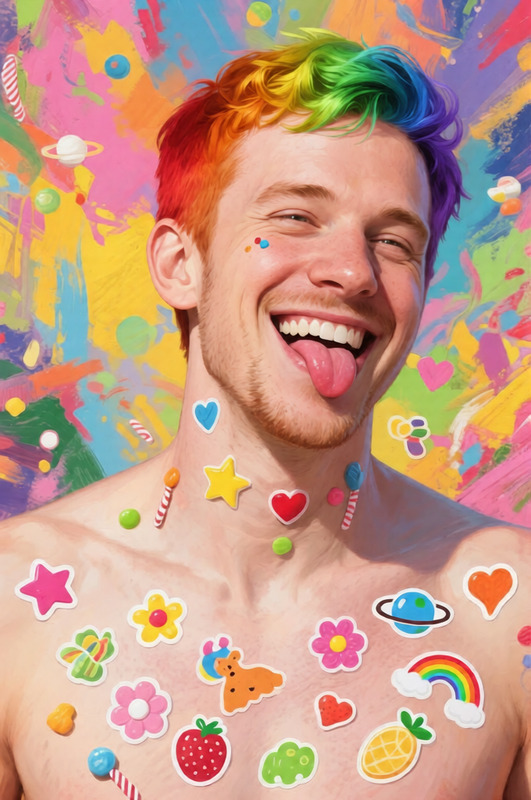
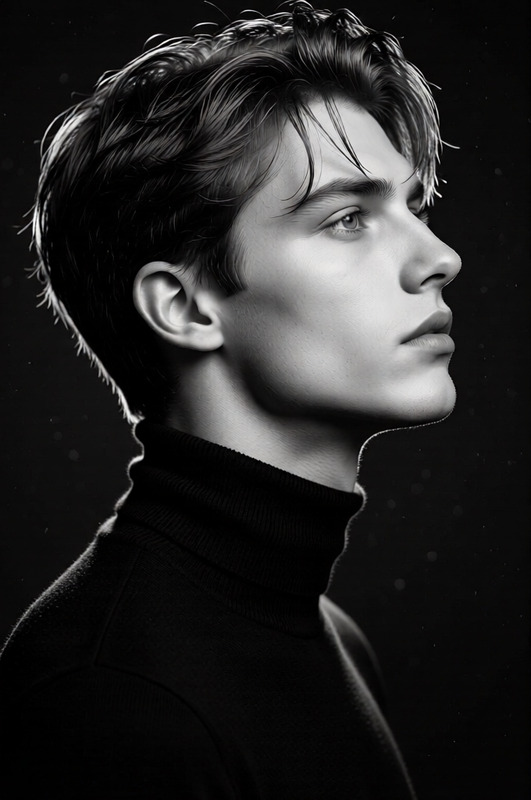
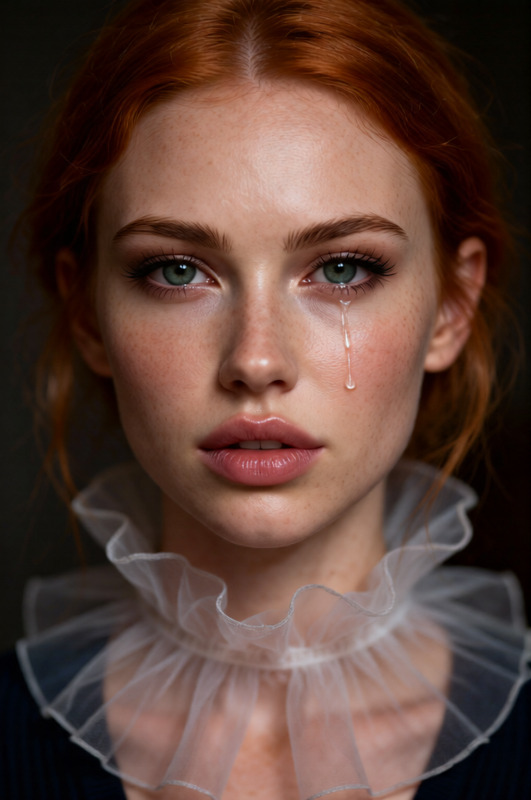
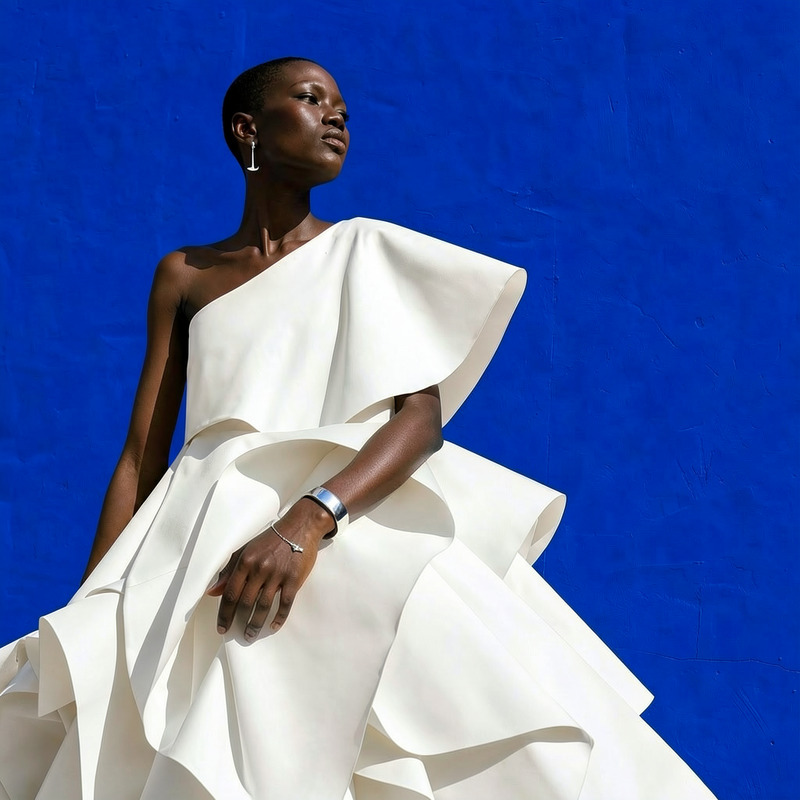
Add a subtle, realistic nose piercing to the person while preserving their identity, facial features, and expression. Ensure the piercing is naturally placed (e.g., nostril or septum), with accurate lighting, reflections, and shadows to match the scene. Keep the style consistent and make it look like an authentic part of the original image.

AI Image Editor Template: Turn Any Photo Into a Polished, On-Brand Visual in Minutes

Use this template to transform a raw image into a clean, professional visual without Photoshop. With Magic Hour’s AI Image Editor, you can remove distractions, fix details, change backgrounds, and add new elements—all while keeping the original style intact.

This page explains what the template does, how to remix it for your own use cases, and which Magic Hour tools pair well with it for full creative workflows.


What This Template Is Best For

This AI Image Editor–based template is ideal when you need to quickly:

  • Clean up or enhance product photos for ecommerce or decks
  • Remove unwanted objects, logos, or text from images
  • Replace messy or off-brand backgrounds with studio-quality ones
  • Add or adjust props (laptops, signage, UIs, devices, decor, etc.)
  • Refine lighting, mood, or color to match your brand
  • Correct or subtly retouch faces while preserving identity
  • Prepare still images for later animation or video use

It’s built for creators and teams who need consistent visuals fast: marketers, founders, PMs, designers, and content teams shipping campaigns on tight timelines.


How the Template Works (Conceptually)

The template is powered by the AI Image Editor, which uses:

  • Image in → Image out: You upload a base photo. The editor understands the existing composition, perspective, and lighting.
  • Language-guided editing: Natural language instructions (“remove the background and replace it with a clean studio white backdrop”) drive pixel-level changes.
  • Local + global control: You can focus edits on specific regions (e.g., just the background, just the shirt, just the laptop screen) or change the entire scene.

Under the hood, this approach is similar to diffusion-based image editing systems described in research such as:

  • SDEdit: Guided diffusion for image editing (Meng et al., 2022)
  • InstructPix2Pix: Instruction-guided image editing (Brooks et al., 2023)

You don’t need to know the math—but it explains why the template can restructure scenes while preserving identity, pose, and layout.


How to Remix This Template in Magic Hour

You can quickly create your own version of this template by “remixing” the workflow in Magic Hour:

  1. Start from the AI Image Editor

    • Go to the AI Image Editor.
    • Upload a reference photo (product shot, portrait, interior, illustration—anything you want to transform).
  2. Decide the edit type you need
    Common high-performing patterns:

    • Background replacement: “Replace the background with a simple, soft gradient in brand colors.”
    • Cleanup + polish: “Remove clutter on the table, even out lighting, and make colors slightly more vibrant.”
    • Scene extension or prop changes: “Add a modern laptop on the desk with a clean dashboard on screen.”
    • Brand styling: “Apply a minimal, tech-brand aesthetic with cooler tones and subtle contrast.”
  3. Guide the edit with clear, structured instructions
    For reproducible results across many images, describe:

    • Subject: who/what must stay consistent
    • Environment: office / studio / home / outdoor / abstract
    • Lighting: soft, dramatic, flat, daylight, warm, cool
    • Color language: “muted pastels”, “high contrast”, “brand colors: blue + charcoal”
    • Usage context: “for LinkedIn”, “for app store screenshots”, “for pitch deck cover”
  4. Test with variations

    • Use a small set of test images (3–5) to confirm the style is robust.
    • Adjust your instructions until the template reliably produces the look you want.
    • Once it’s consistent, you effectively have a reusable “house style” editing template that you can apply across campaigns.
  5. Chain with other Magic Hour tools (optional)
    Many teams turn this into a full pipeline:


Practical Use Cases and Remix Ideas

1. Product & Marketing Imagery

Use this template to standardize product shots across your website, ads, and decks:

  • Start with rough photos (phone shots, early-stage prototypes).
  • Use the AI Image Editor to:
    • Remove distracting backgrounds or reflections
    • Add simple, high-conversion backdrops (solid colors, gradients, minimal props)
    • Align style with brand guidelines (minimalist, playful, serious, luxury, etc.)
  • For social campaigns, quickly generate fun variants with the AI Meme Generator or AI GIF Generator.

Remix tip: Create separate instruction sets for “website hero”, “feature cards”, “paid social”, and “slide deck” so your team can pick the right version for each channel.


2. Founders & Team Headshots

If you’re building a startup and need professional visuals without a studio:

Remix tip: Build one “formal headshot” template and one “casual / social” template, each with consistent background and color language.


3. App Screens, Mockups, and Pitch Deck Visuals

Product teams and founders often need clean visuals that show “what the product feels like”:

  • Start with UI screenshots or rough mockups.
  • Use the AI Image Editor to:
    • Place UIs into realistic devices (laptops, phones, tablets)
    • Set the scene (desk, co-working space, living room)
    • Remove distracting elements and unify color and lighting
  • For cover slides or landing page hero images, consider pairing this approach with the Book Cover Generator, AI Illustration Generator, or AI Art Generator for stylized backgrounds.

Remix tip: Create a “pitch deck image” template that always outputs landscape aspect ratio, clean negative space, and colors that won’t clash with slide text.


4. Social, Content, and Brand Storytelling

Content teams can use this template to create consistent visual narratives:

You can also create on-brand visuals for newsletters and content marketing using the Album Cover Generator, Thumbnail Maker, or AI Logo Generator, then fine-tune them via the template.


5. Fashion, Outfits, and Portrait Enhancements

For apparel brands, creators, or personal branding:

  • Use AI Clothes Changer or AI Outfit Generator to experiment with looks.
  • Use the AI Image Editor template to:
    • Standardize backgrounds (lookbooks, catalogue shots, street-style, studio)
    • Refine lighting and correct color to represent fabrics accurately
    • Remove distractions from locations (signage, cars, clutter)

To explore more stylized personas, pair with:


6. Creative Worlds, Maps, and Environments

If you’re a game designer, worldbuilder, or storyteller:

This can be especially useful if you later want to animate scenes using Animation or Video to Video.


Pairing the Template With Video & Animation

Once you’ve polished still images with the AI Image Editor, you can bring them to life:


Utility Tools to Support Your Workflow

As you refine this template for your stack, you may also want to leverage:


Best Practices for Reliable, Reusable Templates

To make this AI Image Editor template production-ready for a team:

  1. Define a style spec

    • Write down 3–5 keywords that define your look (e.g., “minimal, high contrast, cool tones, clean backgrounds, realistic”).
    • Reference these consistently in your editing instructions.
  2. Use reference images

    • Keep a small gallery of “golden examples” that match your ideal style.
    • When editing, evaluate new outputs against these references to keep the look coherent.
  3. Create use-case-specific variants

    • Instead of one “do everything” template, create:
      • A product shot template
      • A people/headshot template
      • A brand / editorial / hero image template
    • This reduces ambiguity and improves consistency at scale.
  4. Document how your team should use it

    • Store your prompts and example before/after images in your internal docs or asset library.
    • Add short usage notes: “Use Template A for website cards, Template B for social posts,” etc.
  5. Iterate with real campaign assets

    • Test on actual images from your funnel (website, ads, email headers) rather than just idealized examples.
    • Adjust until the template works well on the imperfect, real-world inputs you actually have.

Summary

This AI Image Editor–based template gives you:

  • A fast way to turn raw, inconsistent images into clean, on-brand visuals
  • A repeatable, remixable workflow that your whole team can use
  • A foundation you can extend into video, animation, and richer creative systems

To create your own version, start in the AI Image Editor, refine clear instructions around your brand style, test on a handful of real assets, and then plug it into the rest of the Magic Hour ecosystem—from AI Image Generator to Image to Video, Animation, and Video to Video.

Once dialed in, this becomes a reusable visual engine for your product, marketing, and brand storytelling.

More Like This

Insufficient credits