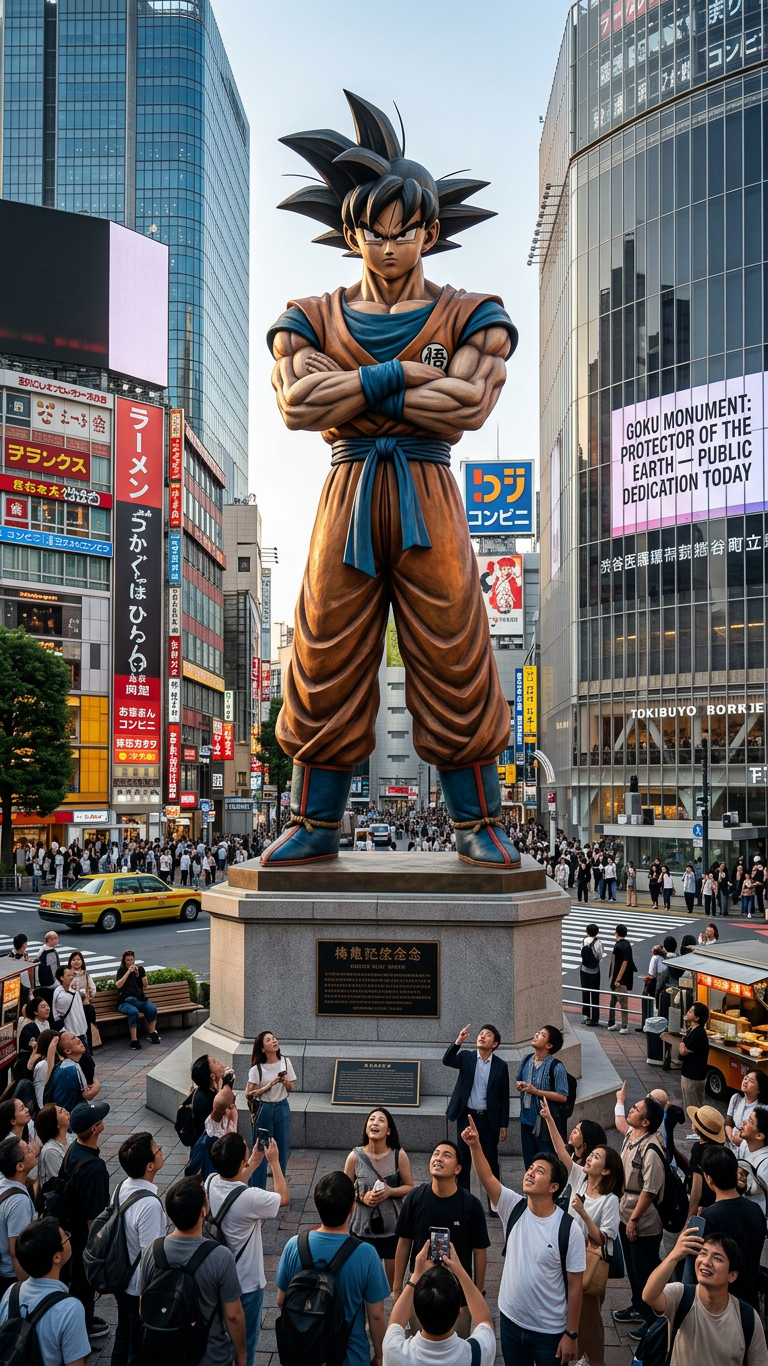
Colossal Tokyo Monument

Colossal Tokyo Monument

ai-image-editor

1 clip
4 uses

Any aspect ratio

Prompt

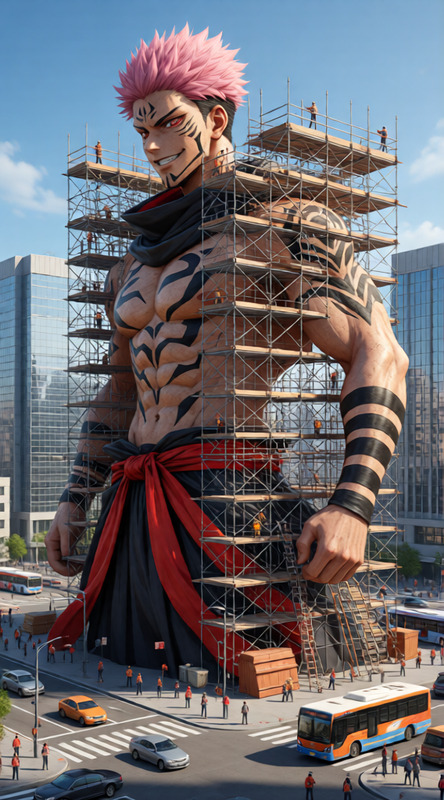
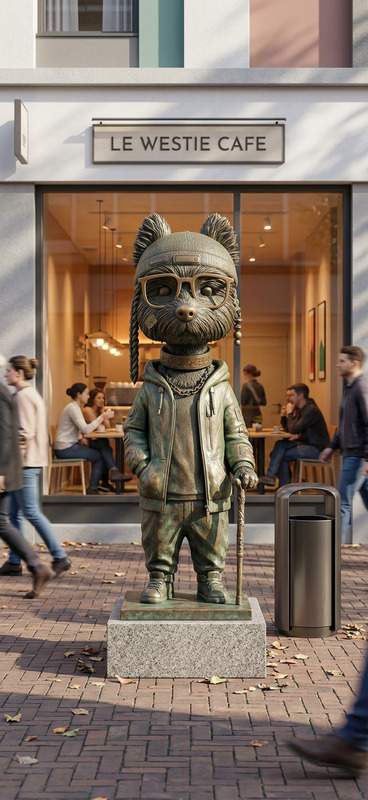
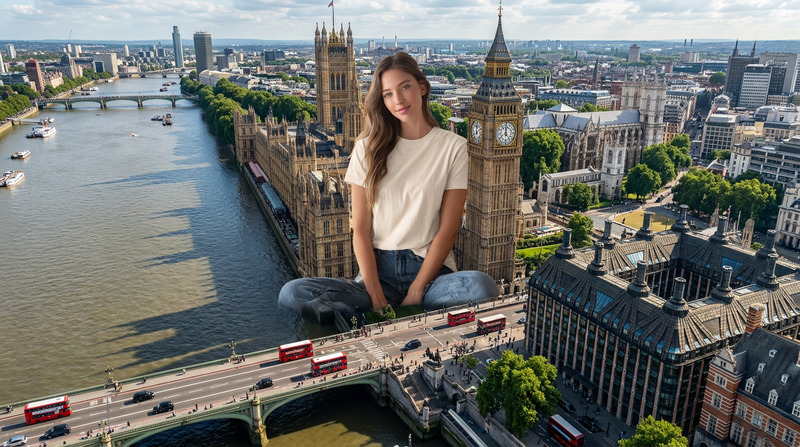
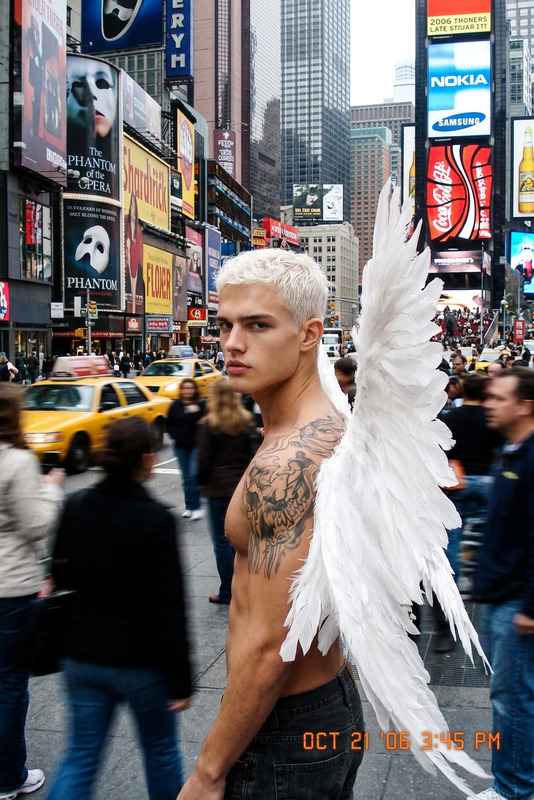
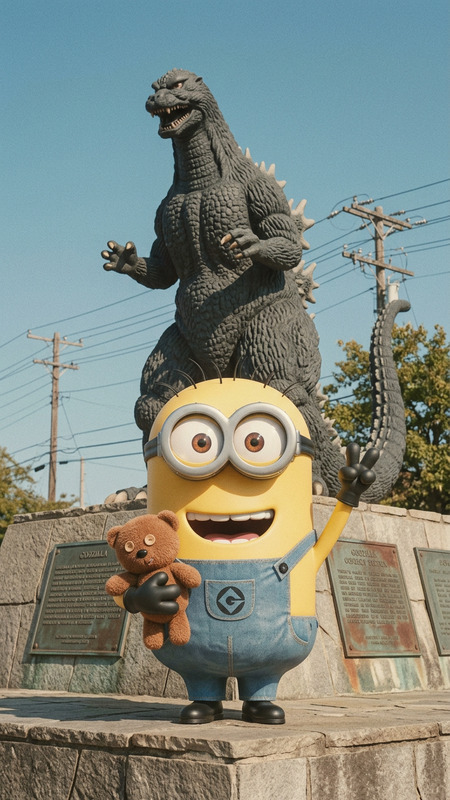
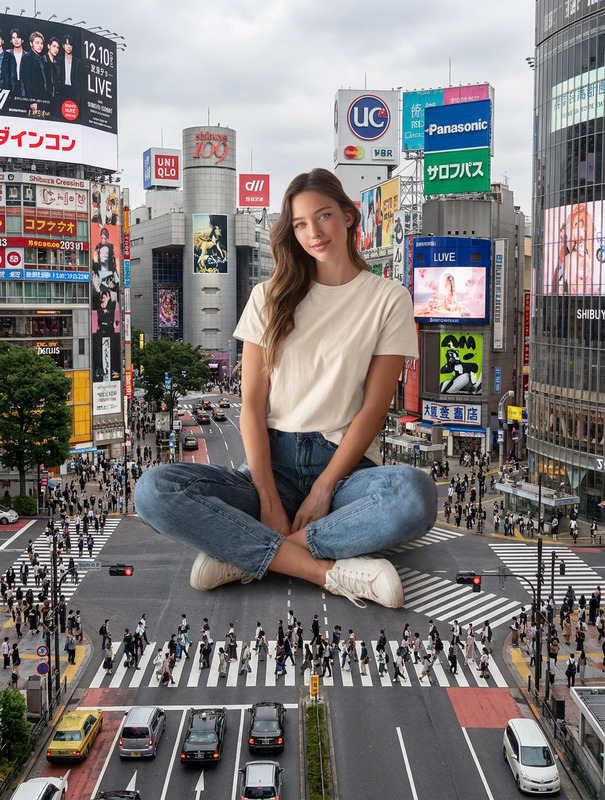
Create a realistic photographic scene where a gigantic statue of the subject stands in a busy public square in central Tokyo. The statue should retain the person’s likeness with high detail, appearing monumental and sculptural. Surround it with crowds of people looking up in awe, capturing natural human reactions and scale contrast. Include urban elements like modern buildings, signage, and street activity to ground the scene in Tokyo. Use realistic lighting, shadows, and perspective to make the composition feel like a genuine photograph.

AI Image Editor Template: Turn Any Photo Into a Studio-Grade Visual in Minutes

Use this template to quickly transform any image with the AI Image Editor. Clean up photos, remove distractions, swap backgrounds, enhance faces, or reshape compositions—without needing Photoshop skills or complex layers.

This template is ideal if you want to:

  • Polish social, campaign, or product visuals fast
  • Create branded variants of the same image (for A/B tests, ads, landing pages)
  • Remove unwanted objects or people from a shot
  • Turn a rough concept image into a portfolio-ready asset

What This Template Does

This AI Image Editor–based template gives you a structured starting point to:

  • Edit objects and layout

    • Add, move, or remove elements in your scene
    • Clean up messy backgrounds or visual clutter
    • Refine compositions for better focus and storytelling
  • Enhance people and faces

    • Subtly improve facial features and lighting
    • Clean blemishes or distractions while preserving identity
    • Prepare images for use with the AI Headshot Generator or AI Face Editor
  • Re-theme or re-style a photo

  • Fix and restore images


How to Remix This Template in Magic Hour

You can use this template as-is, or treat it as a starting point and customize it for your own workflow. Here’s how to build your own version inside Magic Hour:

  1. Start with the AI Image Editor

    • Go to the AI Image Editor.
    • Upload your base image (product shot, portrait, social visual, etc.).
    • Decide what you want to change: background, objects, faces, style, or overall cleanup.
  2. Define your editing intent clearly
    In your prompt, be explicit about:

    • What stays: e.g., “Keep the person’s pose and expression the same.”
    • What changes: e.g., “Replace the background with a minimalist light gray studio.”
    • The context: e.g., “This will be used as a LinkedIn profile banner for a B2B founder.”

    Clear intent helps the model preserve what matters (identity, layout, brand look) while changing only what you need.

  3. Combine tools for a stronger template
    For more sophisticated workflows, chain this template with other Magic Hour products:

  4. Create a reusable editing pattern
    Once you’ve done a few runs you’ll notice patterns:

    • Similar prompt language works across many images (e.g., “clean commercial lighting,” “high-conversion ecommerce product shot,” “minimalist SaaS landing page hero image”).
    • Similar transformations apply across campaigns (e.g., same brand colors, same framing, same negative space for copy).

    Save these patterns as your personal “house style” in Magic Hour and reuse them when you:

    • Swap in new product shots
    • Refresh campaign visuals
    • Localize creatives for different markets or platforms
  5. Extend into animation or video when needed
    Edited stills can become motion assets with a few extra steps:


Practical Use Cases for Creators, Marketers, and Builders

This template is designed for people shipping real projects on tight timelines:

  • Founders & startup teams

    • Rapidly generate consistent landing page images and hero sections
    • Clean up investor decks and pitch visuals
    • Produce press-kit-ready founder photos combining this with AI Selfie Generator
  • Performance marketers & growth teams

    • Build dozens of ad variants from a single shoot
    • Localize imagery for different regions without re-shooting
    • Test different backgrounds, compositions, and emotions while preserving the same product or face
  • Content creators & social managers

    • Reframe the same photo for different platforms (Stories, Reels, LinkedIn, thumbnails)
    • Generate on-brand YouTube/TikTok covers with the Thumbnail Maker
    • Repurpose a single shoot for weeks of content with small but meaningful edits
  • Designers & technical creatives


Tips for High-Quality Edits

Based on common patterns from professional workflows and studies of visual performance in ads and product imagery:

  • Protect identity and key structure

    • For faces, keep pose, expression, and general proportions stable; let the AI change lighting, clarity, and minor details.
    • For products, preserve shape, logo legibility, and primary colors. Treat everything else (background, props, reflections) as flexible.
  • Use constrained, descriptive language

    • Instead of: “Make this cooler”
    • Try: “Convert this into a clean ecommerce product shot on a white background with soft studio lighting and no extra objects.”
  • Think about the final channel early

    • For social: ensure enough negative space for text overlays and platform crops.
    • For ads: design with performance principles (clarity of subject, minimal clutter, strong contrast).
    • For product pages: emphasize detail and true-to-life color; pair with Photo Colorizer or Image Upscaler for maximum fidelity.
  • Chain small edits instead of one huge change

    • Often better: remove clutter → adjust background → polish face/product → final upscale
    • This gives you more control and makes it easier to rollback or compare variants.

Advanced Workflows You Can Build From This Template

Because this template sits on top of the AI Image Editor, you can combine it with other Magic Hour tools to create “mini-pipelines”:


Related Magic Hour Tools Worth Exploring

If this template fits your workflow, you may also find these helpful:


Use this AI Image Editor template as your “base layer” for any visual project: start here to clean, clarify, and structure your image, then branch into specialized tools for animation, faces, branding, or performance creatives.

More Like This

Insufficient credits