Step-by-Step Guide: How to Access and Experiment with Sora 2

Sora 2 represents a new generation of AI video creation. It allows anyone to turn written descriptions into vivid moving images with realistic motion, depth, and storytelling power. Whether you’re a filmmaker testing a concept, a marketer creating visual ads, or a designer exploring visual storytelling, Sora 2 helps you go from imagination to moving visuals in minutes.
This guide will walk you through everything from gaining access to Sora 2, writing your first prompt, refining results, managing exports, and improving consistency across projects. Each section includes actionable advice to help you work smarter, not harder.
1. What Sora 2 Is and Why It Matters
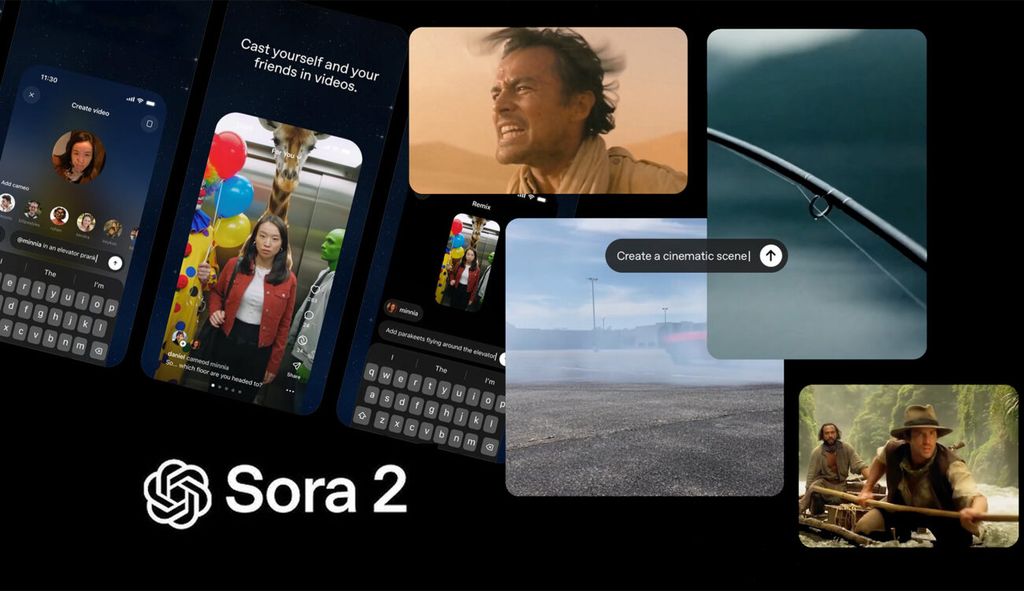
Sora 2 is OpenAI’s text-to-video system, built to understand not only objects and people but also how they move and interact in space. It combines motion physics, environmental simulation, and cinematic rendering to produce clips that feel both natural and visually rich.
Unlike traditional video editing tools, you don’t need cameras, actors, or locations. You only need an idea and a well-written prompt. Sora 2 reads that prompt and translates it into a short scene that looks like a professionally filmed shot.
Creators use Sora 2 for:
- Storyboarding and previsualization
- Product or brand concept videos
- Motion design exploration
- Educational and documentary-style visuals
- Artistic experimentation
If you can describe it, you can visualize it.
2. What You Need Before You Start
Sora 2 works entirely online, so you don’t need heavy hardware. However, preparing your creative and technical setup makes the process smoother.
System Setup
- A desktop or laptop with at least 8 GB RAM
- A modern browser (Chrome, Edge, or Safari)
- Stable, high-speed internet connection
- Optional: a graphics tablet for concept sketches or note6
Account Preparation
- Create or log in to your OpenAI account
- Verify your email and update your profile details
- If you’re using a team or enterprise plan, confirm permissions to access beta tools
Creative Preparation
- Outline your video concept (scene, character, action)
- Gather optional visual references for tone or color
- Plan your clip length (Sora 2 performs best between 5-15 seconds)
Having a focused concept helps you craft clearer prompts and get usable results faster.
3. Accessing Sora 2
Currently, Sora 2 is available to select users and organizations through OpenAI’s main dashboard. Access may gradually expand over time.
Step 1: Log in to Your OpenAI Account
Go to openai.com and log in. If you’re new, sign up using a Google or email account. Once logged in, check the dashboard for available tools.
Step 2: Locate the Sora 2 Interface
Inside your account, open the “Video” or “Experimental Tools” section. If Sora 2 is available, you’ll see a “Create Video” or “Launch Sora 2” button.
Step 3: Join Beta Access (if needed)
If Sora 2 is under beta testing, you may see an application form or early-access banner. Complete it and wait for confirmation. Once approved, the Sora interface will appear in your dashboard.
Step 4: Open the Creation Workspace
After activation, click “Create Video.” This will open a text box where you’ll enter your prompt. This workspace is your creative studio - the heart of Sora 2.
4. Navigating the Interface
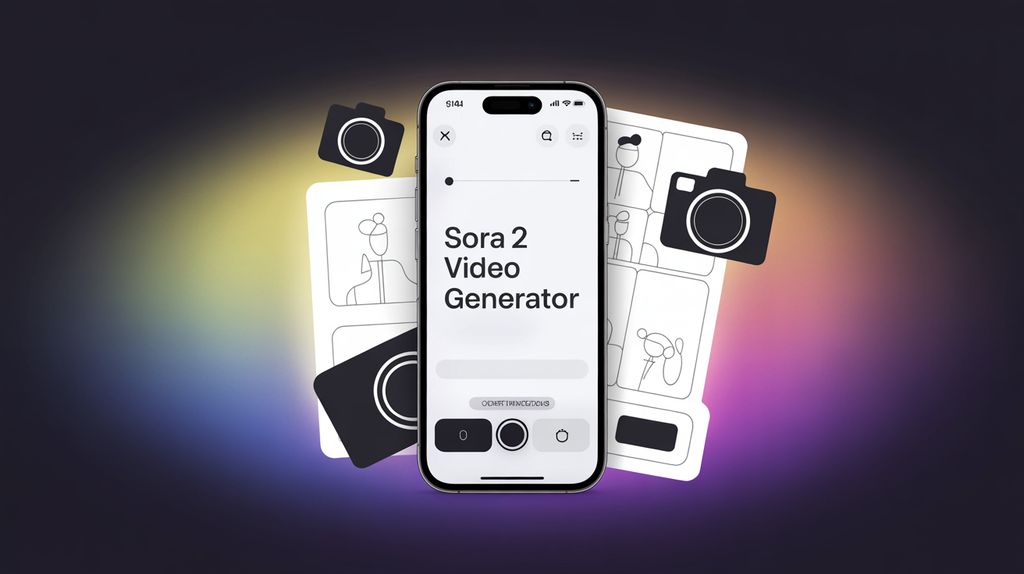
The Sora interface is minimal and intuitive. You’ll see a few key areas:
- Prompt Input Box - where you type or paste your video description.
- Preview Panel - displays generated clips for review.
- Generation Settings - control resolution, duration, and aspect ratio.
- History Panel - keeps a list of previous generations.
- Export Options - allow you to download or share your clip.
Take a moment to familiarize yourself with the layout before creating your first video. It helps avoid mistakes later.
5. Writing Effective Prompts
Prompt writing is the most critical skill when working with Sora 2. A good prompt gives the model clear direction without overwhelming it.
Step 1: Start with the Core Scene
Describe who or what appears in the scene, where it takes place, and what happens.
A fox runs through a snowy forest at sunrise, snowflakes glinting in the golden light.
Step 2: Add Movement and Camera Perspective
Mention how the camera behaves or what angle you prefer.
The camera tracks the fox from behind, steady motion, shallow depth of field.
Step 3: Define Style and Lighting
Tell Sora what kind of aesthetic you want.
Cinematic tone, natural lighting, film-grade color palette.
Step 4: Keep Instructions Balanced
Avoid long, confusing sentences. Use short, specific phrases separated by commas or line breaks.
Example: Wide shot, early morning mist, calm pacing, detailed forest textures.
Step 5: Test Variations
Run several small changes to the same prompt to see how wording affects the result. Each generation helps you understand how Sora interprets context.
6. Step-by-Step: Creating Your First Sora 2 Video
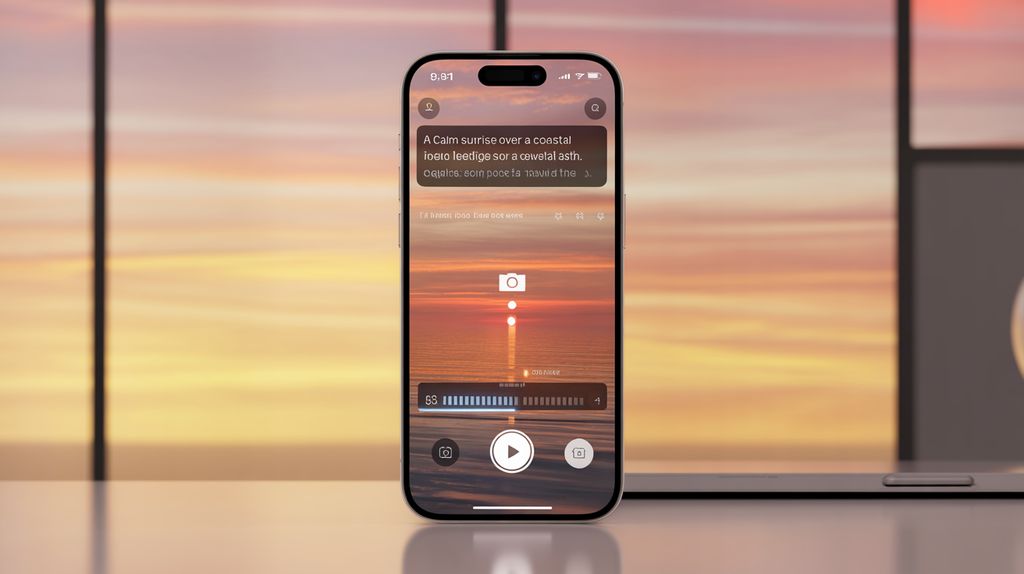
Step 1: Open the Creation Window
Click “Create Video” and wait for the workspace to load.
Step 2: Type or Paste Your Prompt
Insert your written description. Keep it under 400 characters for faster generation.
Step 3: Set Duration and Aspect Ratio
Default duration is 10 seconds. Adjust if needed:
- 16:9 for horizontal videos
- 9:16 for vertical content (shorts or reels)
- 1:1 for square social media posts
Step 4: Click Generate
Press “Generate Video.” Sora will process your prompt and display an estimated completion time.
Step 5: Review the Output
Once rendered, your clip will appear in the preview window. Watch it several times to evaluate composition, realism, and pacing.
Step 6: Refine Your Prompt
Make small adjustments if needed - lighting, timing, or motion cues - and regenerate. Iteration is part of the process.
7. Enhancing Realism and Motion
To get the most cinematic results, focus on visual cues and sensory detail.
Add Environmental Movement
Include elements like wind, water, or smoke to make the world feel alive.
“Gentle wind moves through tall grass as clouds drift slowly overhead.”
Use Time-of-Day References
Sora understands natural lighting transitions.
“Golden hour sunlight with long shadows,” or “Nighttime scene under blue moonlight.”
Suggest Cinematic Techniques
Add film language to your prompts for realistic motion.
“Tracking shot,” “handheld movement,” “slow pan across horizon.”
Combine Stillness and Motion
Balance dynamic and static areas for better composition.
“The camera slowly circles a still statue surrounded by flowing petals.”
8. Troubleshooting Common Issues
Even with strong prompts, results may vary. Here’s how to fix frequent problems:
- Objects blending or warping - simplify scene details, focus on one action at a time.
- Lighting inconsistencies - clearly define time of day and light source.
- Overactive camera motion - specify “steady” or “slow camera tracking.”
- Flat composition - include depth cues like “foreground blur” or “soft perspective layers.”
- Unnatural character movement - avoid over-describing emotions or gestures; let Sora infer motion naturally.
9. Adding Audio and Editing
Sora 2 currently focuses on video generation, but you can enhance it further with sound.
Add Audio Manually
After exporting, import your clip into editing software like CapCut, Premiere Pro, or DaVinci Resolve. Add:
- Background music
- Ambient sound effects (wind, footsteps, city noise)
- Voiceovers or narration
Sync Motion and Sound
Match the beat or rhythm to motion changes in your clip. Even subtle audio cues can elevate realism.
Trim and Adjust Color
Apply minor color grading to unify tone across multiple Sora-generated scenes.
10. Exporting Your Video
When satisfied with your result, export your clip.
Step 1: Click Export
Select format (MP4 or MOV). MP4 is lighter and works across all platforms.
Step 2: Choose Quality
Options usually include 720p, 1080p, and 4K. Higher resolutions take longer but look more cinematic.
Step 3: Set Aspect Ratio
Match your intended platform:
Step 4: Download or Share
You can save locally or publish directly through OpenAI’s connected integrations.
11. Managing Projects and Versions
Sora 2 saves your generation history, making it easy to revisit previous prompts.
- Rename each project for clarity
- Keep prompt logs in a separate document
- Use version numbers (v1, v2, v3) for iterations
- Archive final outputs for reuse or compilation
Consistency in organization helps when building long-form projects or collaborative series.
12. Building Multi-Scene Projects
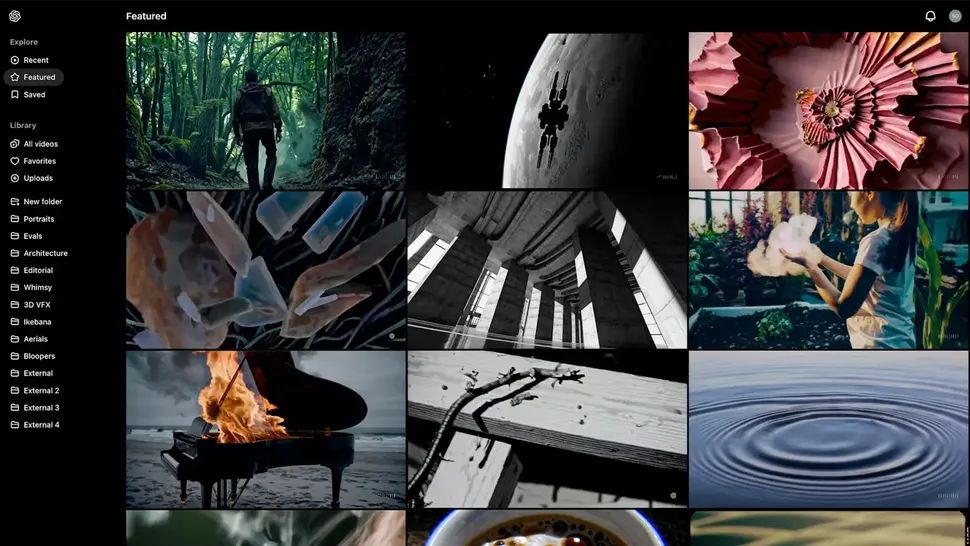
If you want to create sequences or short stories, you can link multiple clips together.
Keep Prompt Consistency
Repeat environmental and lighting keywords between scenes.
“Soft morning light,” “foggy forest,” “handheld tracking” - these cues unify tone.
Use Logical Transitions
Plan cut points at moments of stillness or motion pauses. It makes transitions appear seamless.
Sync Sound Design Across Scenes
Use background tracks that share tempo, texture, or emotion to create flow.
13. Creative Experimentation
Once you’re comfortable, start exploring new directions.
- Try stylized looks (animated, oil-paint, noir, surreal).
- Generate alternate versions of the same scene with different moods.
- Use text prompts to simulate camera lenses (wide, macro, telephoto).
- Experiment with storytelling by chaining prompts as chapters.
Each experiment teaches you more about how Sora interprets creative language.
14. Maintenance and Performance Tips
Over time, managing your workspace helps Sora run smoothly.
- Clear old preview caches every few sessions
- Keep file names simple
- Export important clips before logging out
- Restart your browser if the interface slows down
- Watch for update notifications - new rendering improvements are frequent
15. Ethical and Creative Best Practices
As with any AI tool, responsible use is key.
- Avoid generating real people or misleading content
- Credit AI-generated visuals clearly if used in public projects
- Use Sora for conceptual or artistic exploration, not impersonation
- Always review outputs for accuracy before sharing
Treat Sora as a creative assistant, not a replacement for real production ethics.
Final Thoughts
Sora 2 isn’t just a video generator - it’s a storytelling companion that transforms ideas into motion. With practice, you’ll learn to shape light, space, and texture using nothing but words. The secret lies in iteration and observation: refine one detail at a time, build a rhythm, and learn how each phrase shapes visual language.
Mastering Sora 2 is a journey. The more intentional your prompts, the more expressive your results become. Whether you’re building concept art, cinematic experiments, or full storyboards, Sora 2 opens the door to a faster, more fluid creative process.



.jpg)
