Kling 2.1 AI VFX Guide: Create Stunning Visual Effects Without a Studio

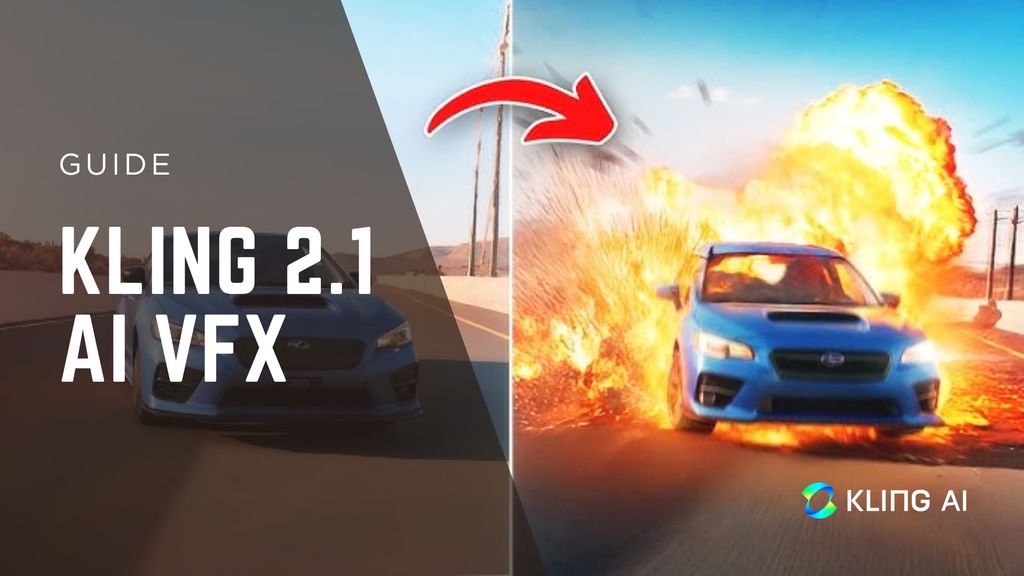
Kling 2.1 from Kuaishou is turning heads in the AI video space. Whether you're a creator who wants epic VFX without a studio or a marketer looking to jazz up ads, Kling 2.1 delivers next-level cinematic visuals - all without breaking the bank.
In this guide, I will break it all down: what Kling 2.1 is, how it works, standout features, VFX use cases, and exact steps to make jaw-dropping video clips.
What Is Kling 2.1?
Kling 2.1 is the next-gen AI video model built on cutting-edge tech:
- 3D spatio-temporal attention for realistic physics and motion
- Diffusion transformer architecture that balances creativity with realism
- Text-to-video and image-to-video support, including the Master version for full cinematic capability
It generates up to 1080p videos - sometimes stretched to 4K - and supports longer runtimes that rival traditional production tools.
Key Features of Kling 2.1
- Image + Text Input: IV2 supports both, making it easy to animate AI-generated artwork or real photos.
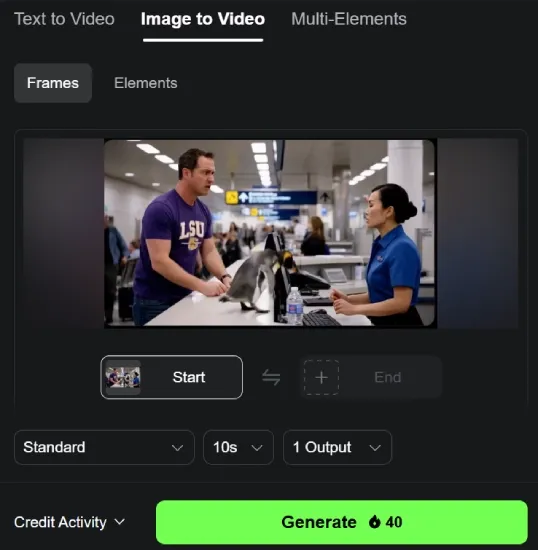
- Realistic Motion & Physics: Thanks to 3D attention, expect smooth animations with believable movement.
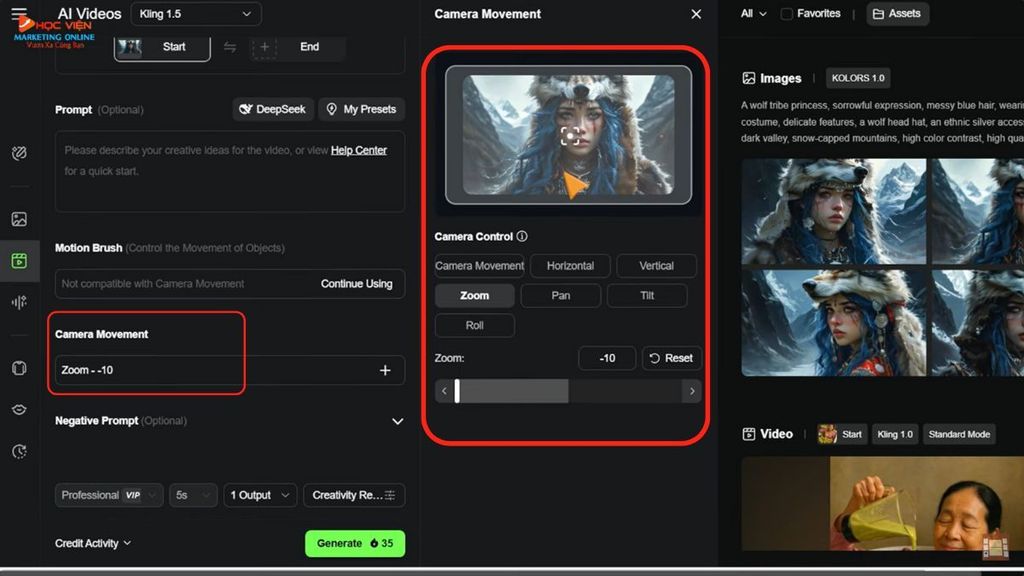
- Advanced Camera Control: Use prompts like “dolly zoom” or “pan left” to steer the camera - no editing suite needed.
- Master Mode: Unlocks cinematic 1080p quality with enhanced consistency and minimal artifacts.
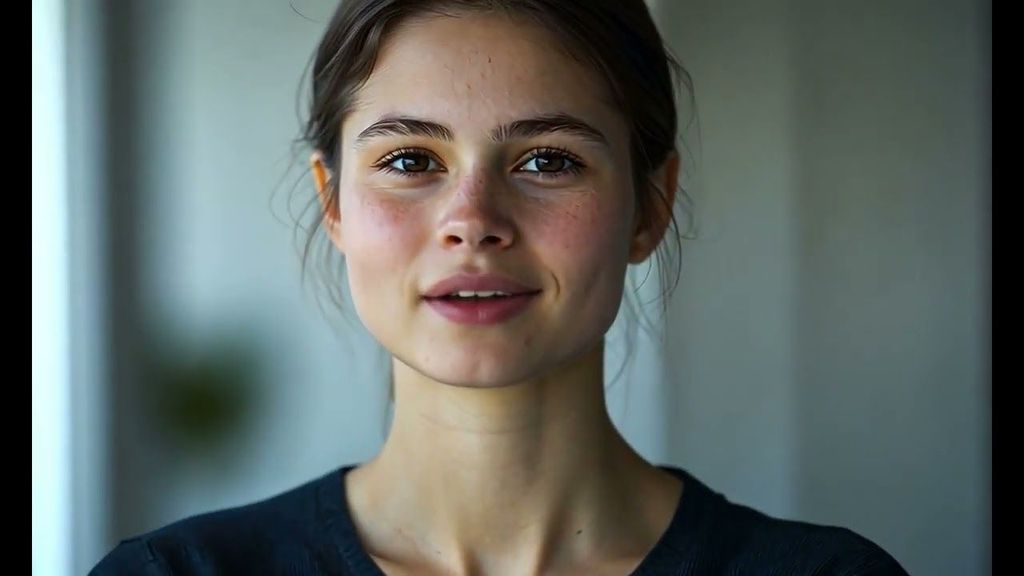
- AI Lip Sync: Characters can speak with synced lip motion - great for virtual hosts or talk-style scenes.
- Fast Cloud Rendering: Get up to 2-minute video in about a minute, no GPU needed.
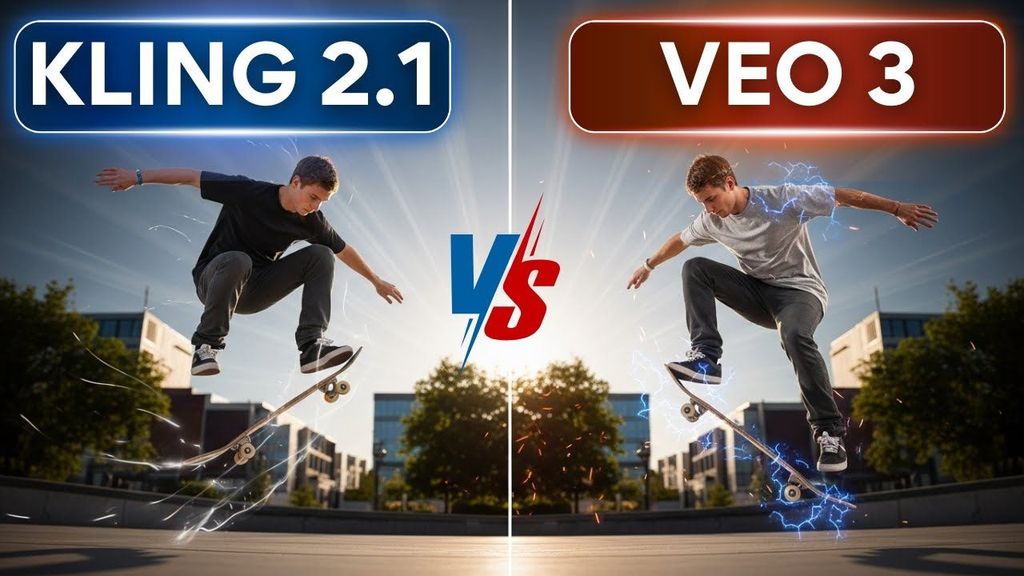
How Kling 2.1 Compares with Veo 3
A recent breakdown puts Kling 2.1 ahead of Veo 3 in:
- Motion consistency and dynamics
- Rendering speed (up to 7× faster)
- Affordability - it’s around 65% cheaper
So if you're after cinematic VFX on a budget, Kling 2.1 is a smart pick.
How to Use Kling 2.1: Step-by-Step
Step 1: Sign up for Kling AI (email signup unlocks free credits)

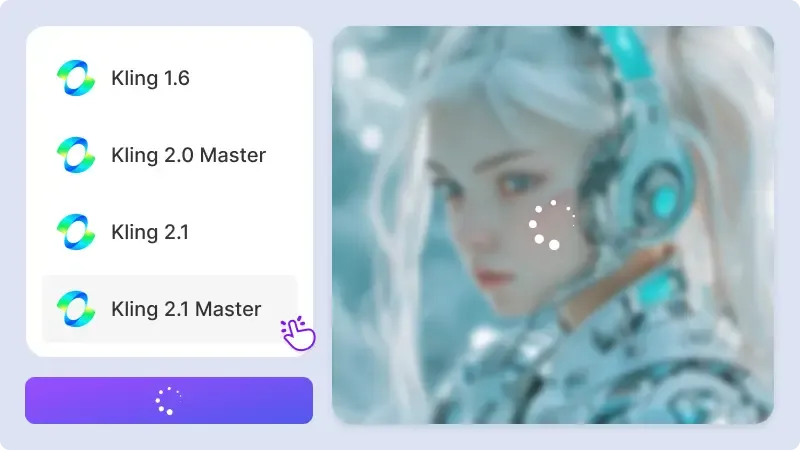
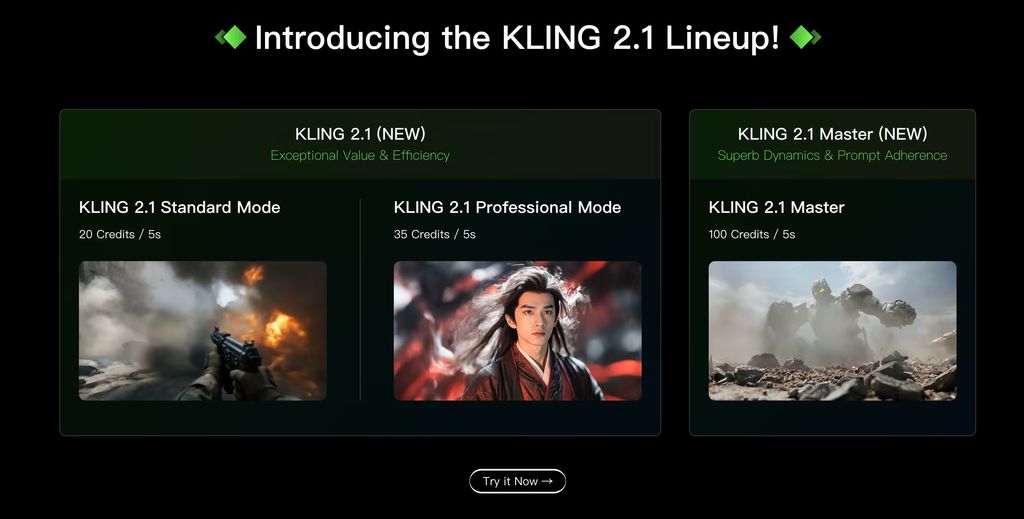
Step 2: Choose a mode
- Standard (720p) - quick and budget-friendly
- Professional (1080p) - sharper visuals
- Master - cinematic output
.jpg)
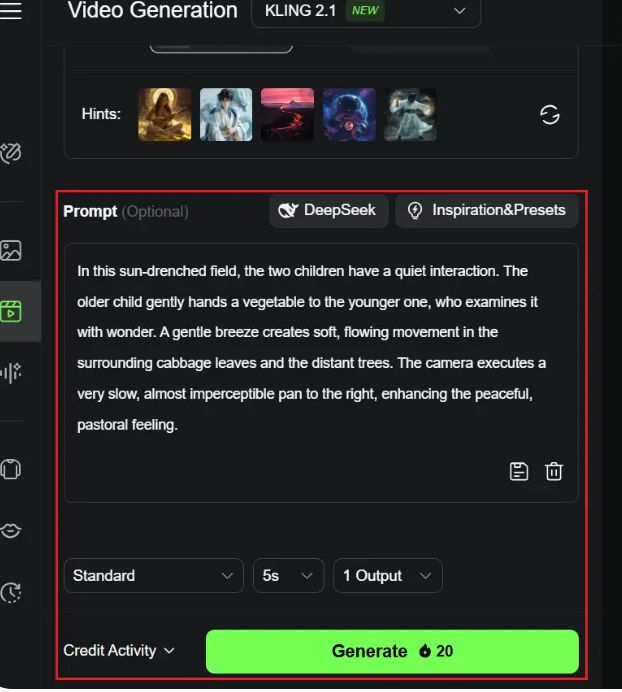
Step 3: Upload an image or write text
- Use a high-res image or clear prompt
- Specify camera moves in prompt (“pan right,” “crane up”)
- Add physics cues (“slow motion,” “spark effects”)
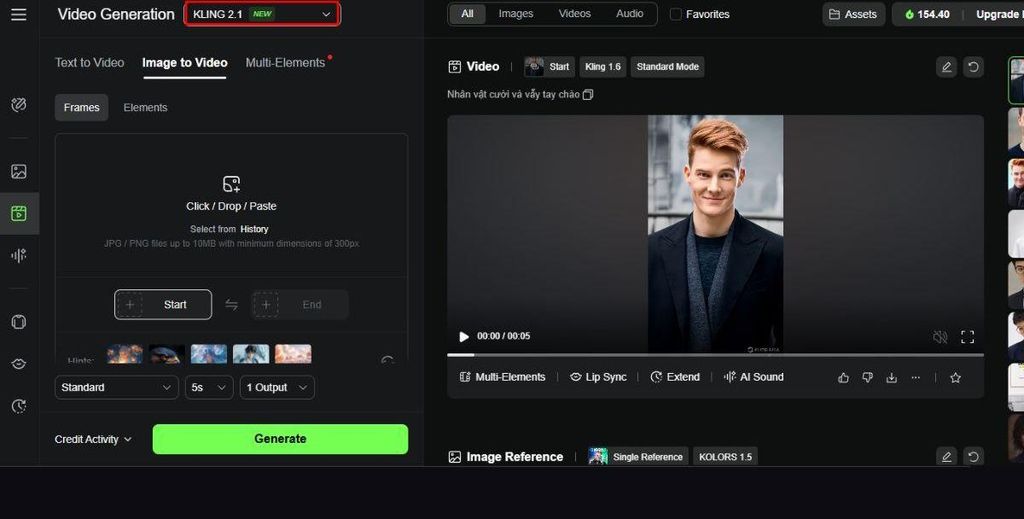
Step 4: Adjust settings
Set resolution, FPS (up to 30), video length (10-30 sec)
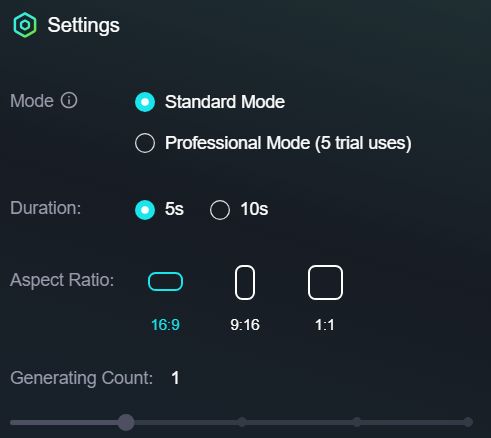
Step 4: Generate
Cloud renders take ~1-3 minutes
Step 5: Review and tweak
Save or iterate if you want changes
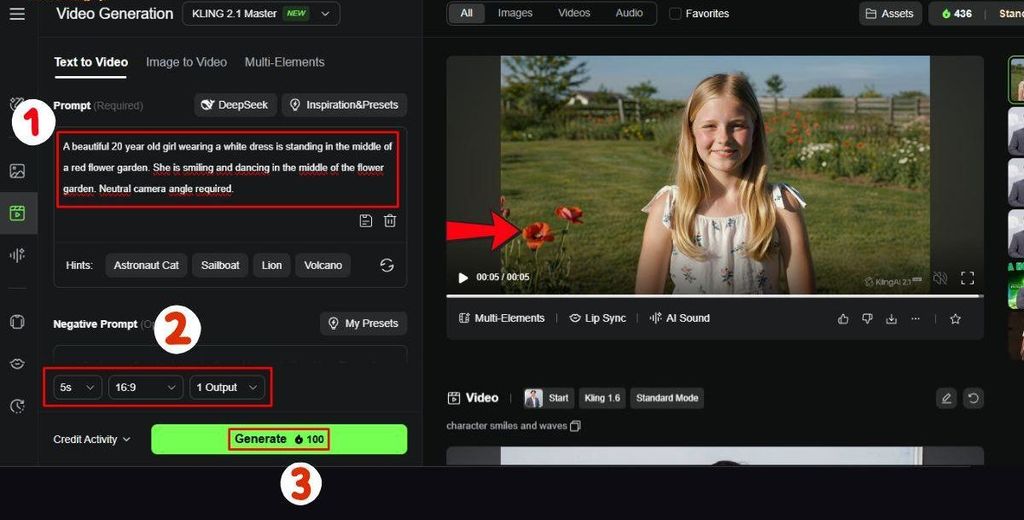
Pro Tips for Better VFX
- Be camera-savvy in prompts: Include moves and angles
- Add physics and timing words: “Slowly,” “dramatically,” “explosively”
- Use Master mode for key scenes: When you need cinematic quality
- Mix stills + text for montage effects: Combine visual style and direction
.jpg)
Final Thoughts
Kling 2.1 raises the bar for AI-powered VFX. It’s fast, affordable, and cinematic - no console or studio needed. Whether you're creating influencer clips or story-driven short films, it brings studio-level visuals into anyone’s hands.
Give Kling 2.1 a try if you want to push your content to the next level - without blowing your budget.

.jpg)
