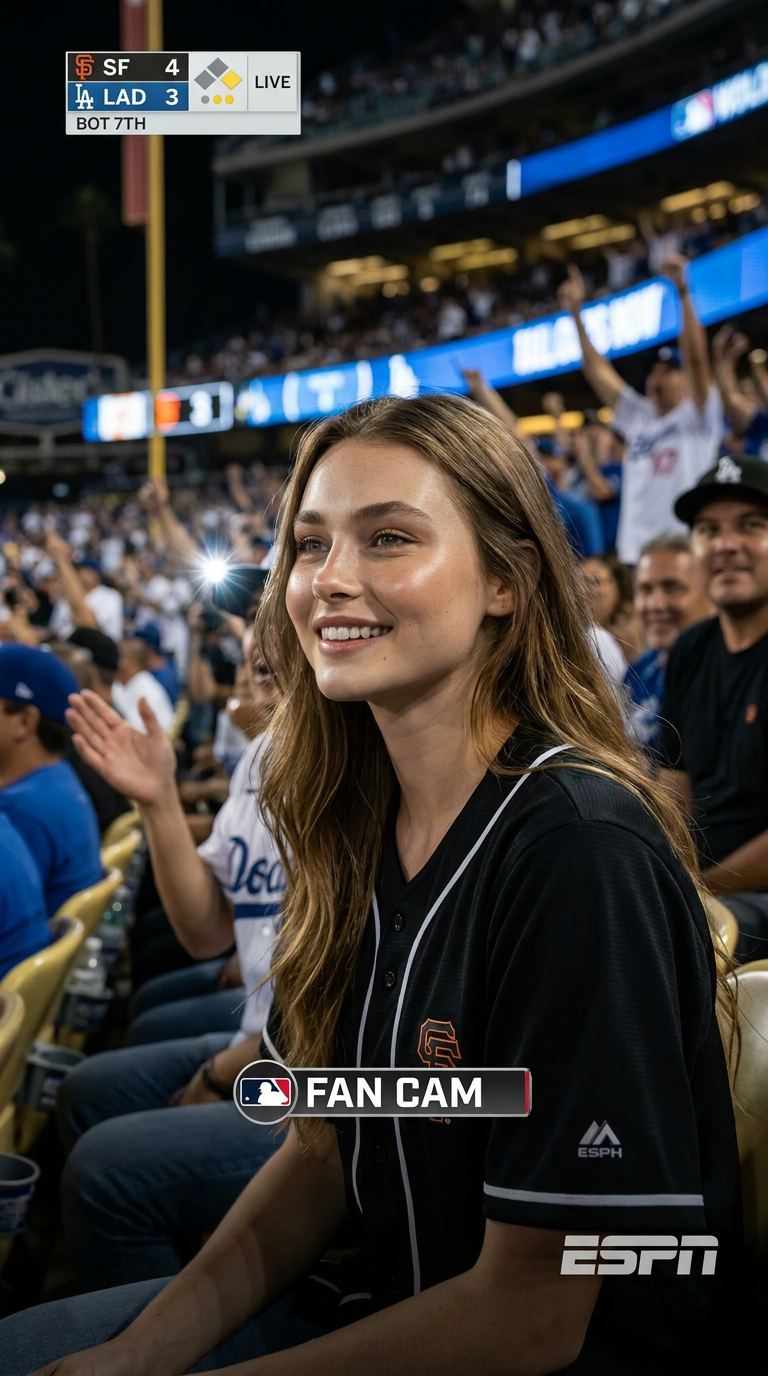
Game Face

Game Face

ai-image-editor

1 clip
0 uses

Any aspect ratio

Prompt

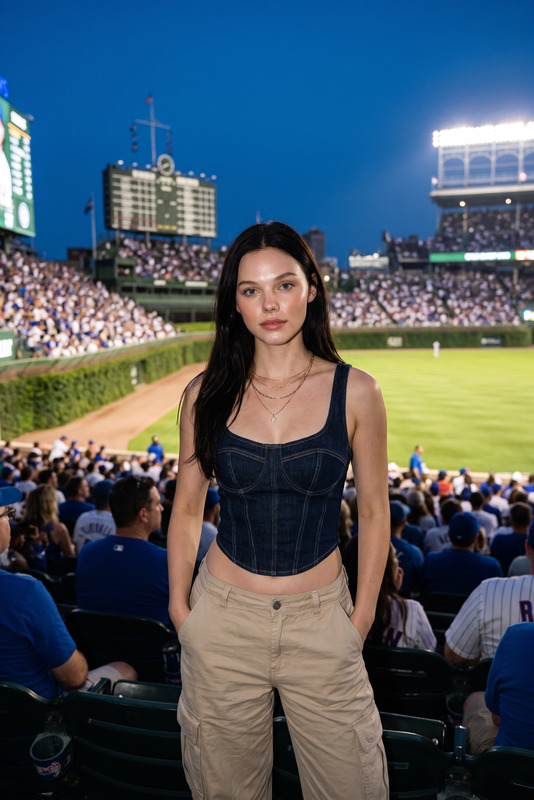
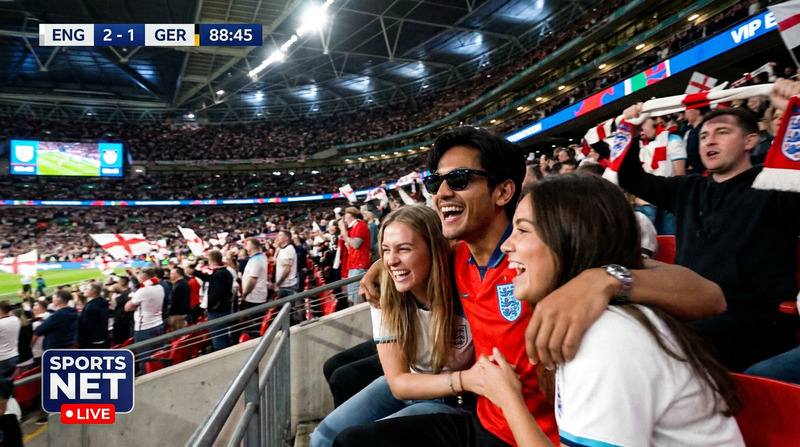
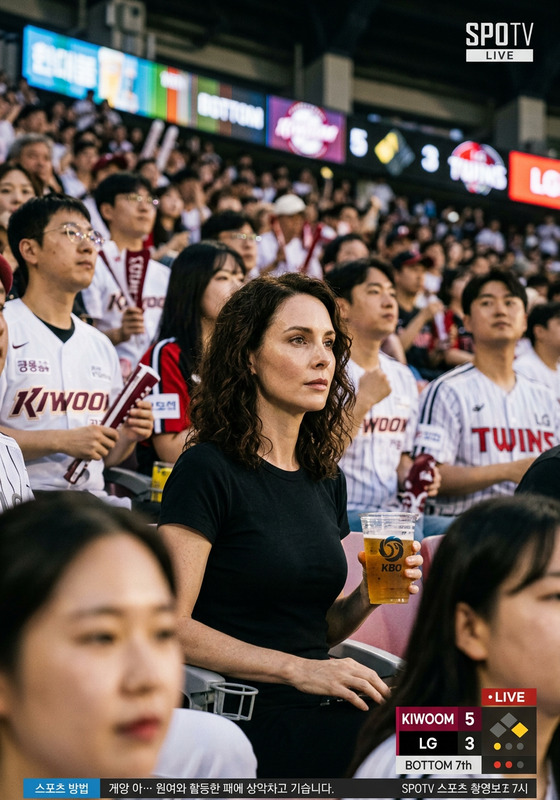
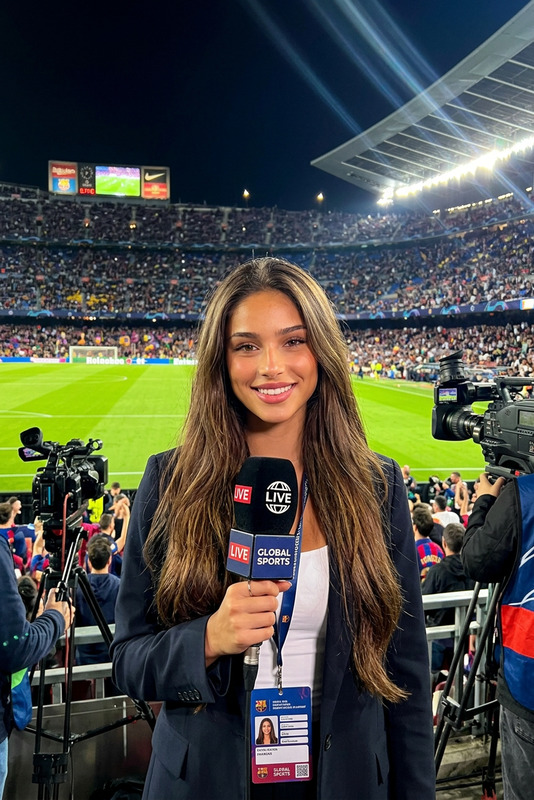
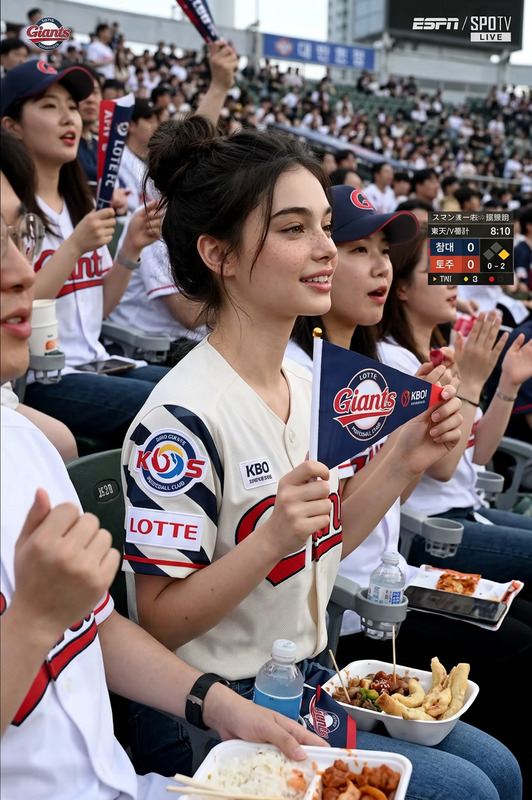
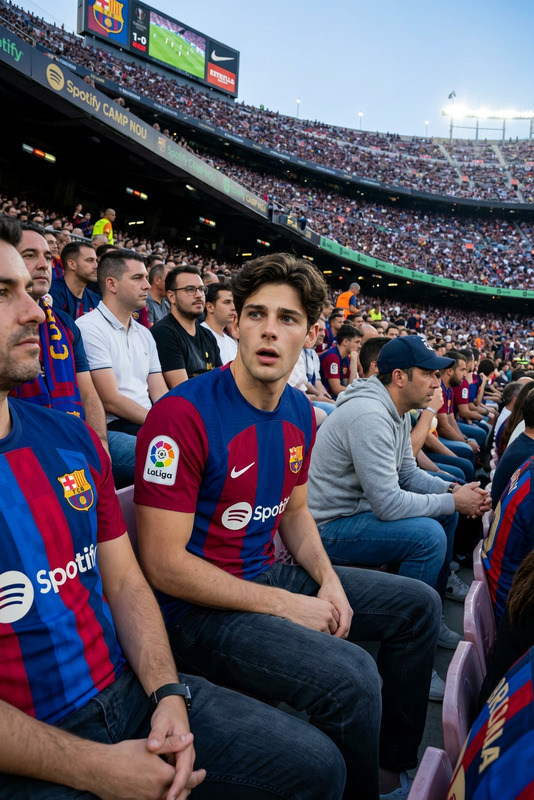
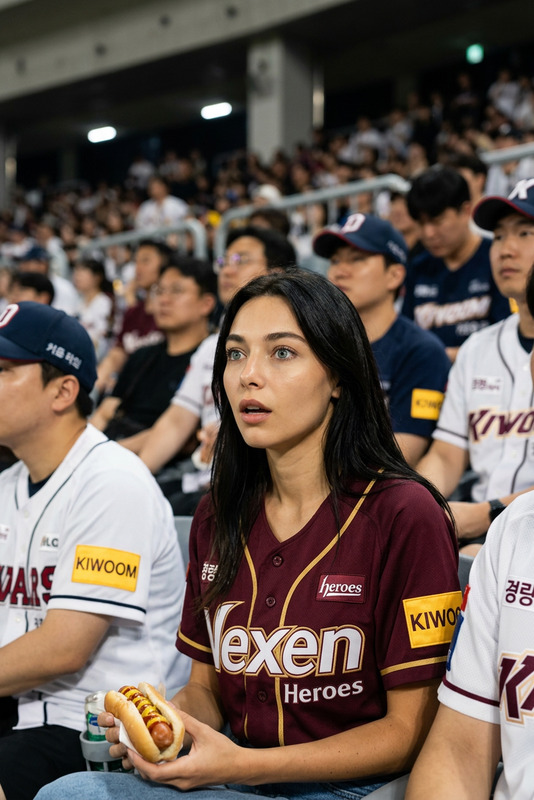
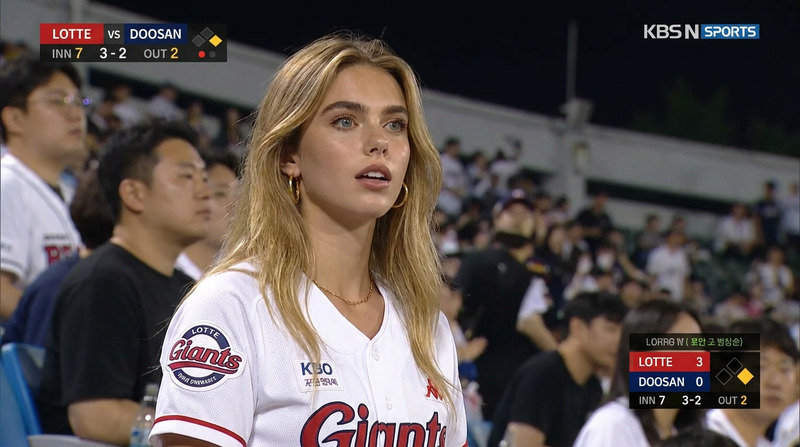
Transform the uploaded portrait into a cinematic sports broadcast moment inside a crowded baseball stadium. The person is sitting in the audience seats, wearing a stylish black baseball jersey, captured by a live sports TV camera. Natural candid expression, realistic skin texture, dramatic stadium lighting, shallow depth of field, blurred cheering crowd in the background, ESPN-style live broadcast overlay graphics, cinematic telephoto lens look, ultra realistic, editorial photography, high detail, authentic live game atmosphere, premium sports broadcast aesthetic. live sports broadcast, caught on stadium cam, viral game face moment, spectator close-up, televised baseball game, candid reaction shot

Tags

visual effects

AI Image Editor Template: Smart Object Removal & Background Cleanup

Use this template to quickly remove unwanted objects, text, people, or distractions from your images using the AI Image Editor. It’s designed for creators and teams who need clean, production-ready visuals without manual Photoshop work.


What This Template Is For

This template is optimized for:

  • Removing logos, watermarks you own, or brand elements you no longer use
  • Cleaning up cluttered backgrounds (bystanders, power lines, trash, signs, etc.)
  • Erasing text from product shots, mockups, or social screenshots
  • Fixing photo shoots (unwanted props, reflections, gear in frame)
  • Preparing images for reuse in campaigns, landing pages, pitch decks, or app stores

If you need a dedicated object-removal tool outside this template, you can also use the standalone AI Remover or the Remove Object From Photo tool.


How to Use (or Remix) This Template in Magic Hour

You can either use this template as-is or build your own variant from scratch. The core workflow is the same:

  1. Open AI Image Editor
    Go to the AI Image Editor. You can start from a blank session or open an existing project.

  2. Upload Your Image
    Add your product shot, portrait, social media screenshot, or design mockup. High-resolution images work best; if your source is low-res, you can first enhance it with the AI Image Upscaler.

  3. Select the Area to Remove
    Use the brush/selection tools to highlight the object you want to erase: a person, logo, piece of text, background item, etc. Be reasonably precise around the edges for cleaner inpainting.

  4. Let AI Inpaint the Background
    The model analyzes surrounding pixels and fills in the removed area to match the original lighting, texture, and perspective. This is similar in concept to inpainting methods described in the image editing literature (e.g., “image inpainting” and “content-aware fill” approaches).

  5. Refine and Iterate

    • If you see artifacts or repeated patterns, simply select the area again and re-run the fill.
    • You can make multiple passes to remove several elements in one image.
    • For global improvements (color, clarity, sharpness), optionally run the final result through the Unblur Image or Photo Colorizer if you’re working with old or low-quality photos.
  6. Export and Reuse Everywhere
    Download the cleaned image for:

    • Landing pages and ad creatives
    • App store screenshots
    • Product catalogs and marketplaces
    • Social media, newsletters, and pitch decks

To remix this template inside Magic Hour, simply open it, swap in your own image, and repeat the same selection-and-remove steps. You can save your version as a custom template for your team’s recurring workflows.


Best Practices for High-Quality Object Removal

For professional-grade results:

  • Shoot or source good input images

    • Use clear, well-lit photos when possible.
    • If you only have compressed images or screenshots, upscale with the AI Image Upscaler first.
  • Avoid overly broad selections

    • Target the object plus a small margin, not half the frame.
    • Complex structures (fences, hair, detailed patterns) may require a couple of passes.
  • Match your usage context

    • For product photos, ensure the background stays consistent across your catalog.
    • For UGC or social content, prioritize natural lighting and believable texture over perfection.
  • Stay compliant

    • Only remove watermarks, logos, and copyrighted content you own or have rights to modify.
    • Follow platform guidelines for ads and sponsored content when editing images.

For reference on how similar AI workflows are used in production, see the broader ecosystem of AI-driven editing tools (e.g., AI inpainting, content-aware fill, and diffusion-based editing described in research like “High-Resolution Image Inpainting with Generative Models”).


Related Magic Hour Tools You Might Combine With This Template

Depending on your workflow, you can chain this template with other Magic Hour tools:


Advanced Use Cases for Creators, Marketers, and Builders

This template is built for practical teams, not just casual editing:

  • E‑commerce & marketplaces

    • Remove visual noise around products to match marketplace guidelines.
    • Clean user-submitted photos so they fit your brand layout.
  • SaaS & startup marketing

    • Edit UI mockups and dashboards (remove old text, metrics, or logos) while keeping the layout intact.
    • Prepare investor decks with polished visuals that don’t reveal sensitive data.
  • Content & social teams

    • Repurpose a single photo for multiple campaigns by removing or swapping props/backgrounds via AI Image Editor and AI Background Generator.
    • Build memes or social posts using AI Meme Generator after cleaning the base image.
  • Creative studios & agencies


How to Build Your Own Reusable “Cleanup” Template

If you’re a power user or running a team, you can effectively turn this into a reusable internal tool:

  1. Define your standard input types

    • Product packshots, UI mockups, portraits, user photos, etc.
    • Note which elements you typically remove (logos, text, clutter).
  2. Create a repeatable flow in Magic Hour

    • Start with the AI Image Editor template.
    • Document your steps (e.g., “remove labels → clean background → upscale → export”) for your team.
  3. Combine with complementary tools

  4. Standardize outputs

    • Keep aspect ratios and composition consistent so assets drop directly into your site, product, or ad platforms.

By remixing this template and integrating other Magic Hour tools, you can move from ad-hoc editing to a predictable, repeatable asset pipeline.


Use this AI Image Editor template whenever you need fast, clean, and believable object removal that can stand up in real campaigns, product interfaces, and client work.

More Like This

Insufficient credits