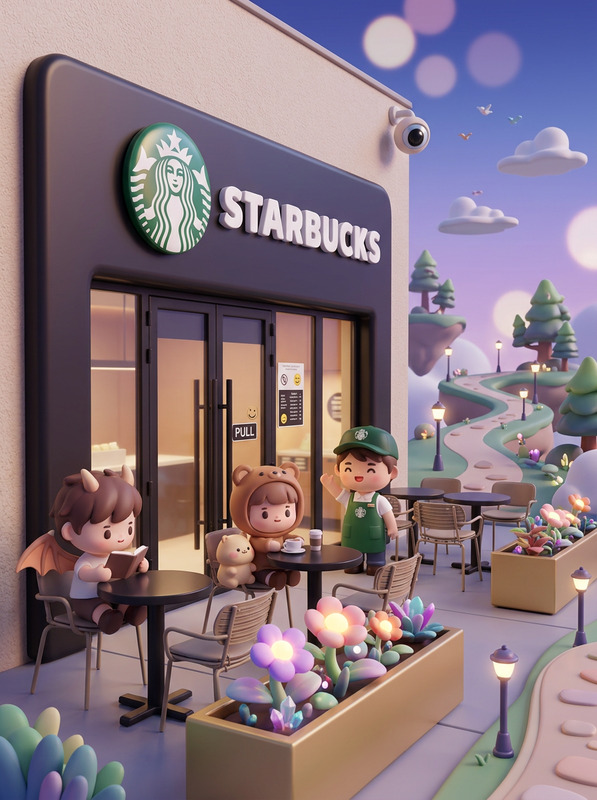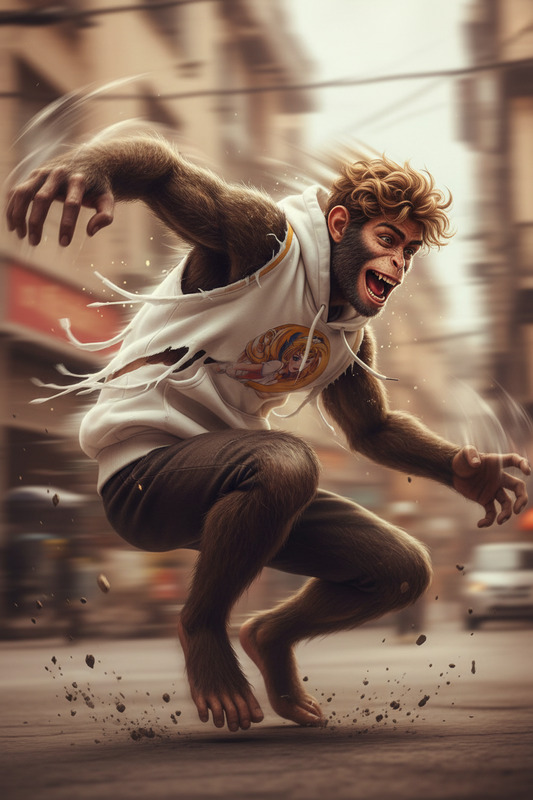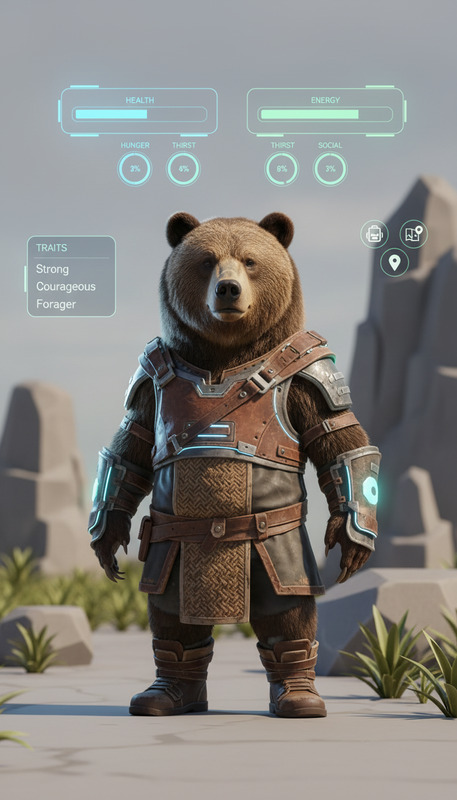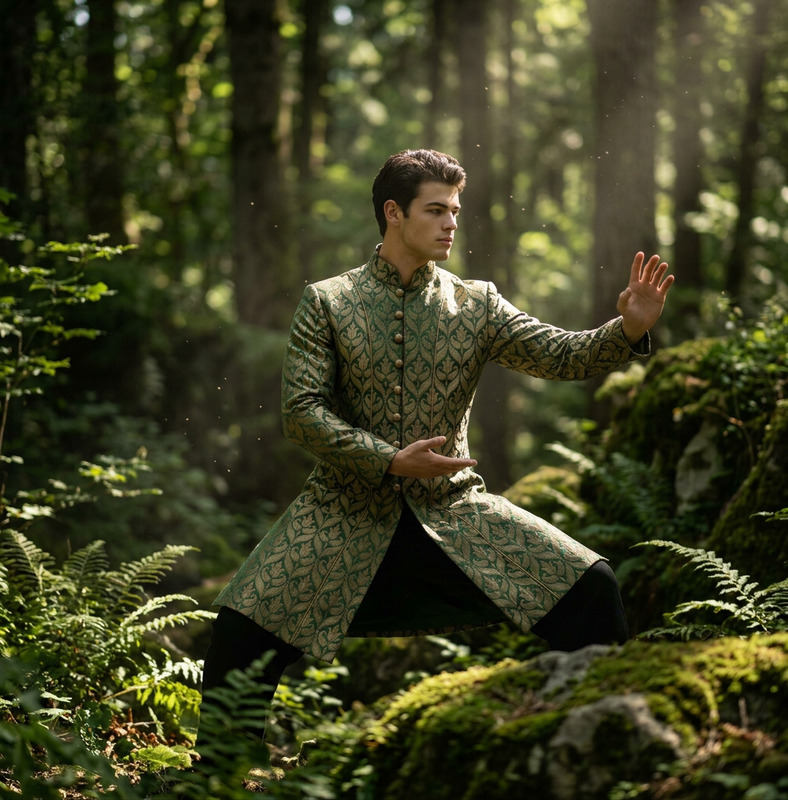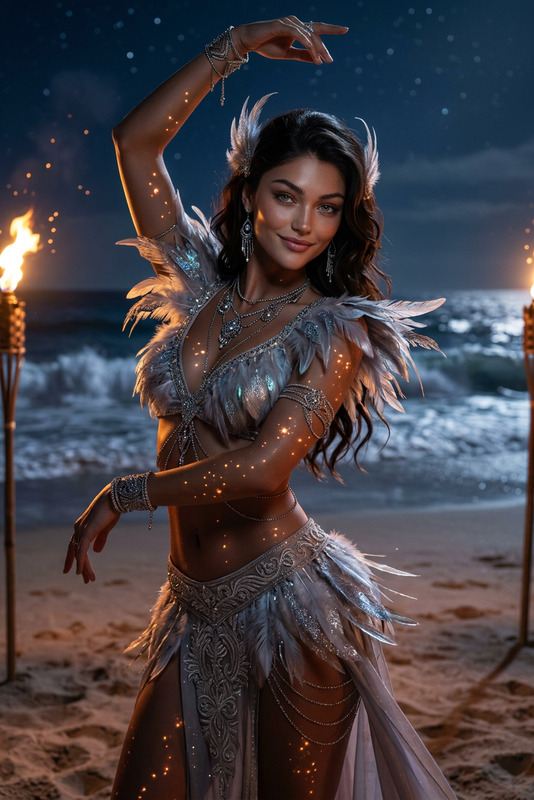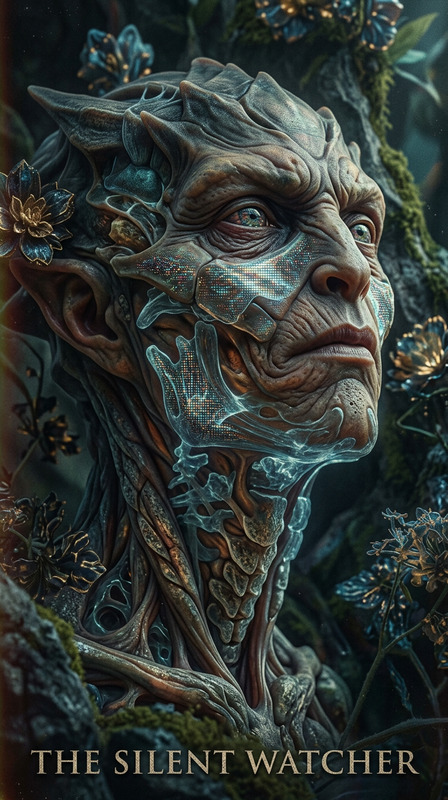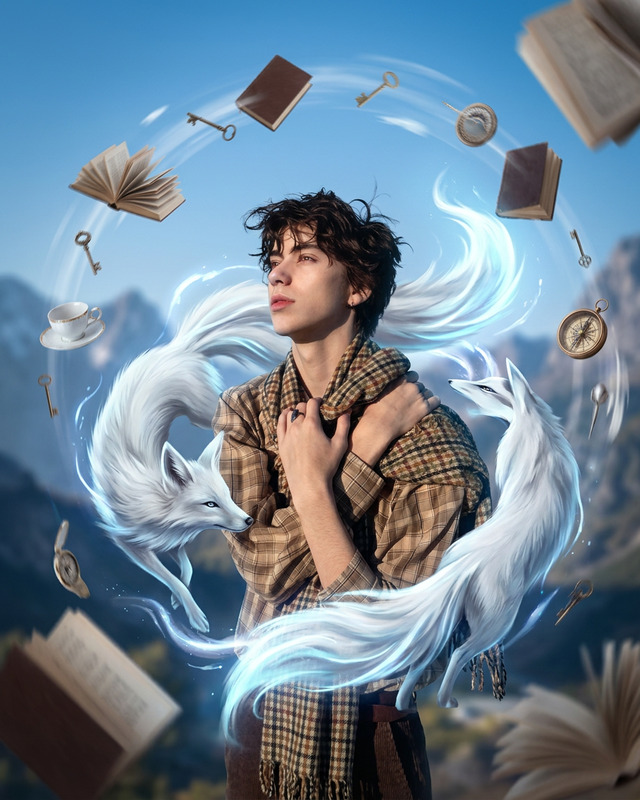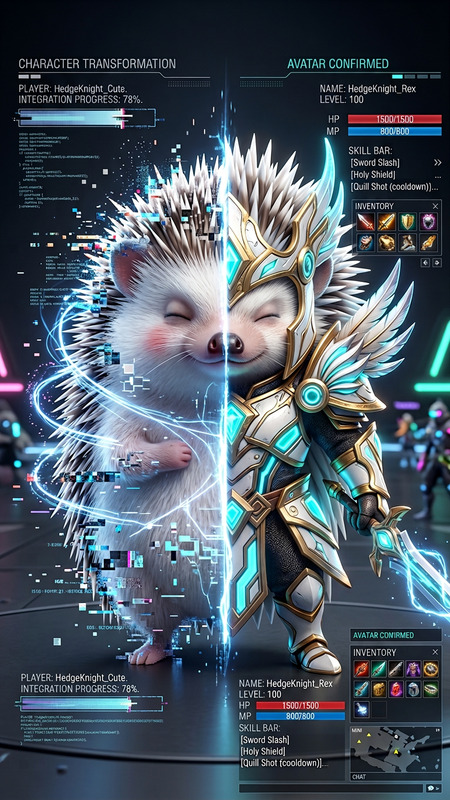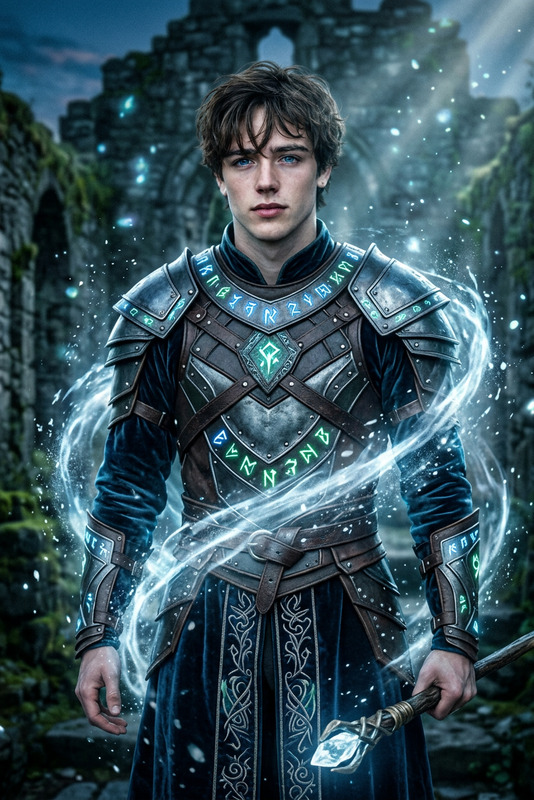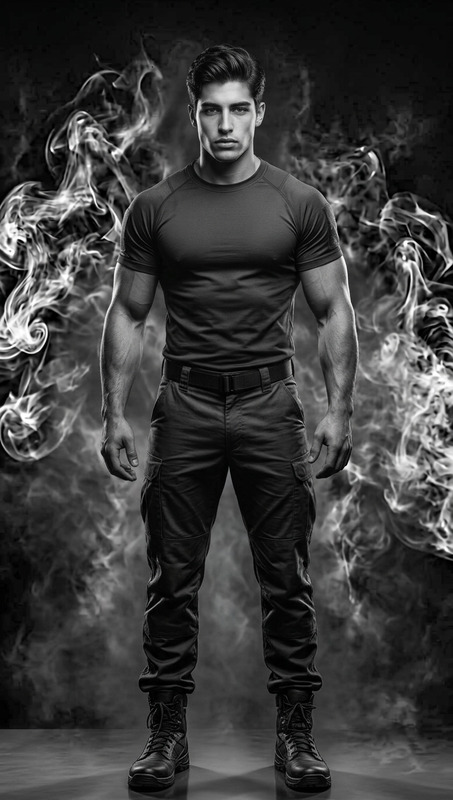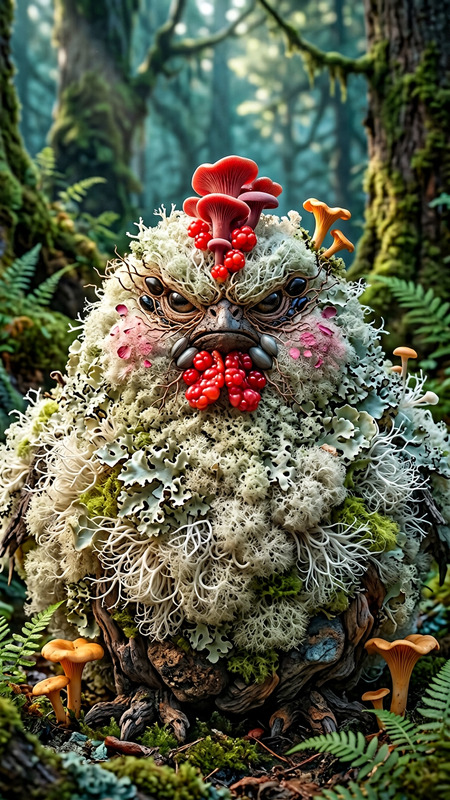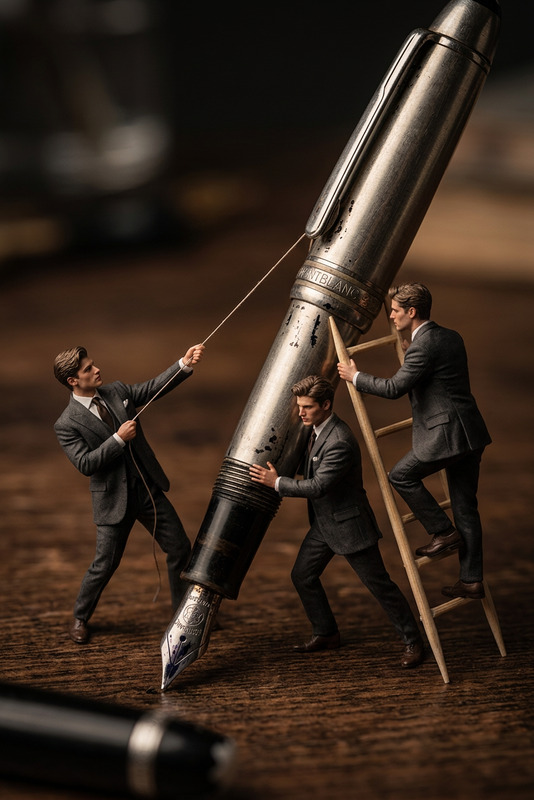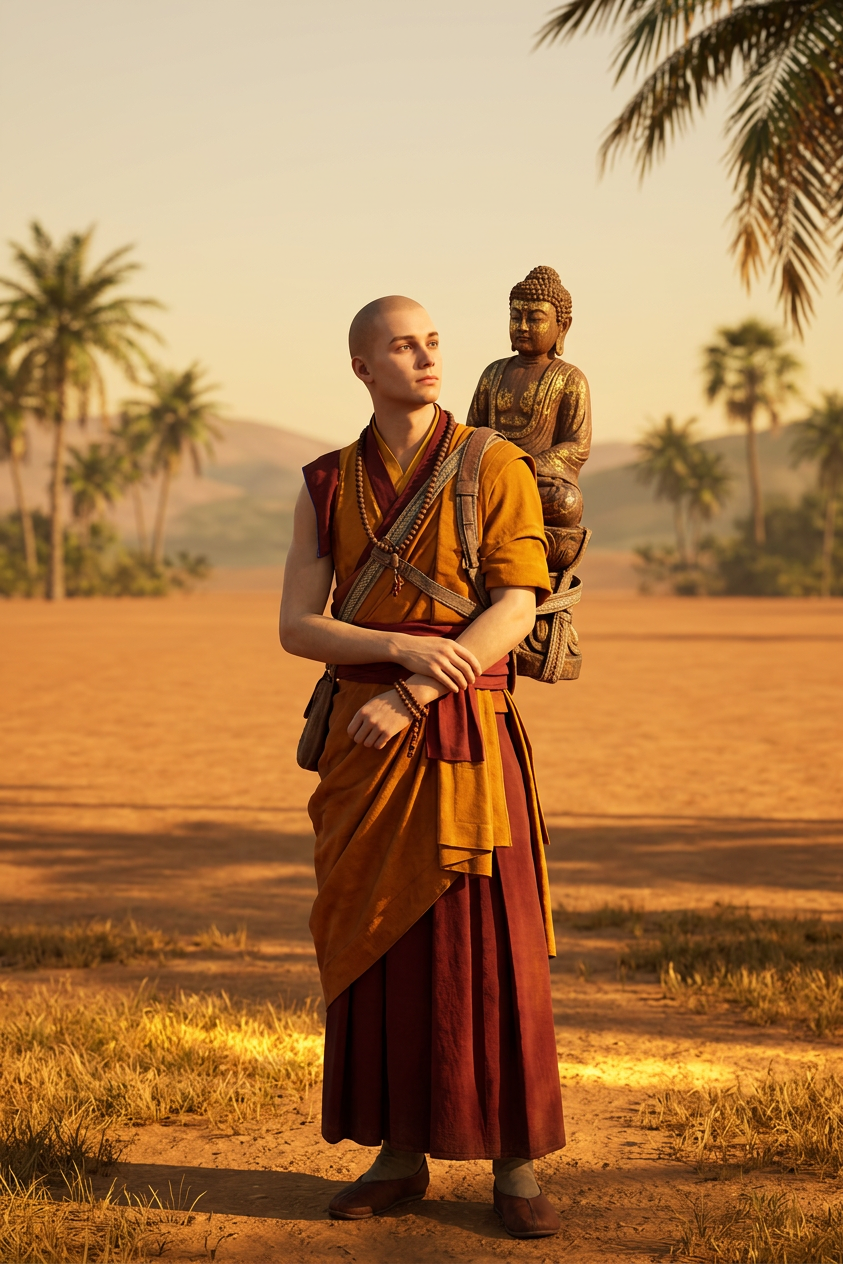
Monk (3D Game Scene)
ai-image-editor
Any aspect ratio
"Subject transformed into a highly detailed 3D game character of a {argument name=""subject"" default=""buddhist monk with a buddha statue strapped to his back""} walking forward using the same composition as @walk; set in a {argument name=""landscape"" default=""Indian landscape with palm trees in the background""} with flat, even terrain that does not rise toward the edges; realistic anatomy, detailed clothing and props, cinematic lighting, soft shadows, natural colors, and a clean, balanced environment; high-quality game render, sharp focus, immersive yet minimal background."
AI Image Editor Template: Turn Any Photo Into High-Impact Creative in Minutes
Use this AI Image Editor–based template to transform, clean up, and redesign photos directly in your browser. Whether you’re a marketer polishing ad creatives, a founder refreshing a landing page, or a creator iterating on visual ideas, this template gives you a fast, repeatable workflow you can remix and extend across Magic Hour.
What You Can Do With This Template
This template is built around the AI Image Editor and is ideal for:
Marketing & growth
- Quickly iterate on ad creatives and social visuals
- Localize visuals for different regions or audiences
- Test different backgrounds, styles, or compositions
Product & brand
- Clean up product photography for e‑commerce and landing pages
- Align images with your brand’s color, tone, and style
- Create consistent hero images, thumbnails, and banners
Content & storytelling
- Turn rough sketches or reference photos into polished assets
- Change scenes, environments, or moods while keeping the subject
- Extend or reframe images for newsletters, decks, and blog headers
You can use this template as a starting point, then remix it into your own custom workflows using other Magic Hour tools.
How to Remix This Template in Magic Hour
You can create your own version of this template in a few minutes:
Open AI Image Editor
Go to the AI Image Editor. Upload the image you want to modify: product photo, headshot, illustration, screenshot, or concept art.Describe the transformation you want
Use a short, explicit description of the outcome rather than vague style words. For example:- “Replace the background with a clean, soft-light studio setup. Keep the product sharp and realistic.”
- “Turn this portrait into a professional LinkedIn headshot with a neutral backdrop.”
- “Transform this room into a modern, Scandinavian interior with natural light.”
- “Convert this photo into flat-vector illustration style for a landing page hero.”
Use reference images when possible
If you have a brand look or inspiration:- Upload a reference image with the vibe, lighting, or color palette you want.
- Describe the relationship: “Make this product photo match the lighting and background style of the reference.”
Iterate quickly
- Run multiple edits and compare variants.
- Save the versions that work and continue editing from the best one.
- Keep your best prompt snippets so you can reuse them as a “house style.”
Turn it into a reusable workflow
Once you like the results:- Save your prompts and notes as your own reusable “recipe” for your team.
- Use the same language and process for future uploads to keep things consistent.
You can expand this template further by connecting it with other Magic Hour products (examples below).
Advanced Use Cases and Combinations
If you want to build richer pipelines, you can chain AI Image Editor with other Magic Hour tools:
1. Create → Edit → Animate
- Step 1: Generate a concept image
Use the AI Photo Generator or AI Image Generator to create an original visual concept from text. - Step 2: Refine with AI Image Editor
Clean up details, adjust backgrounds, fix faces, or tweak styling to match your brand. - Step 3: Animate the result
Turn your edited image into short motion content with:- Image to Video
- Text to Video
- AI GIF Generator
Or use a template-based flow in: - Animation Templates
This pipeline works well for social posts, product teasers, or lightweight explainer content.
2. Headshots, Avatars, and Profile Visuals
If you’re using this template for profile photos or team pages:
- Start with a selfie or casual photo.
- Use AI Face Editor or AI Headshot Generator to get a clean, on-brand base image.
- Refine clothes, backgrounds, and lighting in the AI Image Editor.
- Optionally produce variations:
- Avatar Generator for stylized versions
- AI Selfie Generator for casual or social-first looks
Use these variants for LinkedIn, team pages, pitch decks, and investor updates.
3. Product & E‑commerce Pipelines
For DTC, SaaS, and marketplace listings, you can turn this template into a product-photo system:
- Remove cluttered or inconsistent environments with the Image Background Remover or Remove Object from Photo.
- Polish details with AI Image Editor: consistent lighting, cleaner reflections, and better composition.
- Upscale for marketplaces and ads using the AI Image Upscaler or Unblur Image.
- Generate extra creative for campaigns:
- Thumbnail Maker
- AI Logo Generator
- Album Cover Generator for bold visual promos
4. Content, Blogs, and Thought Leadership
If you’re shipping a lot of content and decks:
- Generate concept illustrations using:
- Refine tone, color palette, and clarity in AI Image Editor so assets look like they’re from the same brand system.
- Build series-based assets:
- Book Cover Generator for reports/lead magnets
- AI QR Code Generator for trackable calls to action embedded in visuals
Example Prompts You Can Remix
You can copy and adapt these directly in the AI Image Editor:
Clean product shot
“Clean white studio background, soft shadows, high contrast, make the product the central focus, realistic lighting, no text, no logos added.”Landing page hero image
“Modern, minimal hero illustration in flat-vector style, soft gradients, tech startup vibe, keep the main character and re-style the environment accordingly.”Professional headshot
“Transform this portrait into a professional corporate headshot with even lighting, subtle depth-of-field, neutral background, natural skin tones, no heavy retouching.”Social media clip starter
“Create a vivid, dynamic background that works as a YouTube thumbnail backdrop, with space on the right side for text, bold colors but not over-saturated.”Brand localization
“Keep the product and composition the same, but change the environment to a Tokyo street at night with neon signage, cinematic but realistic, matching the product’s lighting.”
Save the versions that best fit your brand and build your own internal prompt library.
Going From Static Images to Full Motion
Once you’ve edited the perfect image with this template, you can turn it into richer motion content:
Talking photos & face content
- Use AI Talking Photo to make your edited portrait speak.
- If you’re working with faces in motion, explore:
- Face Swap Video Templates
- Lip Sync Templates
- Video to Video Templates
- Face Swap and Face Swap GIF for quick experiments.
Voice and audio
- Pair visuals with audio using:
- Add subtitles via the Auto Subtitle Generator.
This lets you go from a single edited image to a complete, on-brand video asset without leaving Magic Hour.
Quality, Cleanup, and Restoration
If you’re working with older, noisy, or low-quality inputs before editing:
- Recover details from old or damaged photos with Old Photo Restoration.
- Add color to black-and-white images using Photo Colorizer.
- Clean and sharpen with:
- Remove distractions:
Once your base photo is clean, you’ll get much better, more consistent results in AI Image Editor.
Experiment with Styles and Niches
You can also repurpose this template for highly specific creative directions:
Anime, manga, and stylized characters
Fashion and outfits
Environment & design
Niche creative tools
Use these to generate a base style, then refine and adapt it with AI Image Editor for production use.
Tips for Consistent, Production-Ready Results
- Be explicit, not poetic
Instead of “make it cool and edgy,” specify lighting, background, level of realism, and composition. - Use a small set of repeatable prompts
Reuse your best phrasing across campaigns to keep a consistent visual language. - Start from the highest-quality input you have
Use upscaling and restoration tools first; then edit. - Keep source assets organized
Save original files, edited outputs, and your best prompts so your team can reproduce results quickly.
This template is designed to be a practical starting point, not a fixed recipe. Open the AI Image Editor, run through the steps above with one real asset from your pipeline (ad creative, deck slide, product image), and then modify the process until it feels like part of your own workflow.