Acid Perspective Typography
ai-image-editor
Any aspect ratio
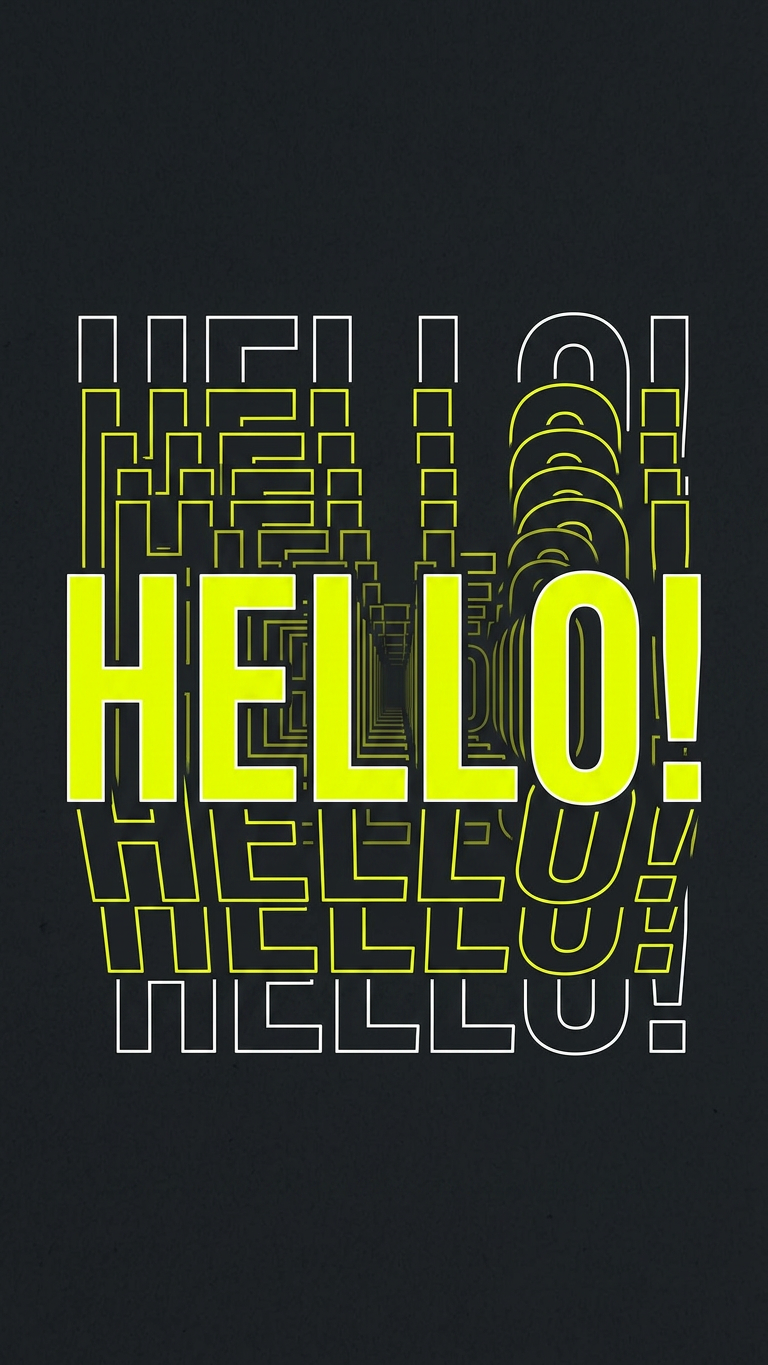
Subject rendered as a bold typography composition featuring a short phrase in heavy condensed sans-serif style; bright acid yellow text on a matte charcoal background; each letter repeats in receding perspective toward a central vanishing point, forming depth and motion; thin white outline duplicates enhance the layered effect; slightly warped isometric perspective with strong graphic energy; high contrast, clean edges, modern poster design aesthetic.
AI Image Editor Template: Smart, Fast Visual Iteration for Serious Creators
Use this template to quickly transform, fix, or completely reimagine any image with the AI Image Editor. It’s built for creators, marketers, founders, and technical teams who need production‑ready visuals without getting stuck in complex tools or manual design work.
This page explains:
- What this template does and when to use it
- How to remix it inside Magic Hour to build your own version
- How to chain it with other Magic Hour products (face swap, animation, video, avatars, and more)
- Practical use cases and prompts you can steal
What this template is for
This AI Image Editor–based template is ideal when you want to:
- Edit or enhance existing images: marketing shots, product photos, thumbnails, social content, concept art
- Swap or adjust visual elements: outfits, backgrounds, lighting, style, or individual objects
- Turn rough ideas into polished assets: quickly move from concept mockups to near‑final creative
- Maintain consistency at scale: repeat a visual style or layout across many assets
Under the hood, Magic Hour uses state‑of‑the‑art diffusion models and image editing pipelines similar to research from Stability AI and OpenAI on localized image editing and inpainting. You get those capabilities behind a clean, browser‑based workflow.
Learn more about the core editor here: AI Image Editor.
How to remix this template in Magic Hour
You can use this template as‑is, or duplicate it and turn it into your own custom “micro‑tool” inside Magic Hour. Remixing is useful if you:
- Run repeated campaigns (ad iterations, product launches, weekly content)
- Need a repeatable, team‑friendly workflow
- Want to standardize style, framing, or brand rules across assets
Step‑by‑step: creating your own version
Open the template
Start from this template in Magic Hour. Use it once to understand the input/output flow.Duplicate / remix
Create a copy of the template in your workspace. Treat it like a reusable recipe: same structure, different prompts and instructions.Define your use case in plain language
In the template description or prompt area, clearly document:- What input image(s) you expect
- What the editor should prioritize (e.g., “keep facial identity”, “don’t change brand colors”, “only modify background”, “cinematic lighting”)
- Output expectations (e.g., “social‑ready banner”, “e‑commerce hero image”, “YouTube thumbnail base layer”)
Encode constraints into your prompts
Good prompts explicitly communicate what must stay the same vs. what can change. Examples:- “Keep the person’s face and pose exactly the same; change only the outfit to a formal business suit in a clean studio.”
- “Preserve product shape, logo, and color. Replace the background with a modern, minimal tech office.”
- “Don’t alter text; just enhance lighting and contrast for better readability on mobile.”
Test with 3–5 diverse inputs
Run several different images through your remixed template:- Different lighting conditions
- Different compositions
- A “worst‑case” low‑quality image
Use the results to refine your instructions so they generalize reliably.
Document usage for your team
In the template name and description, be explicit:- Who it’s for (e.g., “Performance Marketing – Ad Variants v2”)
- What it should and should not be used for
- Example prompts or “do/don’t” lists
This makes the template discoverable and usable across a team or organization.
High‑leverage use cases and prompt patterns
Below are practical, SEO‑relevant workflows you can run directly in this template, along with prompt ideas you can adapt.
1. Product photo enhancement and background changes
Use the AI Image Editor to turn basic shots into clean, on‑brand product imagery, similar in spirit to workflows popularized by Amazon/e‑commerce sellers.
What you can do:
- Remove cluttered or low‑quality backgrounds
- Standardize product angles and lighting
- Create multiple “lifestyle” scenes from a single base photo
Prompt examples:
- “Keep the product exactly the same. Replace the background with a soft, minimal gradient in brand colors, with subtle studio lighting.”
- “Show this product on a wooden desk with a laptop and coffee, natural daylight, shallow depth of field.”
Combine this with:
- AI Image Upscaler to generate high‑resolution product images for marketplaces
- Image Background Remover or Remove Object from Photo to isolate products before stylizing
2. Portrait, headshot, and profile optimization
If you’re generating founder photos, team profiles, or personal branding assets, this template works well with:
What you can do:
- Upgrade casual photos into professional headshots
- Adjust backgrounds to match brand or platform (LinkedIn, conference site, investor deck)
- Subtly adjust lighting, contrast, and color grading, while keeping identity intact
Prompt examples:
- “Turn this into a professional headshot. Keep the person’s face and expression. Use a clean, blurred office background, soft lighting, neutral color grading.”
- “Make this portrait look like a studio shoot: high‑end editorial lighting, subtle skin retouching, no change to facial features.”
3. Social media creatives and thumbnails
For founders, creators, and marketers, this template can become a fast engine for:
- YouTube thumbnails
- LinkedIn, X, and Instagram posts
- Meme‑style shareable visuals
Combine it with:
- Thumbnail Maker for structured thumbnail layouts
- AI Meme Generator for text + image formats
- AI GIF Generator when you need short animated loops
Prompt examples:
- “Turn this screenshot into a YouTube thumbnail. Keep the main subject; add bold, high‑contrast colors and space at the right for title text.”
- “Convert this tweet screenshot into a polished LinkedIn graphic in my brand palette, with a clean white background and subtle drop shadow.”
4. Creative concepting: characters, art styles, and mood
The AI Image Editor is effective for iterative visual exploration. Start with a sketch, 3D render, or rough design, then refine.
Pair with:
- AI Art Generator
- AI Character Generator
- Animated Characters Generator
- AI Anime Generator
- Dark Fantasy AI
- Comic Book Generator
Prompt examples:
- “Keep the character’s pose and outfit, but convert the style into high‑end anime with cinematic lighting and detailed shading.”
- “Turn this line sketch into a colored illustration in a flat, modern product‑design style, with clean vectors and minimal shading.”
Once you have your base character or illustration, you can move into motion using:
5. Ad creatives and growth experiments
Performance marketers and growth teams can use this template to quickly generate and test variants of:
- Static ads for Meta, Google, LinkedIn
- Landing page hero images
- App store creatives
Best practices:
- Keep one or two variables per variant (background, color scheme, props) so you can learn from the data
- Encode “must‑keep” elements (product visibility, logo clarity, CTA area) explicitly in your prompt
- Reuse a single template for an entire experiment to ensure consistency
Prompt examples:
- “Generate three variations of this hero image. Keep the main product in the center, logo at top left. Change only the background scene: home office, café, corporate boardroom.”
- “Adapt this image into a vertical mobile ad. Maintain the product prominence and add clean space at the bottom for copy.”
Combine with:
- AI Background Generator for instant scene variants
- AI Logo Generator and Brand‑style tools like Album Cover Generator for visual motifs
Advanced workflows: chaining tools for higher leverage
You can treat this AI Image Editor template as a building block in more complex pipelines.
Face swap + editing + video
- Use Face Swap or Face Swap GIF to create an initial asset.
- Refine details (background, outfit, color grading) with your remixed AI Image Editor template.
- Animate the result using:
Optionally add audio with:
Outfit, fashion, and branding experiments
For ecommerce, fashion, or personal branding:
- Start from a base portrait or full‑body photo
- Experiment with clothing and style using:
- Use your AI Image Editor template to finalize colors, environment, and brand consistency.
From static image to motion content
- Concept and polish a frame using AI Image Editor (this template).
- Convert it to motion using:
- Enhance distribution assets with:
Practical prompt guidelines for better results
Across research and practitioner experience with diffusion models, a few patterns consistently help:
Be explicit about constraints
- Say what must not change (“don’t alter the logo”, “keep the face identical”, “preserve layout”).
- Say what can change (“background only”, “lighting and colors”, “outfit, but not pose”).
Describe the outcome, not the tool
Focus on the visual result: composition, style, lighting, mood, and context.Reference familiar styles or sources
You can reference photography terms (“cinematic lighting”, “studio softbox”), design styles (“flat illustration”, “minimalist”), or media (“comic book cover”, “magazine editorial”).Iterate in small steps
For complex transformations, do them in stages:- Stage 1: clean up / background
- Stage 2: style or color grading
- Stage 3: text overlays or branding
This staged approach is how many advanced teams reach production quality consistently.
Related tools worth exploring
If you find this AI Image Editor template useful, you’ll probably also get value from:
- AI Image Generator – generate base assets from text
- AI Photo Generator – photorealistic scenes from prompts
- AI Face Generator – new identities for mockups, UX flows, or character design
- Avatar Generator and Full‑Body Generator – branded avatars and full‑body character shots
- Old Photo Restoration and Photo Colorizer – archival, restoration, and storytelling workflows
- Unblur Image – sharpen low‑quality sources before editing
- Watermark Remover – clean visual noise on your own assets
How teams typically adopt this template
From observing how startups, agencies, and marketing teams use similar pipelines:
- Start with one narrow template (e.g., “Product Hero – SaaS Landing Hero Image v1”)
- Test it across a full campaign cycle (landing, ads, social)
- Clone and adapt for related use cases (different product lines, audiences, or channels)
- Standardize: over time, teams build a small library of 5–15 highly reliable templates that cover 80% of their recurring visual work
This AI Image Editor template is a strong starting point for that library. Remix it, constrain it to your brand and use case, and make it a repeatable, shareable tool inside your creative stack.