Allfather of the Nine Realms

Allfather of the Nine Realms

ai-image-editor

1 clip
3 uses

Any aspect ratio

Prompt

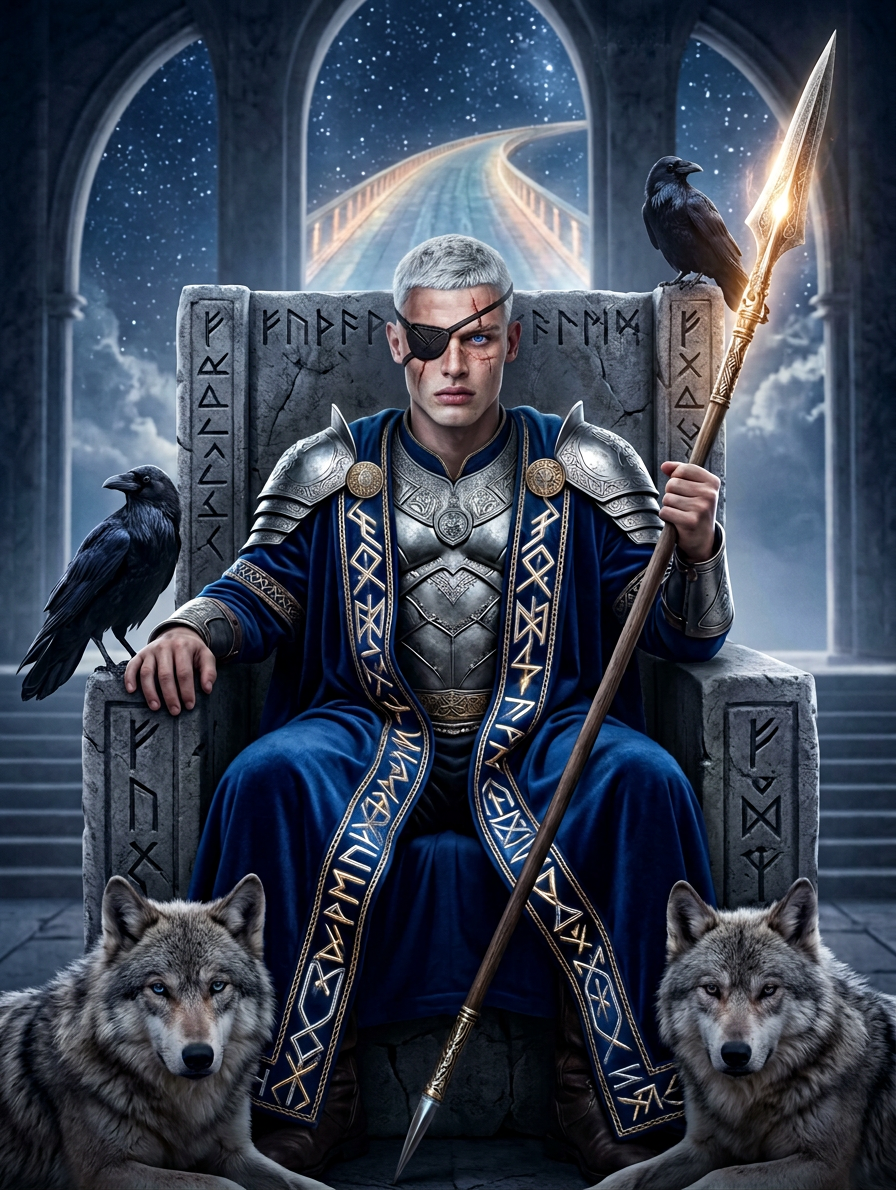
Regal portrait of the subject as a one-eyed Allfather seated on a towering throne in a grand celestial hall. Long silver beard, ornate silver armor, deep sapphire rune-embroidered cloak, holding a glowing spear. Surrounded by ravens on the throne, wolves at the feet, intricate engravings pulsing with mystical energy, with a radiant cosmic bridge in the background. Cinematic, divine, epic Norse myth atmosphere, ultra-detailed, majestic and powerful

AI Image Editor Template: Instantly Transform and Enhance Any Image

Use this template to turn rough images into polished, on-brand visuals in seconds using Magic Hour’s AI Image Editor. Whether you’re a creator, marketer, or startup team, this template is designed to be remixable: duplicate it, swap in your own images, and adapt the prompts to your style.


What You Can Do With This Template

This AI Image Editor–based template is built for practical, production-ready transformations:

  • Clean up and enhance photos

    • Remove distracting objects, backgrounds, or text overlays
    • Fix lighting, sharpen details, and upscale low-res images with the AI Image Upscaler
    • Restore older assets alongside the Old Photo Restoration tool
  • Re-style images for specific brands or campaigns

    • Re-skin product photos for different seasons or audiences
    • Generate multiple art directions from one source using the AI Art Generator or AI Image Generator
    • Quickly test visual concepts for landing pages, ad creatives, and pitch decks
  • Edit faces and portraits at scale

  • Prepare assets for video, GIFs, and motion content


How to Remix This Template in Magic Hour

This page describes a starting configuration you can recreate and adapt. To build your own version inside Magic Hour:

  1. Open the AI Image Editor
    Go to the AI Image Editor. Upload any image you want to improve or transform (product shot, portrait, illustration, mockup, meme, etc.).

  2. Define the edit goal in your prompt
    In practice, the single most important part of your setup is the text instruction. Use short, concrete language that describes:

    • The type of edit (remove, replace, enhance, re-style, recolor, retouch, etc.)
    • The subject (person, product, background, logo, UI, illustration)
    • The target style or context (website hero, ad creative, social post, pitch deck slide, e-commerce listing)

    Examples you can copy and adapt:

    • “Turn this rough product shot into a clean e-commerce image on a light neutral background, realistic lighting, no text.”
    • “Refine this portrait into a professional LinkedIn headshot: natural skin tones, subtle background blur, no heavy filters.”
    • “Re-style this character illustration in a flat, minimal, product-landing-page style with consistent line weight.”
  3. Use regions and masking for precise edits
    For structured use cases (UI, product, fashion, architecture), it helps to localize changes:

    • Isolate the background to change environments without touching the subject; you can also pair this with the AI Background Generator.
    • Select only the clothing and then refine with AI Clothes Changer to explore outfits, uniforms, or brand-aligned color schemes.
    • Target logos or labels for quick re-branding or A/B testing of packaging designs.
  4. Chain edits across Magic Hour tools (optional)
    If you’re building more advanced workflows, you can treat this template as your “image cleanup & styling” stage, then pass results into other tools:


Example Use Cases You Can Copy

You can adapt this template for a wide range of high-leverage workflows:

1. Founder & marketer workflows

  • Re-style 1–2 core product images into dozens of campaign variants.
  • Create consistent hero images for landing pages and A/B tests.
  • Quickly align visuals to new messaging or positioning without re-shoots.

2. Creator & influencer workflows

  • Turn raw photos into polished thumbnails with the AI Image Editor plus Thumbnail Maker.
  • Produce branded meme formats using AI Meme Generator, then refine them visually here.
  • Standardize your personal “look” across platforms using AI Selfie Generator + AI Image Editor.

3. Design and art direction workflows

4. Technical & experimental workflows


Tips for Strong Prompts and Reliable Results

This template is most effective when you treat prompting like a design spec. A few principles:

  • Be explicit about constraints

    • Specify what must stay the same: “Keep the person’s pose and face, only change the background to a modern office.”
    • Declare what can change: “Re-style colors and lighting to match a minimal, high-contrast tech landing page.”
  • Describe the final use case
    Outputs are more predictable when you mention where the image will live:

    • “For a mobile app store screenshot, bright and readable at small sizes.”
    • “For a LinkedIn ad: clean, legible, no clutter, high contrast.”
  • Reference visual genres instead of vague adjectives
    Instead of “make it cooler,” say:

    • “Flat illustration style similar to modern SaaS landing pages.”
    • “High-key studio product photography with soft shadows.”
    • “Comic-book style with bold outlines and halftone texture,” or pair with the Comic Book Generator.
  • Iterate in short steps
    Especially for important assets, go in passes:

    1. Remove distractions or objects (AI Remover / Watermark Remover).
    2. Clean and unify the background.
    3. Adjust style, color, and emphasis with this AI Image Editor template.
    4. Upscale and sharpen if needed with the AI Image Upscaler or Unblur Image.

Related Templates and Tools to Explore

If you like this AI Image Editor template, you can extend your workflow with:


How to Make This Template Your Own

To create your own version of this template in Magic Hour:

  1. Open the AI Image Editor.
  2. Upload a representative image from your real use case (product, person, UI, illustration).
  3. Write a clear edit prompt using the patterns above, explicitly linking it to your downstream goal (ads, landing pages, app store, pitch, social).
  4. Save your favorite prompt and workflow as your personal “house style” and reuse it across projects.
  5. When you discover a combination of tools that works (e.g., AI Image Generator → this template → Image Upscaler), document it and repeat it as your internal content pipeline.

Use this template as a reliable starting point for any workflow where the quality, clarity, and style of your images directly affect conversions, engagement, and brand perception.

More Like This

Insufficient credits