Cybernetic Repair Lab

Cybernetic Repair Lab

ai-image-editor

1 clip
5 uses

Any aspect ratio

Prompt

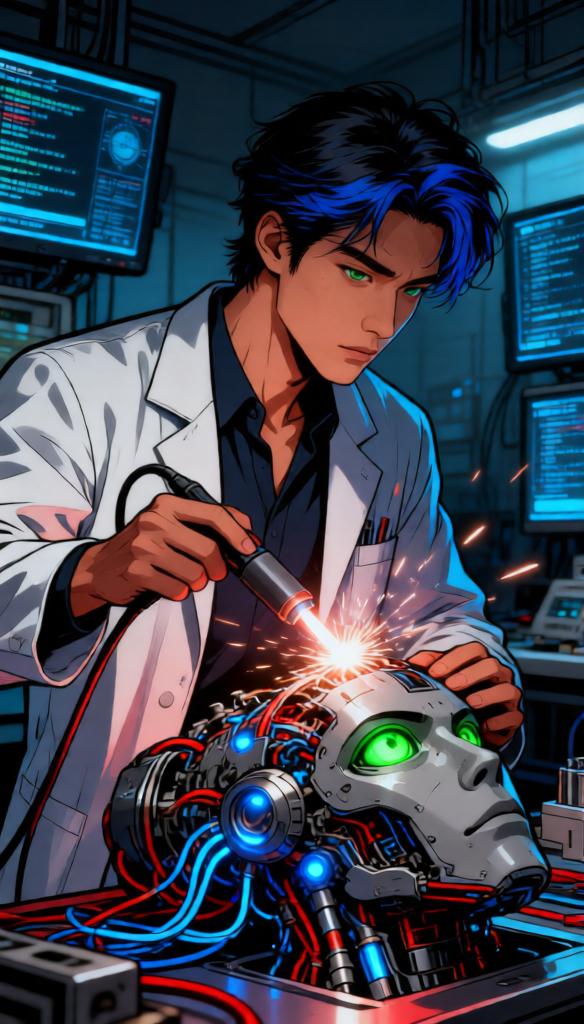
Cybernetic repair scene as subject, lab coat figure working on exposed android head components, intense green eye detail, blue synthetic eye and hair elements, intricate wiring with glowing blue lights, soldering sparks in focus, dim high-tech laboratory environment, data screens in background, realistic comic illustration blended with detailed digital painting, strong outlines, vibrant color palette, dramatic lighting from soldering arc, dominant blue red metallic gray tones, cinematic sci-fi atmosphere

AI Image Editor Template: Turn Any Photo Into a Studio‑Quality Asset in Minutes

This template showcases what’s possible with Magic Hour’s AI Image Editor: fast, precise visual editing powered by generative AI. Use it as a starting point, then remix it into your own production‑ready workflow for product shots, social campaigns, thumbnails, or app content.


What This Template Is Best For

Use this AI Image Editor–based template when you need to:

  • Clean up or enhance existing photos without starting from scratch
  • Remove unwanted objects, text, or people from an image
  • Replace or refine backgrounds for a more professional look
  • Adjust faces, clothing, or expressions for marketing‑ready visuals
  • Create multiple variations of a key visual for A/B testing and campaigns

Because it runs on the core AI Image Editor, you can apply the same ideas to:

  • Product photography (e‑commerce, marketplaces, promo pages)
  • Creator assets (YouTube thumbnails, Instagram posts, TikTok covers)
  • Brand design (hero images, landing page art, ads, app store screenshots)
  • Rapid prototyping (mockups, UI previews, pitch decks)

How to Remix This Template in Magic Hour

You can’t “break” this template—remixing is exactly what it’s for. To create your own version in Magic Hour:

  1. Open the template

    • Start from this page, then click through to open it in the AI Image Editor.
    • The starting image and edit regions give you a working example of a good composition and edit flow.
  2. Swap in your own image

    • Upload a product shot, portrait, logo composition, or scene you already use in your brand.
    • For best results, choose an image that’s already close to your goal (good lighting, clear subject).
  3. Redefine the edit area

    • Use the editor’s brush / selection tools to mark what you want to change (background, object, clothing, face, etc.).
    • Keep selections clean around edges (e.g., around hair, product outlines) for more realistic generations.
  4. Describe the change you want

    • Use direct, descriptive prompts (e.g., “replace background with a minimal light‑gray studio backdrop,” “change hoodie to a black zip‑up jacket,” “remove logo on the wall and fill with neutral texture”).
    • Be concrete about style, color, and context: “soft natural light,” “cinematic contrast,” “flat lay product photography,” “editorial fashion photo.”
  5. Generate, compare, and refine

    • Generate multiple versions, pick the closest one, then re‑edit specific regions you want improved.
    • You can chain edits: remove objects, then adjust colors, then refine faces, etc. This template is just the first step in that iterative process.
  6. Save your own template

    • Once you have a result that matches your brand or campaign, save it as your go‑to edit flow.
    • Reuse it across product lines, content series, or clients to keep a consistent visual style.

Practical Use Cases and Workflows

1. E‑commerce and SaaS product teams

  • Start with a raw product photo and use the template to:
    • Remove distracting backgrounds or reflections
    • Replace backgrounds with on‑brand gradients or studio‑style scenes
    • Create clean hero shots for landing pages and app stores
  • Then send the results to:

2. Creator thumbnails and social content

  • Use the template as a base for:
    • YouTube thumbnails with clean cutouts and stylized backgrounds
    • Sharper portraits and more expressive faces for hooks
    • Consistent brand color overlays and lighting
  • Combine with:

3. Brand and campaign design

  • Use the image editor template to rapidly explore:
    • Different brand environments (office, studio, abstract gradients, 3D vibes)
    • Visual directions for ad sets without reshooting assets
    • Variant visuals for localized campaigns
  • Then extend the same concept into:

4. Character, game, and storytelling assets


How This Template Fits With Other Magic Hour Tools

Think of this AI Image Editor template as the hub in a larger workflow:


Prompting Tips for High‑Quality AI Image Edits

To get results that are consistent, realistic, and brand‑aligned:

  • Be specific, not poetic

    • Instead of “make it cooler,” try: “add a subtle teal and orange color grade with soft cinematic shadows.”
    • For product shots: include “studio lighting,” “e‑commerce style,” “pure white background,” or “soft drop shadow” if relevant.
  • Define style and medium

    • Use phrases like “high‑resolution photograph,” “editorial portrait,” “flat vector illustration,” “isometric 3D render,” or “hand‑drawn sketch” depending on your target look.
    • For brand‑safe realism, anchor prompts to “realistic photo,” “natural skin texture,” or “unretouched editorial.”
  • Call out brand constraints

    • Add specific brand colors (“background in #0F172A deep navy”), logo placement (“empty space on right side for logo and text”), or layout constraints (“subject centered, room for text above”).
  • Iterate in small steps

    • Use this template to run small, controlled changes (background first, then clothing, then lighting, etc.), instead of trying to do everything in one prompt.

Advanced Ideas for Creators, Developers, and Marketers

If you build products, run campaigns, or prototype frequently, this template can act as a reusable “visual function”:

  • For growth and marketing teams

    • Standardize a set of 2–3 AI Image Editor templates for:
      • Landing page hero images
      • Paid ad creatives
      • Social announcement visuals
    • Use them to keep creative fast while maintaining shared visual rules.
  • For product and UX teams

    • Create interface mockups and empty‑state illustrations by starting from a rough screenshot or layout, then iteratively editing regions for clarity and polish.
  • For developer tools and AI apps

    • Use this workflow to prototype user‑generated content pipelines (e.g., profile photo cleanup, avatar generation, template‑based photo transformations) before you build them natively.
  • For brand and visual systems

    • Treat your edited outputs as “visual tokens” that define your design language: lighting style, color system, composition patterns. Reuse and adapt through this template rather than recreating from zero.

Related Magic Hour Tools to Explore

If this AI Image Editor template is helpful, you may also want to explore:


Use this template as your baseline, then push it toward your specific use case—product visuals, campaigns, app content, or storytelling. Remix, iterate, and combine it with other Magic Hour tools to build a repeatable, high‑leverage visual pipeline that fits your workflow.

More Like This

Insufficient credits