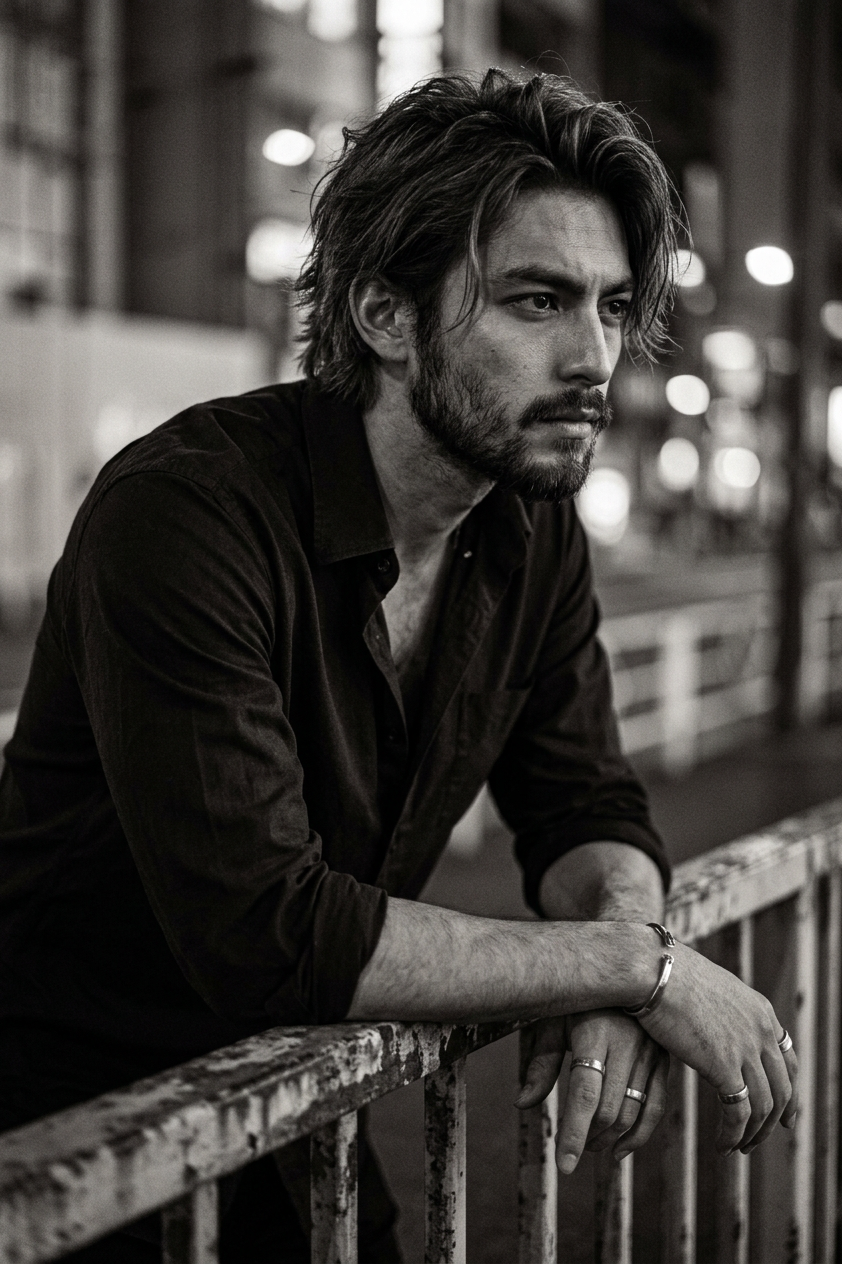
Steel Silence

Steel Silence

ai-image-editor

1 clip
1 uses

Any aspect ratio

Prompt

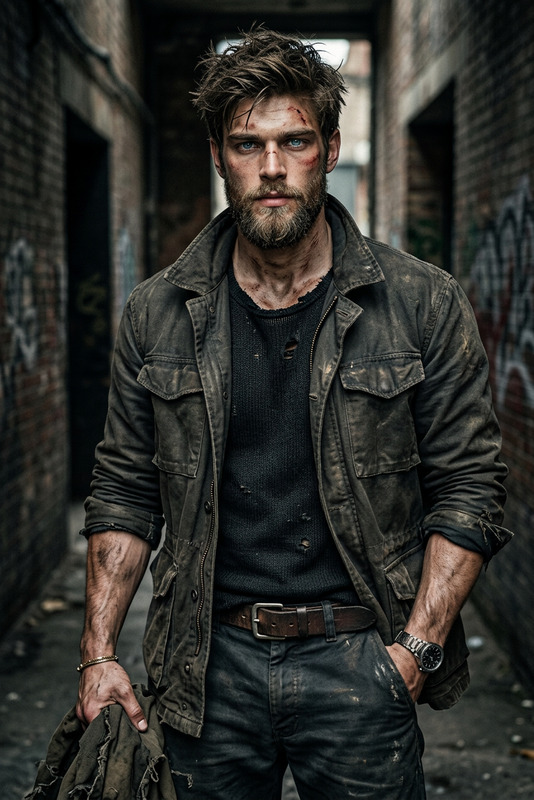
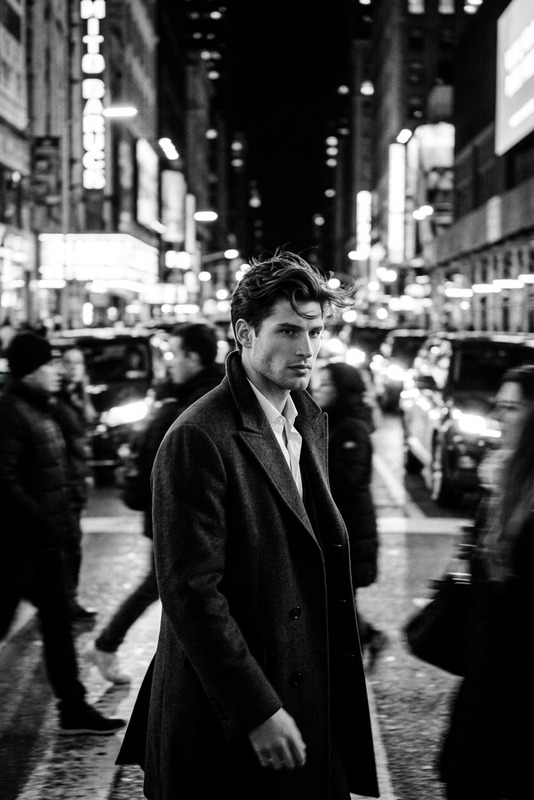
A rugged, handsome bearded man in his early 30s with tousled medium-length hair and sharp, defined facial features, leaning on a metal railing and looking intensely to the right. He wears a dark open-collared shirt with silver rings and a silver bracelet that catch subtle highlights in the monochrome scene. The setting is urban and dark, with a blurred background suggesting a city at night. The mood is gritty, serious, and contemplative, captured in a photorealistic black-and-white cinematic style with high contrast. Shot as a mid-shot at eye level, featuring dramatic shadows, moody lighting, shallow depth of field, ultra-detailed textures, and subtle film grain for a raw, authentic atmosphere.

AI Image Editor Template: Turn Any Image Into a Polished, On-Brand Visual in Minutes

Use this template as a starting point to transform, clean up, and restyle your images with the AI Image Editor. Whether you’re a founder, marketer, or designer, this workflow lets you go from rough asset to production-ready creative without opening a traditional editor.


What this template is for

This template is ideal if you want to:

  • Remove unwanted objects, people, or text from photos
  • Clean up busy backgrounds or replace them entirely
  • Fix small issues (lighting, blemishes, artifacts, distractions)
  • Add or modify elements (logos, products, UI screens, props)
  • Restyle images to match a brand, campaign, or aesthetic
  • Prepare images for social, ads, pitch decks, landing pages, or app mockups

It’s built on the AI Image Editor, so you can work directly on your existing photos instead of prompting from scratch.


How to remix this template in Magic Hour

You can treat this as a “base workflow” and quickly adapt it for your own use case. To create your own version:

  1. Open the AI Image Editor
    Go to the AI Image Editor and upload a starting image (product photo, portrait, UI screenshot, concept art, etc.).

  2. Define your editing goal in plain language
    In your prompt, be explicit about:

    • What should stay the same (subject, layout, core composition)
    • What should change (background, colors, clothing, objects, lighting, style)
    • Where the edit should happen (e.g., “only adjust the background,” “replace the text on the sign,” “remove the person on the left”)

    Example prompts you can remix:

    • “Clean ecommerce product photo on white background, remove all props, keep natural shadows, web-ready.”
    • “Professional startup founder headshot, same person, neutral background, subtle cinematic lighting, LinkedIn-ready.”
    • “Remove the laptop from the table and replace it with a coffee cup, keep same angle and lighting.”
    • “Make this photo look like a polished app mockup screenshot for a landing page, keep the phone and hand, update the UI to a modern fintech dashboard.”
  3. Iterate by editing only what matters
    Use the editor to target specific regions (background, clothing, sky, signage, objects) while preserving the key subject. Think in terms of small, composable changes:

    • Pass 1: Clean up distractions or remove objects
    • Pass 2: Adjust background or environment to match your brand
    • Pass 3: Add or refine details (logos, UI, props, color accents)
  4. Save as your own template
    Once you have a workflow that works for your brand or project:

    • Reuse it with different input images following the same prompt structure
    • Standardize prompts like “Ad creative v1,” “Deck visuals,” “App store screenshots,” etc.
    • Share the pattern with your team so everyone can generate consistent visuals quickly

Common use cases this template supports

You can remix this base template into many specialized workflows:

1. Product & ecommerce visuals

  • Clean, white-background product shots
  • Lifestyle images where you change environments without re-shooting
  • Quickly generate multiple campaign variants using the same core product photo

Useful complementary tools:

2. Brand, social, and ad creatives

  • Turn raw photos into consistent, branded visuals
  • Remove messy or distracting backgrounds from UGC or event photos
  • Level up simple photos into ad-ready assets for Meta, Google, or LinkedIn

Useful complementary tools:

3. Founder / team headshots and avatars

  • Normalize inconsistent team photos (different lighting, backgrounds, devices)
  • Clean up casual headshots into website- and LinkedIn-ready imagery
  • Test different styles (studio, editorial, minimal, tech, creative) without a reshoot

Useful complementary tools:

4. UX/UI and product marketing

  • Replace screens in photographed devices with your actual app UI
  • Turn rough figma or whiteboard captures into polished visuals
  • Create clean hero images and mockups from simple source shots

Useful complementary tools:

5. Portrait and face-focused editing

  • Remove or soften small imperfections while keeping identity intact
  • Adjust environment, mood, or style (e.g., “corporate,” “cinematic,” “editorial”)
  • Prepare base images that you’ll later animate or re-use in video workflows

Useful complementary tools:


Connect this template to video and animation workflows

You can take images edited with this template and push them into video-native tools:

If you already have video assets and want them to match your edited images, you can also explore:


Advanced remix ideas for power users

If you’re building more systematic workflows (for startups, agencies, or tools):

  • Standardized brand prompts
    Define reusable prompts like “Brand A – website imagery,” “Brand B – social posts,” “Pitch deck visuals,” and apply them to new source photos for consistent output.

  • Content pipelines
    Use this template as a first step in a pipeline such as:
    Capture → Edit in AI Image Editor → Upscale via AI Image Upscaler → Animate with Image to Video or Animation templates.

  • Concept-to-asset workflows
    Start with abstract or rough designs from the AI Art Generator, then refine or localize them with the AI Image Editor to match specific campaigns, languages, or markets.

  • Specialized verticals


Best practices for strong results

When remixing this template, keep these practical guidelines in mind:

  • Protect the core subject
    Be clear in your prompt about what must stay the same: “Keep the person’s face and pose,” “Don’t change the product shape,” “Preserve the phone and hand, only change the screen.”

  • Describe the final use case
    Mention where the image will live: “for a LinkedIn banner,” “for an ecommerce PDP,” “for a pitch deck cover,” “for a mobile ad.” This helps align composition and style.

  • Use constraints, not just style adjectives
    Pair style words (“minimal, cinematic, editorial, corporate, playful”) with constraints (“centered composition,” “room for text on the right,” “white or very light background”).

  • Think in steps, not one-shot perfection
    It’s often more reliable to run 2–3 focused edits than a single all-in-one prompt. For example:

    1. Remove clutter → 2) Change background → 3) Add brand color accents.

Related Magic Hour tools worth exploring

If this template is a good fit for your workflow, you may also want to integrate:


Use this template as a reliable backbone for your visual workflow: start with the AI Image Editor to get a clean, on-brand source image, then branch into animation, video, or campaign-specific variants as needed.

More Like This