Motion Echo Gradient Trail
ai-image-editor
Any aspect ratio
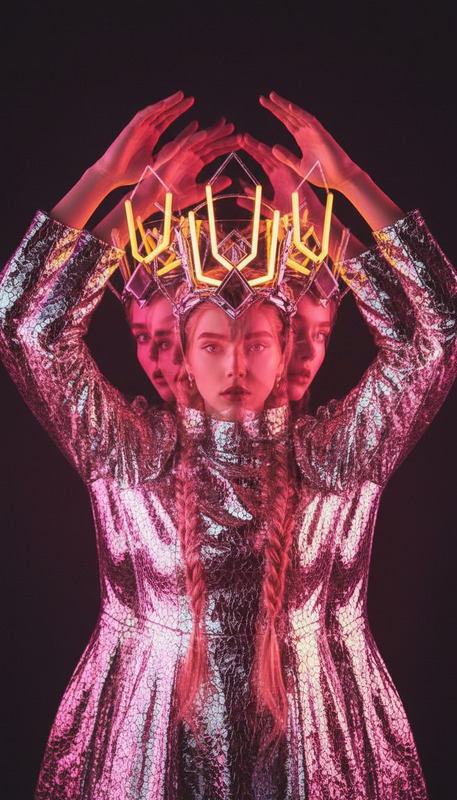
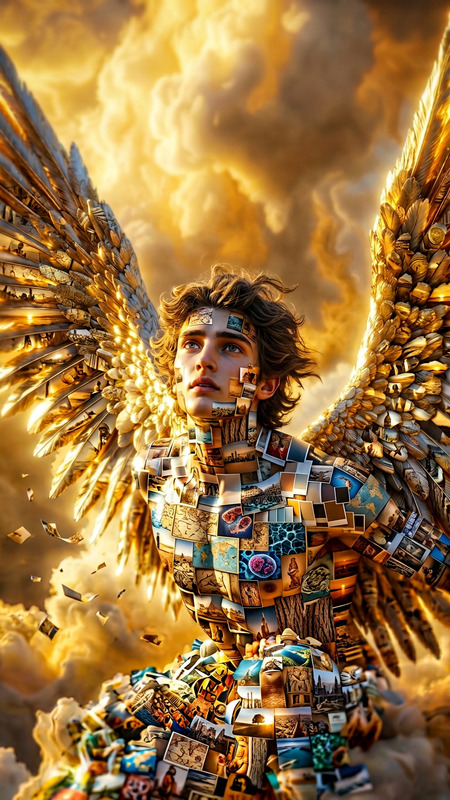
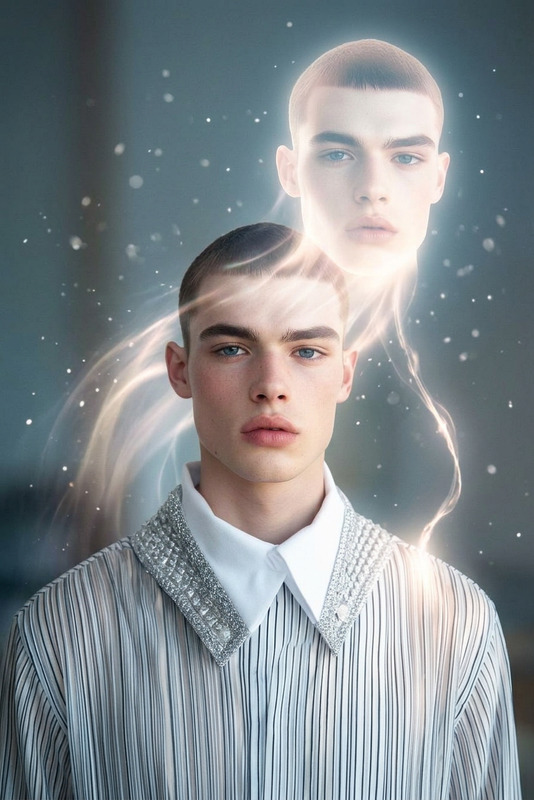
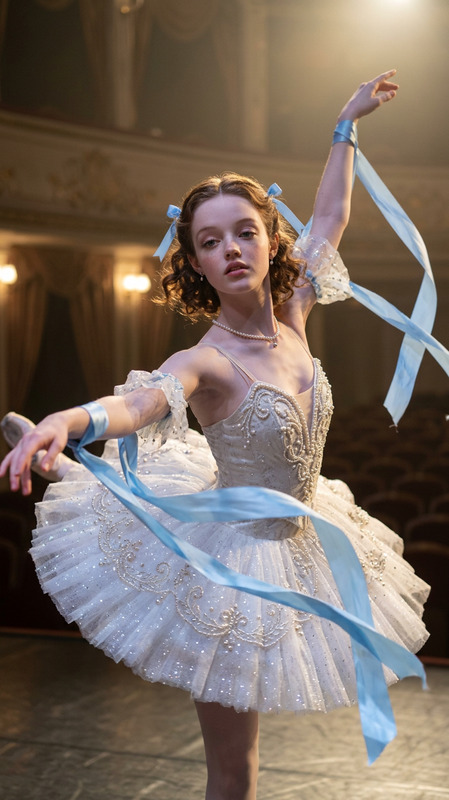
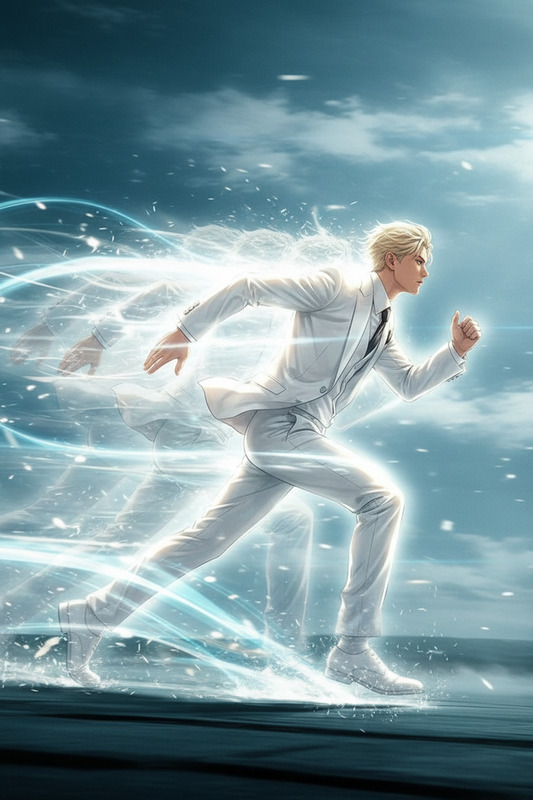
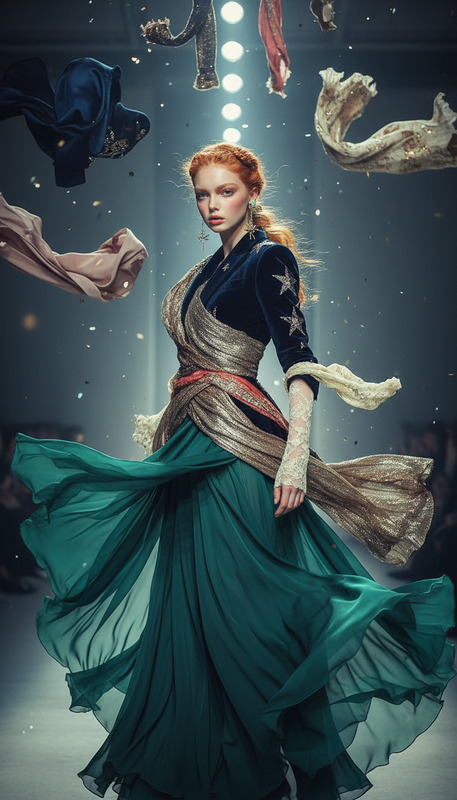
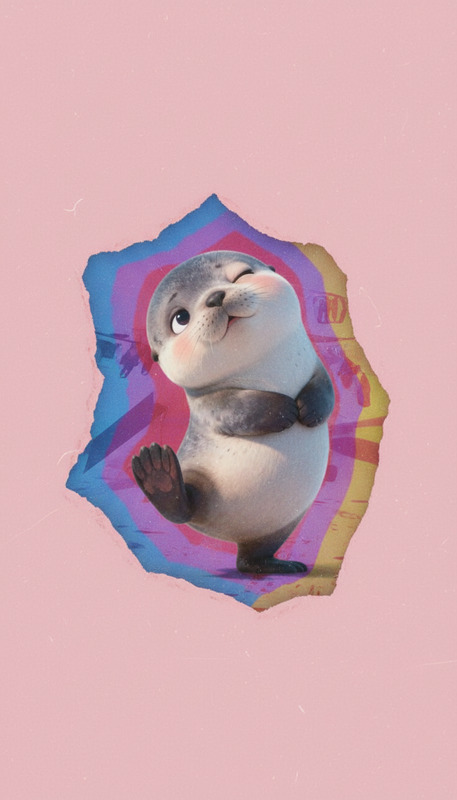
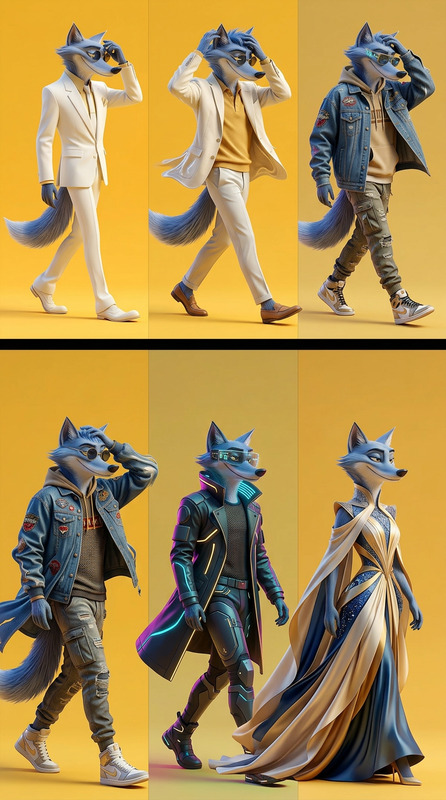
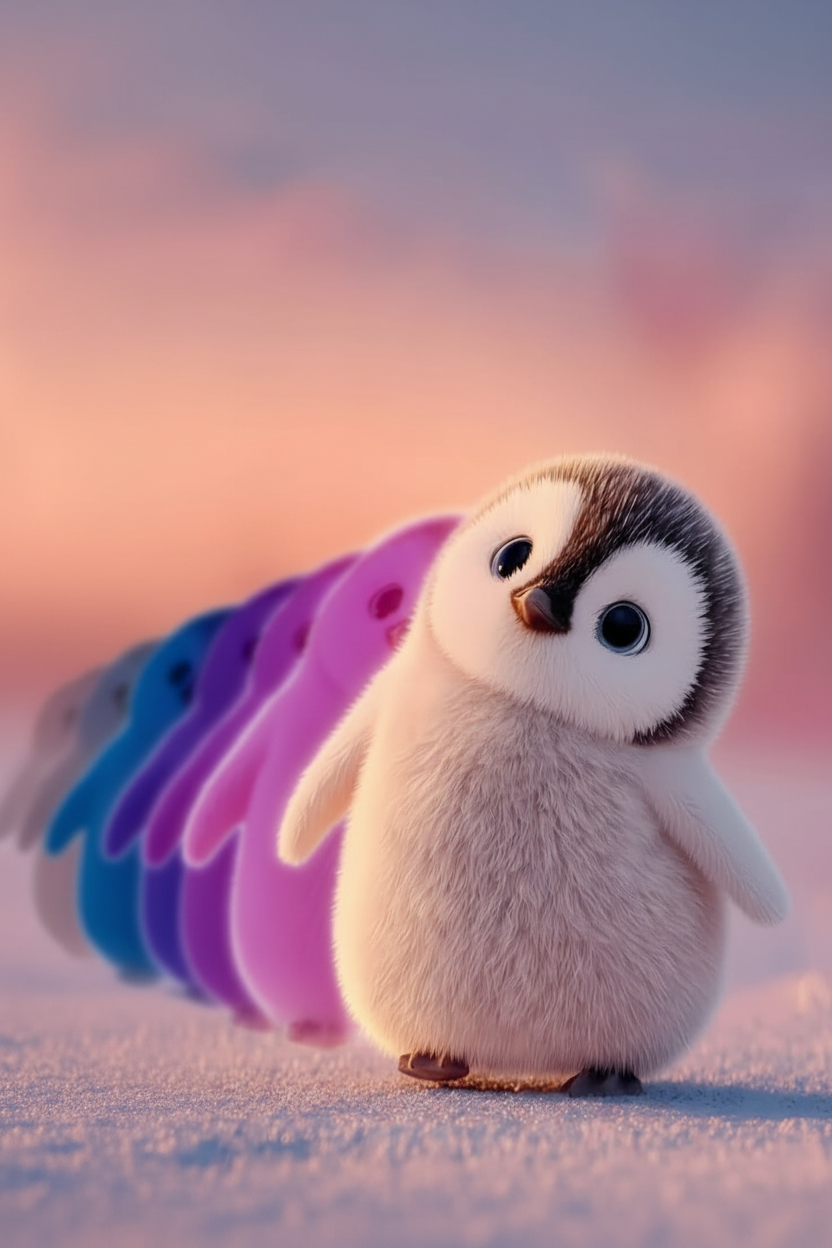
A full-body subject walking forward in a natural candid pose. Behind the subject, multiple duplicated silhouettes of the same figure appear in a trailing sequence, creating a smooth motion echo effect. The silhouettes transition through a gradient of blue, purple, and pink, with soft blur and subtle glow. Cinematic lighting, dynamic motion feel, depth and perspective, clean background, ultra-detailed, 4K.
AI Image Editor Template: Clean Product Mockups for Landing Pages, Decks, and App Stores
Use this AI Image Editor template to turn rough product screenshots into polished, on-brand visuals for landing pages, investor decks, app stores, and social media. In a few minutes, you can go from “functional” to “ship-ready” without a designer or complex tools.
What this template is best for
This template is designed for:
- SaaS and mobile app mockups (web, iOS, Android, desktop)
- Product UI shots for landing pages and A/B tests
- Clean visuals for Product Hunt, app stores, and pitch decks
- Reframing screenshots onto devices (laptops, phones, tablets, watches)
- Quick creative variations for social and ads
It’s built on the AI Image Editor, so you can non-destructively edit, extend, or restyle any existing screenshot or mockup.
How the template works
Upload your base asset
Start with a real product screenshot, Figma export, or photo. The AI Image Editor uses this as the visual “source of truth” for your UI and layout.Select the area you want to change
Use the editor to highlight:- Backgrounds you want to replace (e.g., messy desk → clean gradient)
- Surrounding environment (e.g., generic office → specific industry setting)
- Empty space you want to extend into banner formats or device frames
Describe the final result in natural language
In one prompt, you can specify:- Desired environment (e.g., “minimal, studio-style background with soft light”)
- Device type (e.g., “modern MacBook on a clean white desk”)
- Brand tone (e.g., “enterprise, trustworthy, subtle blue color accents”)
- Use case (e.g., “landing page hero image” or “App Store preview”)
Generate, compare, and refine
- Generate multiple versions in seconds
- Pick the best option and iterate with more targeted prompts
- Combine with other Magic Hour tools for advanced workflows (e.g., video, faces, or character-based branding)
Because all edits happen inside the AI Image Editor, you can continuously refine the same asset—instead of starting from scratch each time.
How to remix this template in Magic Hour
To create your own version of this template inside Magic Hour:
Start from a strong base image
- Export clean UI from Figma/Sketch/XD
- Take a full-screen product screenshot
- Or capture a real-life product photo to be enhanced later
Open it in the AI Image Editor
- Go to AI Image Editor
- Upload your asset
- Use the selection tools to define which parts the AI can change
Prompt for your specific context Try patterns like:
- “Transform this screenshot into a landing-page hero mockup with the UI shown on a modern laptop, on a clean white table, soft daylight, no clutter.”
- “Place this mobile app UI into a realistic hand-held iPhone in a coffee shop, shallow depth of field, lifestyle tech brand style.”
- “Turn this dashboard screenshot into a pitch-deck slide visual with a subtle gradient background and soft shadows, no text outside the UI.”
Create a reusable “brand look” When you find a style that works for your brand:
- Repeat the same descriptive phrases (colors, lighting, mood)
- Reuse the same background concepts (studio, office, outdoor, etc.)
- Keep consistent device framing (same laptop/phone angle)
This gives you a de facto “template” you can quickly apply to new screenshots, ensuring visual consistency across campaigns, decks, and release notes.
Advanced workflows and related Magic Hour tools
You can combine this template with other Magic Hour products to create richer content around your product visuals:
1. Turn static mockups into product videos
Use Image to Video to animate a hero mockup into a short, looping product motion clip—useful for:
- Landing page hero animations
- App Store preview loops
- Social posts highlighting key features
For more complex transformations (e.g., stylized animations, character-driven scenes), you can explore templates such as:
- Video to Video – transform existing recordings into branded or stylized versions
- Animation creator – generate short animated visuals from assets built in the AI Image Editor
2. Enhance image quality and size
If your original screenshots are low resolution or compressed:
- Use the AI Image Upscaler to:
- Sharpen UI text and icons
- Prepare assets for large hero banners or slide projections
- Improve clarity for screenshots taken on non-retina displays
Then bring the upscaled image back into the AI Image Editor for final compositing and styling.
3. Clean up or customize your environment
Use these tools alongside the AI Image Editor to quickly adapt assets for different contexts:
AI Background Generator
Create on-brand backgrounds (gradients, abstract shapes, themed environments) and then composite your UI into them using the AI Image Editor.Image Background Remover
Isolate your device or product from a cluttered photo, then drop it into clean, generated backgrounds.AI Remover and Remove Object from Photo
Remove logos, distracting objects, or unwanted people from product photography before framing it for landing pages.Unblur Image
Fix motion blur or focus issues in product demo shots so the interface remains crisp and legible.
4. Create avatars, faces, and characters around your product
If your product visuals include people or you need persona-driven marketing assets:
- Use the AI Face Generator to create photorealistic user personas.
- Refine or stylize them with the AI Face Editor.
- Turn static faces into speaking testimonials or product explainers using AI Talking Photo.
You can then use the AI Image Editor to composite these characters next to your UI mockups for ads, landing pages, or onboarding flows.
Practical use cases for teams
For founders and marketers
- Ship investor-ready pitch decks without design help
- Test several landing page hero concepts in an afternoon
- Align your visuals with different ICPs (e.g., healthcare vs. fintech vs. e-commerce) by swapping environments and styling
For product and growth teams
- Generate clean visuals for feature announcements and release notes
- Create variant screenshots for A/B tests in onboarding and pricing pages
- Maintain visual consistency across web, mobile, and in-product surfaces
For developers and technical teams
- Document APIs, dashboards, and internal tools with clear UI imagery
- Produce “before/after” visuals for technical blog posts
- Build internal design references before involving design teams
Tips for getting consistently strong results
Keep the core UI intact
Let the AI modify the surroundings, devices, and background, but preserve the central interface elements when realism and trust are important.Be explicit in your prompts
Include:- Industry context (“B2B SaaS analytics tool for finance teams”)
- Style direction (“minimal, Apple-like photography, high contrast, no heavy textures”)
- Output use case (“hero image”, “slide visual”, “social ad creative”)
Iterate in small steps
Instead of one massive prompt, refine gradually:- First: get the right device and angle
- Next: fix background and lighting
- Finally: tune details like reflections, shadows, and color accents
Document your prompt patterns
For teams, keep a shared doc with prompts and reference images that consistently work. This lets anyone on the team reproduce your “brand look” in the AI Image Editor.
Related tools for visual experimentation
Depending on your brand and channel strategy, you may want to experiment with more stylized outputs or adjacent use cases:
- AI Art Generator – create supporting illustrations for landing pages or blog posts that match your product visuals.
- AI Illustration Generator – generate custom diagrams, conceptual visuals, or explainer graphics around your screenshots.
- Thumbnail Maker – quickly adapt your mockups into YouTube or video thumbnails for product demos.
- Avatar Generator – create brand mascots or team avatars featured alongside UI mockups.
Why use Magic Hour AI Image Editor for product mockups?
Compared to manual design workflows (Figma, Photoshop) or purely generative tools, this template and the AI Image Editor give you:
- Control + speed – precise editing of real screenshots, with generation where it matters (backgrounds, environments, framing).
- Brand consistency – re-usable prompt patterns and compositional layouts for all new features and campaigns.
- Low overhead – no need for dedicated design resources to keep your product visuals polished and current.
Use this template as your starting point, then remix it to match your product, audience, and brand—so every screenshot you share looks intentional, consistent, and launch-ready.