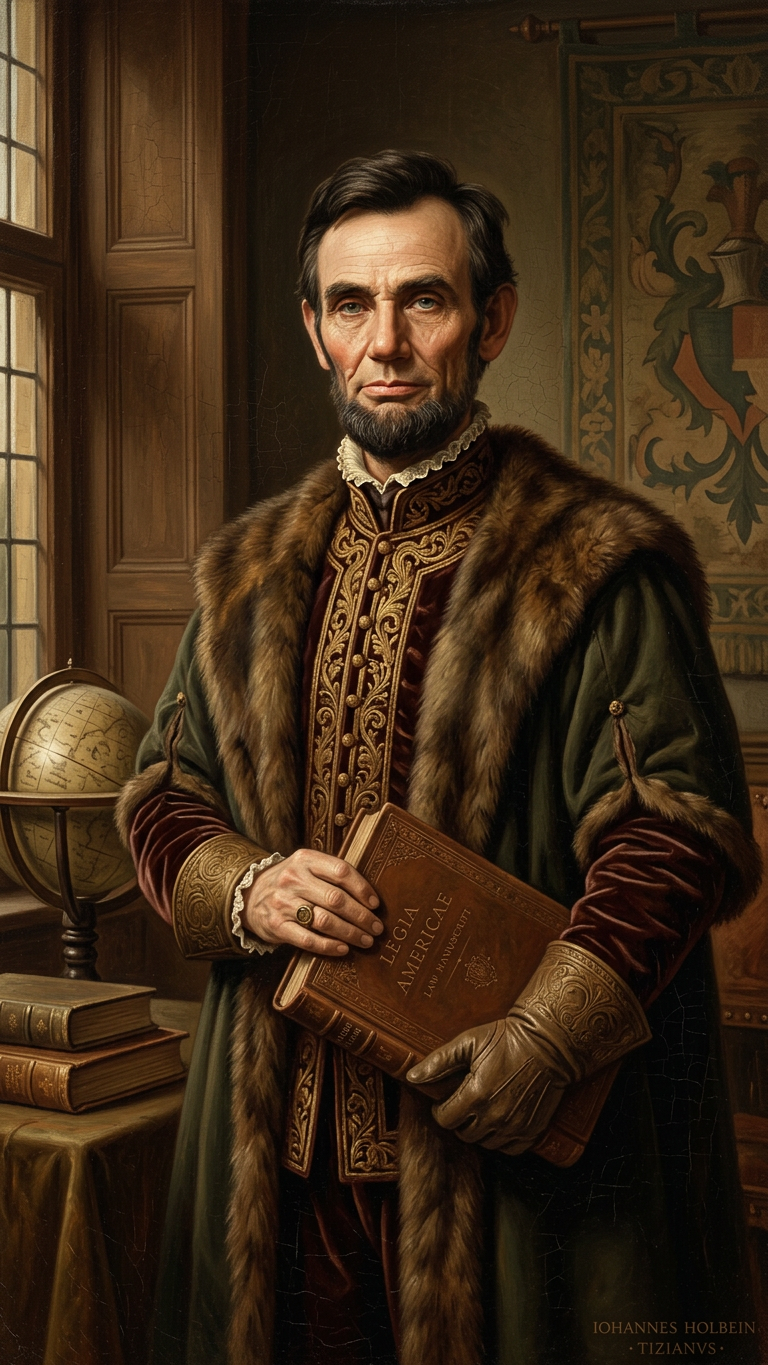
Renaissance Lincoln Portrait

Renaissance Lincoln Portrait

ai-image-editor

1 clip
1 uses

Any aspect ratio

Prompt

Create a standing portrait of Abraham Lincoln in a Renaissance painting style. Blend modern photorealism with classical oil painting techniques, featuring historical attire, formal posture, and dignified expression. Use rich textures, soft chiaroscuro lighting, and a muted, earthy color palette typical of Renaissance art, while preserving lifelike facial detail and depth.

Tags

transformations

AI Image Editor Template: Smart, Precise Image Editing for Fast Creative Workflows

Use this AI Image Editor–based template to quickly transform, clean up, and re-style your images without jumping between Photoshop, filters, and manual masking. It’s built for creators, marketers, founders, and technical teams who need production-ready visuals in minutes, not hours.


What You Can Do With This Template

This template is powered by the AI Image Editor and is optimized for:


Who This Template Is For

This AI Image Editor template is designed for people who care about speed, control, and brand consistency:

  • Marketing & Growth Teams

    • Clean and adapt UGC, product shots, and screenshots for campaigns
    • Quickly localize visuals (change environments, props, or scenes)
    • Produce multiple ad variants for performance testing
  • Founders & Startup Builders

    • Turn rough, DIY photos into investor-deck- and landing-page-ready assets
    • Prototype visual directions before paying for a full shoot
    • Keep brand visuals consistent without a full-time designer
  • Designers & Creators

    • Accelerate moodboards, concept art, and client drafts
    • Experiment with stylistic directions without committing to manual retouching
    • Use AI editing as a first pass, then do precise final tweaks elsewhere if needed
  • Developers & Product Teams

    • Generate ready-to-ship visuals for docs, product UIs, or in-product illustrations
    • Prototype characters, environments, or UI visuals for product mockups
    • Combine with other Magic Hour tools to automate an image-processing pipeline

How to Remix This Template in Magic Hour

You can use this template as-is, or treat it as a starting point and remix it into your own custom AI editing workflow. A typical remix flow looks like:

  1. Start from this AI Image Editor template

    • Open the template in Magic Hour (from the main template gallery).
    • Upload your base image (product shot, portrait, scene, screenshot, etc.).
  2. Decide your main editing goal
    Common high-leverage goals:

    • Remove or replace background
    • Remove specific objects or distractions
    • Change aesthetic style (e.g., “studio lighting, high contrast, editorial”)
    • Improve quality, clarity, and color
  3. Iterate with focused prompts

    • Describe the result you want, not the step-by-step process.
    • Mention style references (e.g., “product photo, soft shadows, Apple-style lighting”).
    • Keep changes scoped: one clear intention per iteration often works best.
  4. Chain this template with other Magic Hour tools (optional)
    For more advanced workflows, run edited images through additional tools:

  5. Save your remix as your own template

    • Once you like the behavior (the type of edit and prompt style), save it so your team can reuse it.
    • Reuse your remixed template for consistent, repeatable outputs across campaigns and projects.

Example Use Cases and Workflows

Use this section as a reference playbook for how to apply the template in real projects.

1. Product & E‑Commerce Visuals

  • Start with a raw product photo (even from a phone camera).
  • Use the template to:
    • Remove cluttered backgrounds
    • Replace with a neutral studio background or lifestyle setting
    • Clean reflections, labels, or off-brand elements
  • For multi-platform assets:

2. Brand & Marketing Creatives

  • Take existing brand or campaign imagery and:
    • Adjust mood and lighting to match campaign tone
    • Generate multiple stylistic interpretations (minimalist, bold, colorful, editorial)
    • Remove or replace elements that don’t meet brand guidelines
  • Then:

3. Content, Social, and Creator Workflows

  • Use the AI Image Editor template to:
    • Clean up backgrounds on portraits and lifestyle shots
    • Add visual themes (comic style, anime, dark fantasy, neon, etc.)
    • Create unique covers for newsletters, podcasts, or videos
  • Layer in specialized tools depending on your niche:

4. Character, Avatar, and IP Development


Combining This Template With Video, Voice, and Motion

Once your images are edited with this template, you can extend them into video and audio workflows entirely within Magic Hour:


Related Magic Hour Tools to Explore

If you’re remixed this AI Image Editor template into your workflow, these tools are often useful adjacent steps:


Best Practices for High-Quality AI Image Editing

To get strong, production-ready results with this template:

  • Start from the best input you have

    • Good lighting and reasonable resolution give AI more signal to work with.
    • If an asset is very low-res, consider AI Image Upscaler before heavy edits.
  • Be explicit in your intent

    • Mention the context: “for e-commerce product page,” “for LinkedIn banner,” “for YouTube thumbnail.”
    • The more clearly you describe the end use, the better the aesthetic fit.
  • Iterate in small steps

    • Avoid asking for multiple large transformations in a single pass.
    • Run a sequence: clean → restyle → refine → upscale → export.
  • Create and reuse your own remix templates

    • Once you’ve dialed in an editing recipe that matches your brand, save it as your own template in Magic Hour.
    • Use it across campaigns to maintain visual consistency and reduce decision fatigue.

Use this AI Image Editor template as the core of a flexible, modular pipeline: clean your image, restyle it, and then extend it into video, voice, and motion across the rest of the Magic Hour ecosystem.

More Like This

Insufficient credits