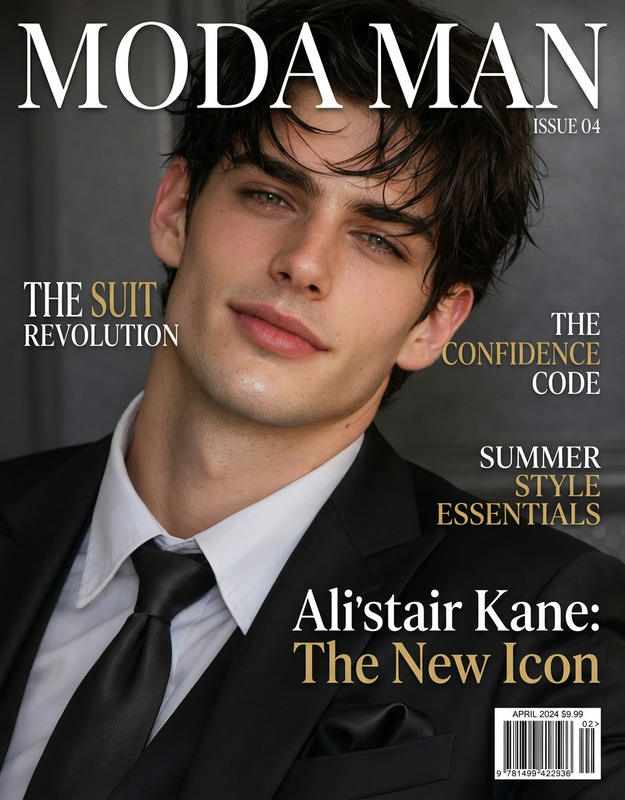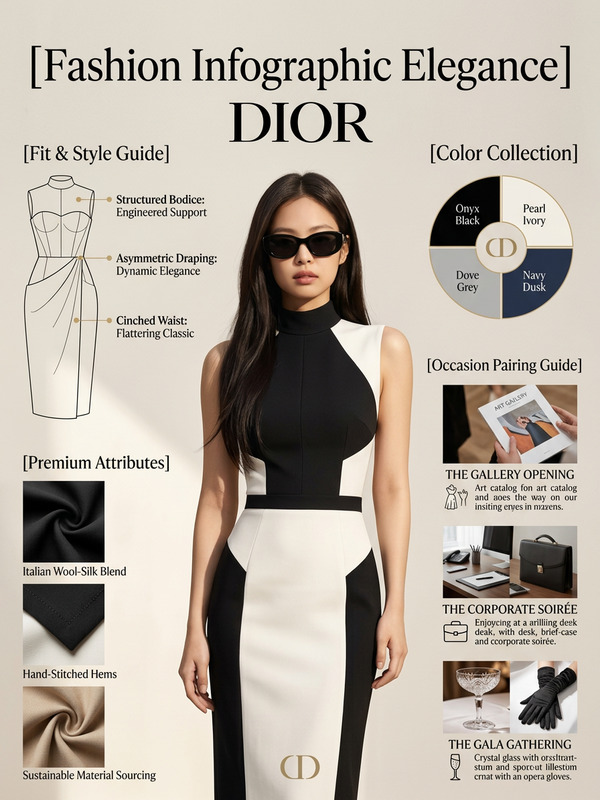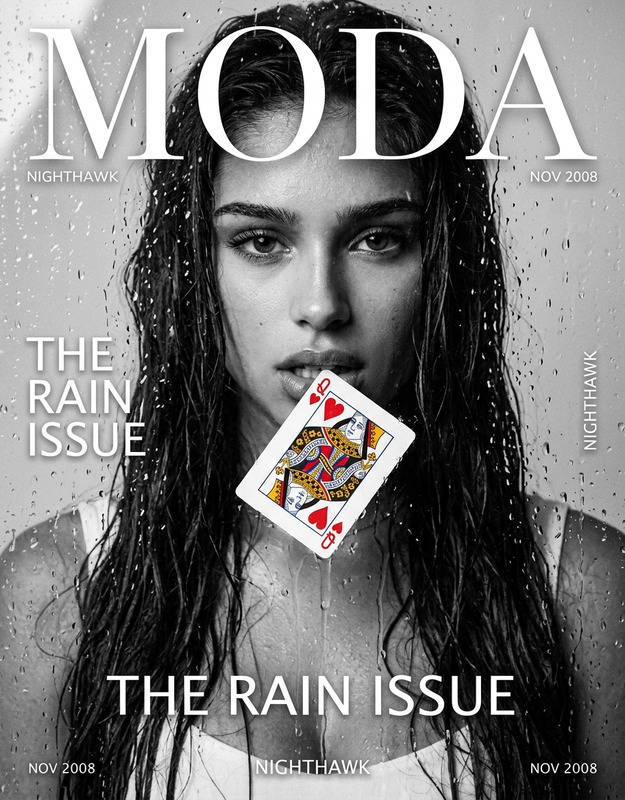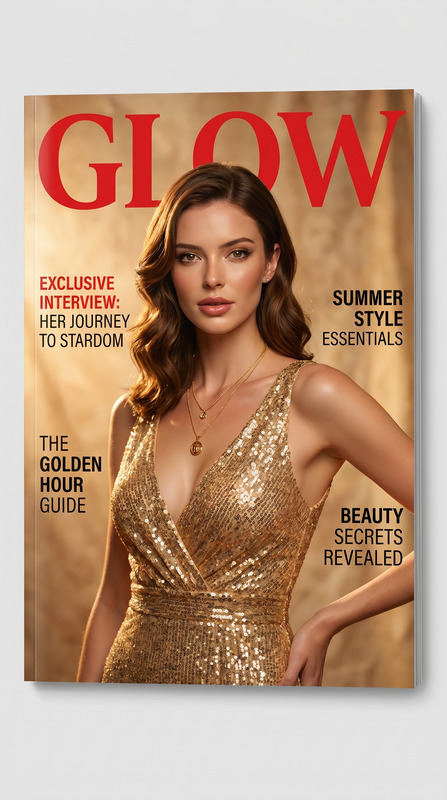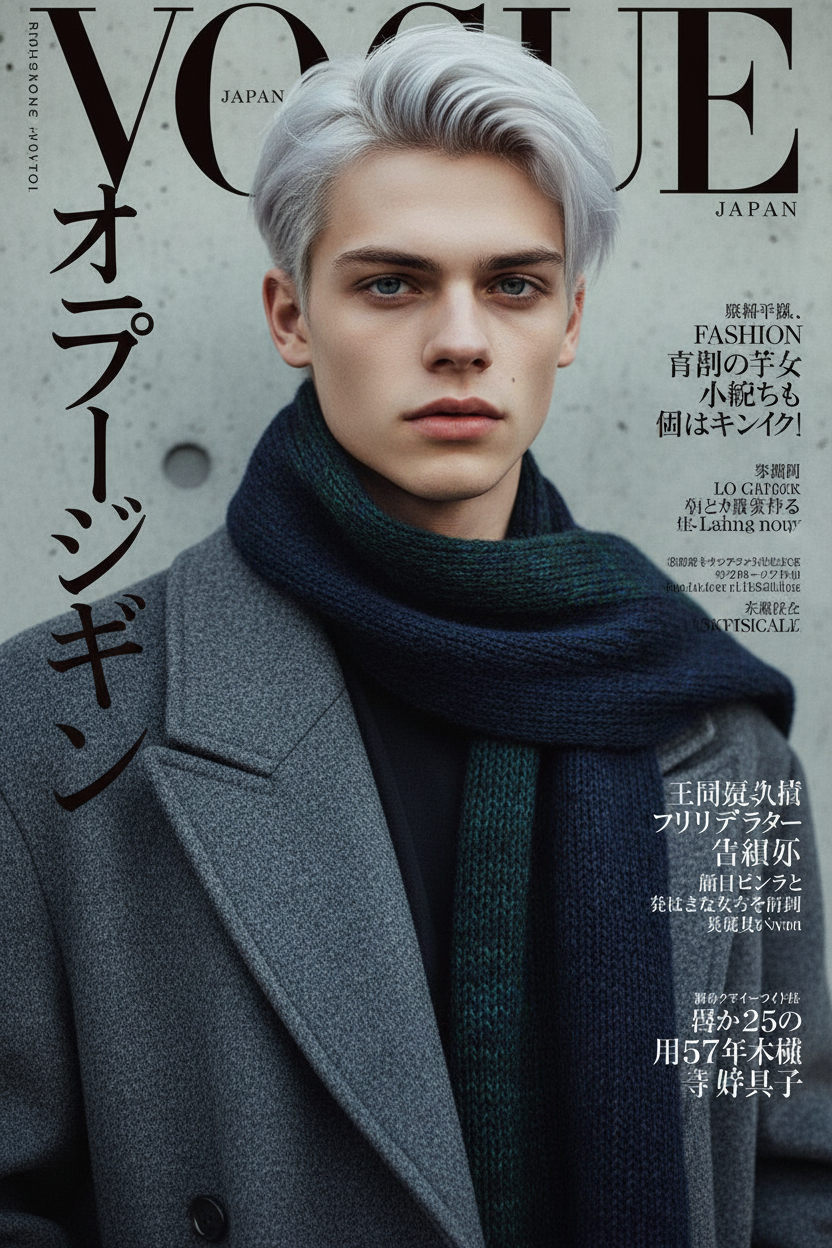
Japanese Fashion Magazine Cover
ai-image-editor
Any aspect ratio
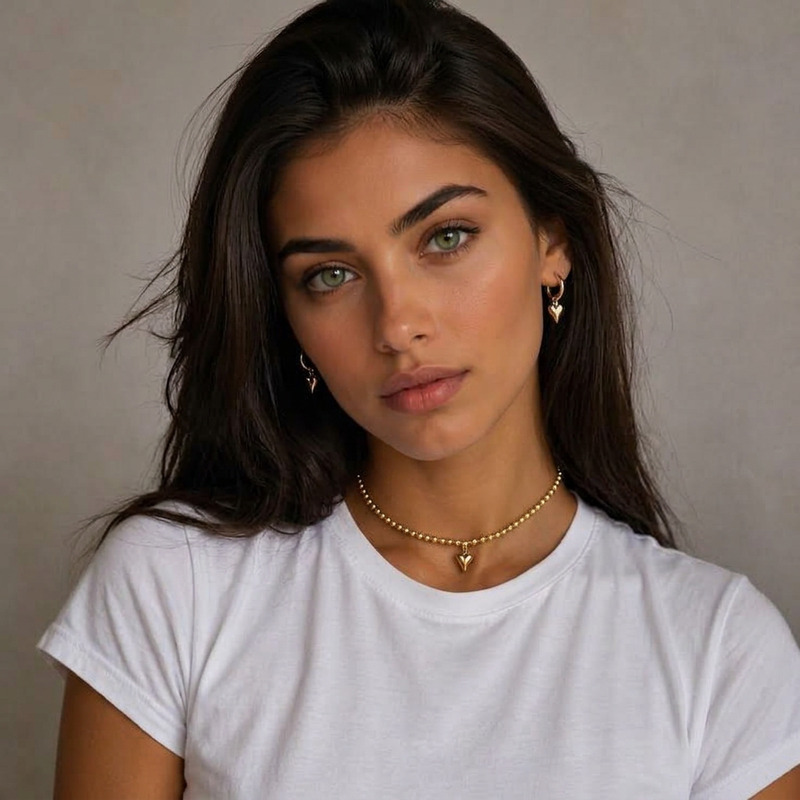
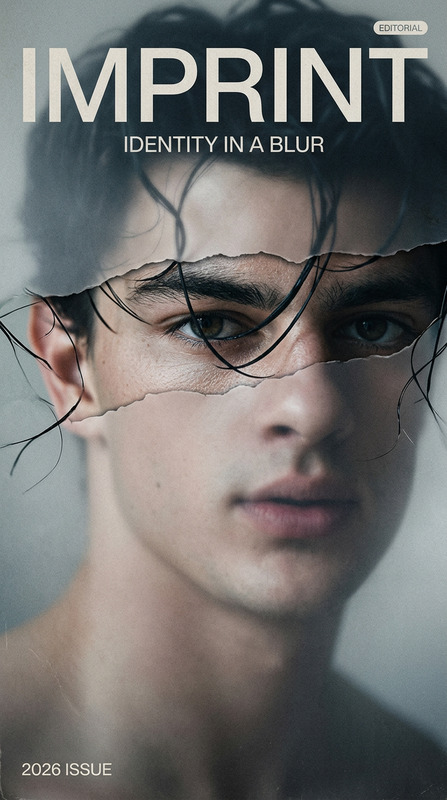
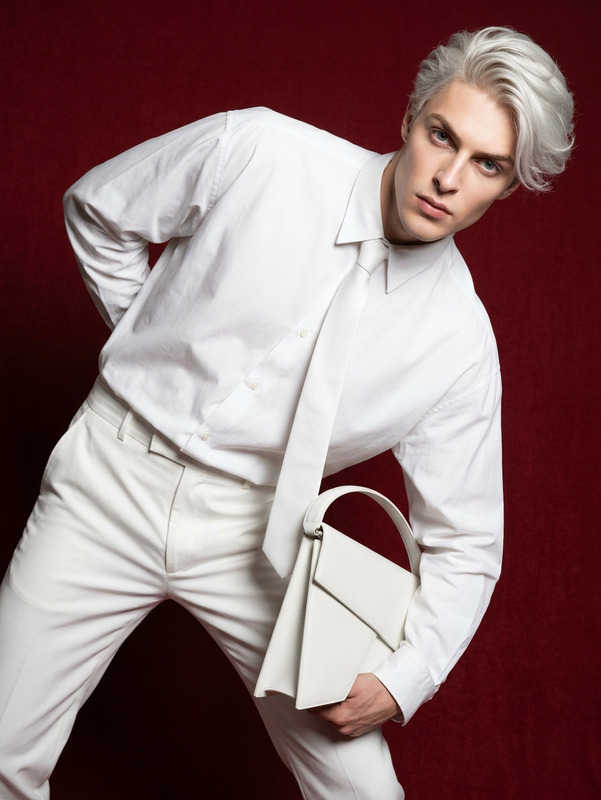
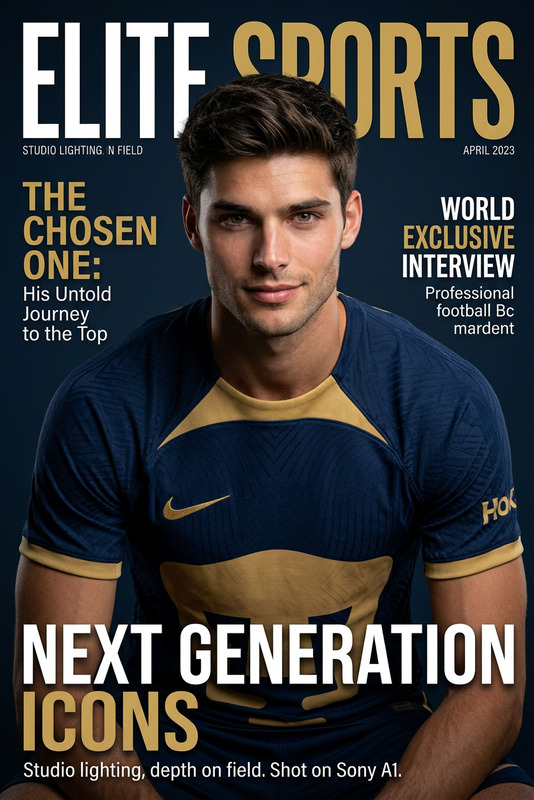
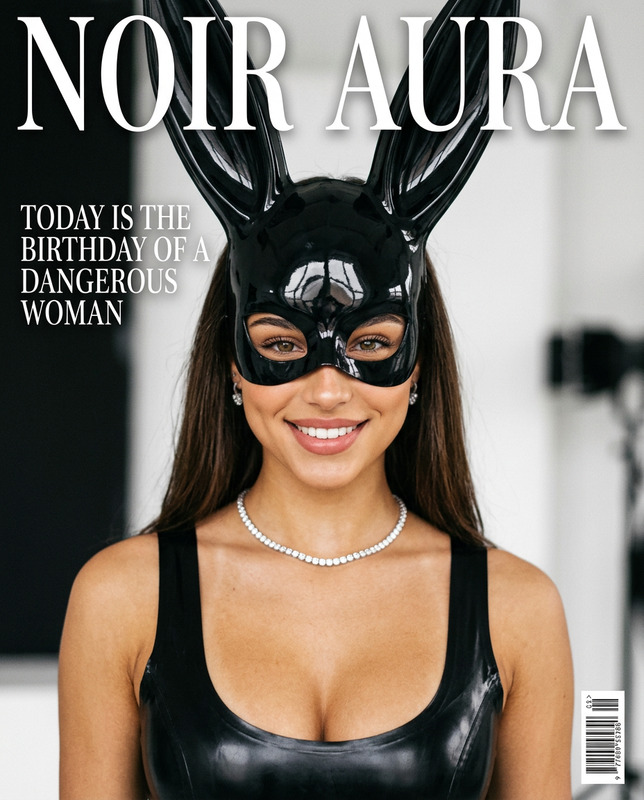
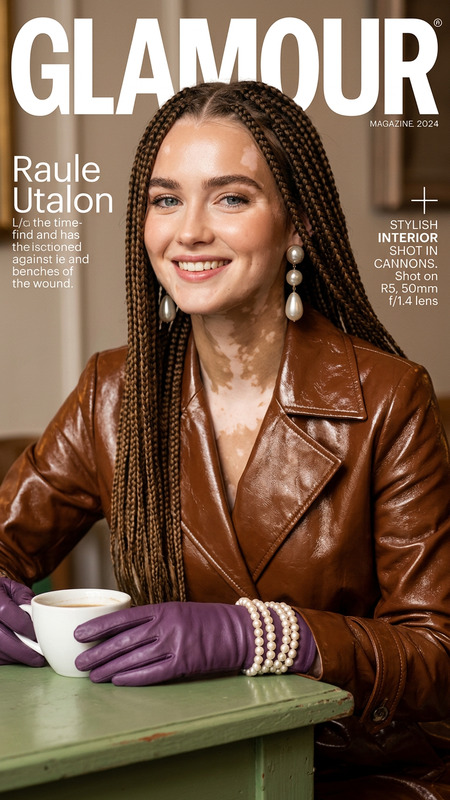
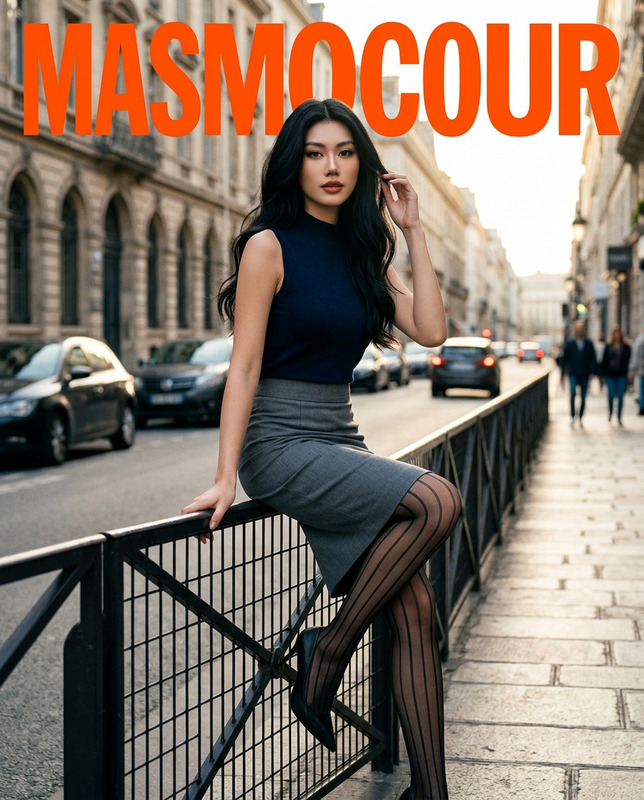
Recreate the subject as a Japanese fashion magazine cover star while preserving identity. Styling: contemporary high-fashion outfit such as oversized coat and scarf. Hair neat and modern, makeup minimal and natural. Close-up portrait in soft natural daylight with film grain and cinematic lighting. Minimal background for authenticity. Design: bold Japanese vertical headline, magazine logo, subtext captions. Inspired by Vogue Japan cover style
Tags
stylesAI Image Editor Template: Remixable, Precise Visual Editing for Creators
Use this template to quickly turn any image into polished, on-brand visuals using Magic Hour’s AI Image Editor. It’s built for creators, marketers, and product teams who need fast, controllable edits without opening Photoshop or writing prompts from scratch.
What This Template Is For
This template is ideal when you need to:
- Cleanly remove or replace objects, people, or text in a photo
- Change backgrounds while keeping the subject intact
- Refine product photos for ads, landing pages, or marketplaces
- Create multiple visual variants (colors, styles, themes) from one base image
- Upgrade old or low‑quality images to sharp, modern assets
It works especially well as a starting point when you want repeatable, consistent edits you can remix for different campaigns, clients, or content channels.
How to Remix This Template in Magic Hour
You can recreate or adapt this template in a few minutes:
Open AI Image Editor
Go to the AI Image Editor.Upload your base image
- For best results, use high‑resolution, well‑lit photos.
- Product images with simple backgrounds or portraits with clear subjects tend to work especially well.
Define what you want to change
Typical use cases this template supports:- Remove an unwanted object (logo, person in background, clutter, watermark in non-copyrighted work)
- Replace background (photo to studio background, lifestyle scenes, on-brand colors)
- Modify details (clothing style, accessories, props, colors, lighting mood)
Apply targeted edits
- Use the editor to select the area you want to edit.
- Describe the new visual outcome clearly and concretely (e.g., “clean white studio background,” “warm, golden hour lighting,” “minimalist wooden desk”).
Generate and compare variations
- Save multiple outputs so you can A/B test in ads, emails, or landing pages.
- Keep your best result as a “master image” you can reuse or further remix.
Export for your workflow
- Download the result and plug it into your ad manager, CMS, pitch deck, or product mockups.
- Reuse the same workflow as a personal template whenever you need a similar style.
Example Workflows Using This Template
1. Ecommerce product clean-up and branding
- Remove distracting backgrounds
- Replace with consistent studio or brand‑colored backgrounds
- Enhance clarity and detail with the AI Image Upscaler
- Generate matching variants (seasonal, themed) using the AI Art Generator
2. Social, ads, and landing page visuals
- Edit hero images, thumbnails, or banners using AI Image Editor
- Generate matching social thumbnails with the Thumbnail Maker
- Turn static images into short motion assets using Image to Video or Text to Video
3. Personal & professional portraits
- Clean up distractions in profile photos
- Change backgrounds for LinkedIn, portfolio sites, or founder pages
- Generate alternative headshots with the AI Headshot Generator
- Create avatar-style images using the Avatar Generator
4. Creative & experimental use cases
- Turn photos into sketches with Photo to Sketch
- Transform images into stylized art using the AI Manga Generator or AI Anime Generator
- Generate fantasy or game-style concepts with tools like DND AI Art Generator, Fantasy Map Generator, or Dark Fantasy AI
Best Practices for High-Quality AI Image Editing
1. Start with the strongest source image you have
- Higher resolution and better lighting yield cleaner edits and fewer artifacts.
- If your image is soft or low‑res, improve it first with the Unblur Image or AI Image Upscaler.
2. Be specific when describing edits
LLMs and diffusion models perform best with precise intent. Compare:
- Weak: “Make it better”
- Strong: “Remove the text on the wall and replace the background with a clean white studio backdrop”
Think in terms of:
- Subject (who/what stays)
- Context (environment, background)
- Style (minimalist, cinematic, flat lay, lifestyle)
- Mood (warm, cool, dramatic, neutral, professional)
3. Edit in stages
For complex changes, it’s often more robust to:
- First remove or clean up elements
- Then add new elements or backgrounds
- Finally, refine style and details (color, lighting, texture)
4. Keep a remixable asset library
- Save frequently used base images (e.g., hero product, brand mascot, founder headshot).
- Use AI Image Editor + other tools (e.g., AI Background Generator) to generate a consistent visual language across campaigns.
5. Respect copyrights and likeness rights
- Only upload photos you have rights to use.
- Be cautious when modifying branded assets, faces, or artwork you don’t own.
For additional context on how AI image editing works in production, see overviews from:
- “High-Resolution Image Synthesis with Latent Diffusion Models” (Rombach et al., 2022)
- Platform documentation from tools like Stable Diffusion, Midjourney, or DALL·E for prompt and editing patterns that also apply here.
Combine This Template With Other Magic Hour Tools
Use this template as the visual foundation, then chain it with other Magic Hour products:
From edited image to animated content
- Animate characters or portraits using AI Talking Photo or Animation Templates
- Turn still images into GIFs with the AI GIF Generator
From static visuals to full video
- Turn brand images into short video loops with Image to Video
- Use Video to Video Templates to restyle or adapt videos created from your edited images
- Add subtitles automatically with the Auto Subtitle Generator
Face- and character-driven content
- Swap faces in images, GIFs, or videos with Face Swap and Face Swap GIF
- Create talking avatars from edited portraits using AI Talking Photo
- Generate new characters with the AI Character Generator or Animated Characters Generator
How to Build Your Own AI Image Editor Template
If you want to create a reusable, custom template workflow for your team:
Define the recurring job
Examples:- “Standardizing product photos across our catalog”
- “Creating on‑brand backgrounds for founder shots”
- “Iterating ad creatives around one concept image”
Document the pattern
- What type of source images you use
- What you typically remove or change
- The target style: color palette, mood, background types, level of realism
Implement with AI Image Editor
- Use the AI Image Editor as the central tool.
- Add supporting tools where needed (e.g., Image Background Remover, Remove Object from Photo, Watermark Remover for allowed content).
Save examples and outputs
- Keep a folder of “Before → After” examples.
- This doubles as internal documentation and a prompt reference for future reuse.
Remix for new use cases
- For different product lines, campaigns, or regions, start from your existing pattern and adjust only what’s necessary (e.g., background, props, or color tone).
When to Use AI Image Editor vs Other Magic Hour Tools
- Use AI Image Editor when you want precise control over an existing image.
- Use AI Image Generator when you’re starting from text and need a brand‑new image (AI Image Generator or AI Photo Generator).
- Use Image Background Remover or Remove Object from Photo for fast, single‑task edits, then refine in AI Image Editor.
- Use AI Meme Generator (AI Meme Generator) when you care more about text+image concepts than pixel‑level control.
By starting from this AI Image Editor template and remixing it for your brand, you get a repeatable, scalable way to produce high‑quality visuals—without building a full design pipeline or learning traditional image editing tools.