London bus stop drizzle
ai-image-editor
Any aspect ratio
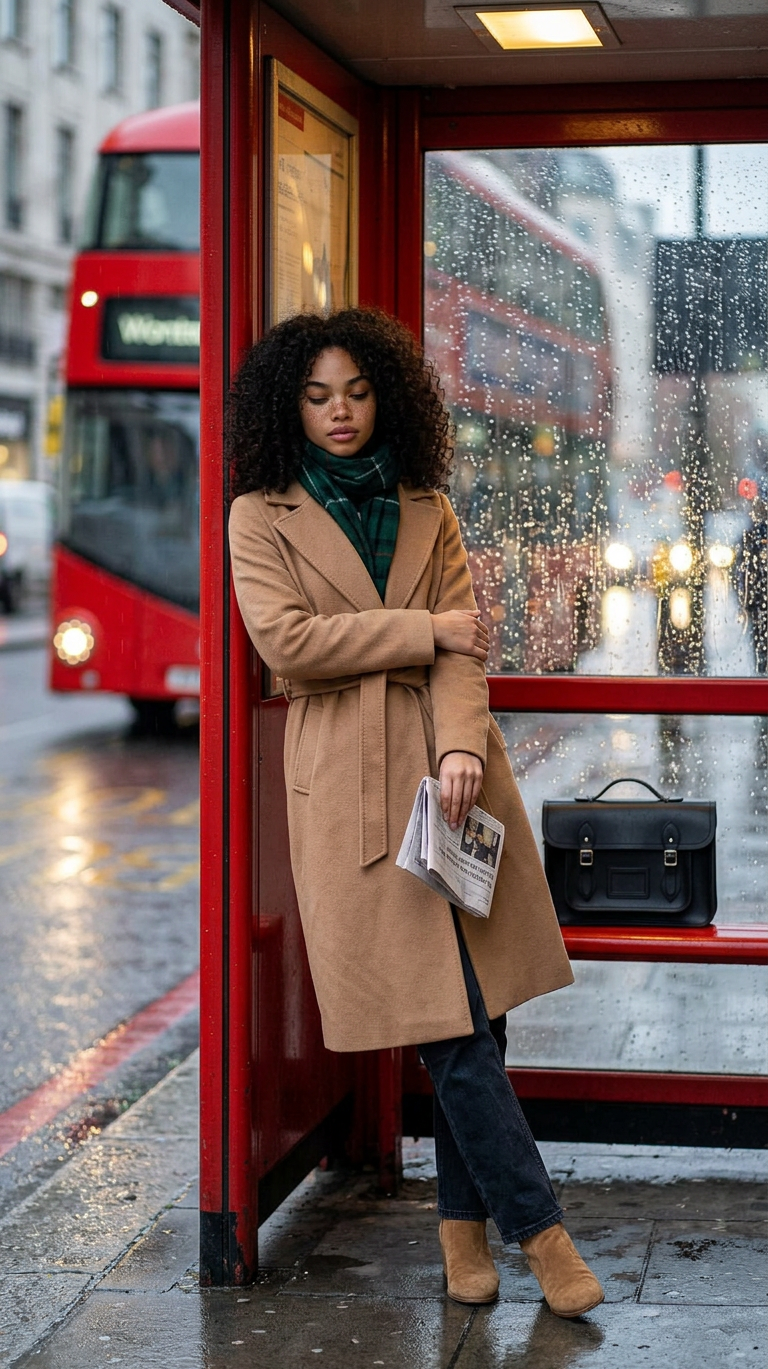
Subject leaning against the glass panel of a red bus shelter, arms loosely crossed over a belted camel cashmere coat, forest green plaid scarf wrapped high. Wearing dark straight-leg jeans and tan suede ankle boots. A structured black leather satchel rests on the bench beside. Holding a folded newspaper, looking down calmly, chin slightly lowered. Rain droplets bead on the glass, creating bokeh texture in the foreground. Background shows a red double-decker bus blurred on wet streets with streaked headlights. Warm shelter light contrasts with cool rainy city tones, candid shot from outside looking in, cozy rainy urban moment.
AI Image Editor Template: Before/After Visuals in Seconds
Use this template to turn any raw image into a polished, share‑ready “before/after” visual with the AI Image Editor. It’s designed for fast iteration, clear visual storytelling, and easy remixing inside Magic Hour—no design background required.
What this template is for
This template is ideal if you need to quickly show “transformation” or “change” in a single, compelling image:
- Product improvements (app UI, landing pages, packaging)
- Visual experiments (brand refreshes, ad variations, thumbnails)
- Face and portrait edits (retouching, background changes, style shifts)
- Creative concepts (fantasy versions, “what if?” explorations)
- Side‑by‑side comparisons for A/B tests, client reviews, or pitch decks
Under the hood, it uses the AI Image Editor, which combines generative in‑painting, out‑painting, and style editing to modify only the parts of an image you want to change while preserving the rest.
How to use and remix this template in Magic Hour
You can turn this template into your own version in a few minutes:
Duplicate / Remix the template
- Open the template in Magic Hour.
- Use the “Remix” or “Duplicate” option to create your own editable version, so you can customize instructions, reference images, and outputs for your workflow or team.
Upload your “before” image
- Use a clear, reasonably high‑resolution image as the base.
- For faces or portraits, you can complement this with AI Face Editor and AI Headshot Generator for more specialized enhancement.
- For products, designs, or scenes, pair with AI Background Generator or AI Art Generator to explore different visual directions.
Describe your “after” state in plain language
- The simplest prompt structure:
- “Make this look like…”
- “Change X to Y…”
- “Keep A and B, change C…”
- Example prompts:
- “Keep the subject’s face and pose, but change the background to a modern office, natural lighting, realistic style.”
- “Update the app UI to look cleaner and more modern, with more whitespace and softer colors, while preserving the layout structure.”
- The AI Image Editor is optimized for natural language, so you don’t need prompt engineering experience.
- The simplest prompt structure:
Refine selectively by masking
- Use the editor to select only the area you want changed (face, clothing, background, product label, etc.).
- This is powerful for controlled experiments: change one variable at a time while keeping everything else constant.
- For object removal or cleanup, combine with the AI Remover and Remove Object from Photo tools.
Generate multiple variations
- Run several variations at once to compare different styles or directions.
- Example:
- Version A: “natural daylight, minimal editing”
- Version B: “cinematic lighting, slightly dramatic shadows”
- Version C: “editorial / magazine look”
- For creative exploration, you can also test alternate character or outfit concepts with:
Export as a single before/after asset
- Arrange your “before” and “after” into a single visual for:
- Pitch decks and investor updates
- Product changelogs and release notes
- Case studies and landing pages
- Social posts and ads (e.g., X, LinkedIn, Instagram)
- For thumbnails or social banners, finalize with the Thumbnail Maker or Album Cover Generator.
- Arrange your “before” and “after” into a single visual for:
Example use cases
1. Product and UI modernization
- Start with a screenshot of your current product.
- Use AI Image Editor to modernize colors, spacing, and visual style while keeping structure intact.
- Export before/after graphics for:
- Landing pages to showcase improvements
- A/B tests with different visual directions
- Internal design reviews and stakeholder alignment
- You can also create animated UX explainers or short demos by pairing with:
2. Portrait clean‑up and brand‑aligned headshots
- Upload an existing headshot or selfie.
- Use AI Image Editor to improve lighting, background, and minor facial retouching.
- If you need a full library of consistent portraits, use:
- AI Headshot Generator for new on‑brand headshots
- AI Selfie Generator for more casual variants
- Unblur Image and AI Image Upscaler to improve image quality
3. Marketing creatives and ad experiments
- Take an underperforming ad creative or social graphic as your “before” image.
- Use AI Image Editor to:
- Swap backgrounds
- Adjust color palettes
- Highlight the product more clearly
- Remove clutter or distracting elements
- Use the “remixed” template to quickly produce multiple creative angles.
- Convert winners into animated assets using:
- AI GIF Generator
- Animation for character or logo motion
4. Creative, stylized transformations
- Upload a photo or illustration and prompt AI Image Editor to transform it into:
- Comic‑style art (Comic Book Generator)
- Manga or anime look (AI Manga Generator, AI Anime Generator)
- Disney‑inspired style (Disney AI Generator)
- Dark fantasy concepts (Dark Fantasy AI)
- Use before/after pairs to communicate style directions to stakeholders or clients without full production work.
5. Content, branding, and publishing
- For authors, marketers, and content teams, use this template to show:
- Book cover redesigns (Book Cover Generator)
- Brand/icon system updates (AI Icon Generator, AI Logo Generator)
- Website hero or layout refreshes using AI‑generated mocks
- Use AI Art Generator to propose new visual directions, then refine them with AI Image Editor into concrete before/after examples.
Advanced workflows for teams and power users
If you’re a founder, marketer, or product lead, this template can be part of a repeatable AI‑augmented workflow:
Creative pipelines
- Generate concepts with AI Image Generator or AI Photo Generator.
- Refine them with AI Image Editor.
- Present side‑by‑side options using this template (ideal for client review or internal sign‑off).
Persona and character development
- Use AI Character Generator, Animated Characters Generator, or Superhero Generator to create personas.
- Use AI Image Editor to tweak outfits, expressions, and environments while preserving core identity.
- Show stakeholders the evolution with clear before/after panels.
Social and UGC campaigns
- Combine AI Image Editor with:
- Use before/after sequences as templates for user‑generated content and participatory campaigns.
Voice and talking visuals
- Turn edited portraits into talking content using:
- The before/after template helps you document and standardize the visual style before you start animating and voicing.
Best practices for strong before/after visuals
To get reliable, high‑quality results with the AI Image Editor and this template:
Use clear, specific prompts
- State what must stay the same (“Keep the person’s identity and pose”) and what may change (“Change only the background to a modern coworking space”).
- Mention style, lighting, and mood if they matter (“soft studio lighting,” “cinematic,” “realistic,” “illustration”).
Control for one major change at a time
- Easier to compare and easier to evaluate.
- For example:
- First pass: background only
- Second pass: outfit only
- Third pass: color grade / overall tone
Maintain quality and realism where needed
- Use AI Image Upscaler and Unblur Image when up‑res or sharpness is critical (e.g., banners, presentation decks).
- For legacy or low‑quality inputs, clean them first with Old Photo Restoration and Photo Colorizer.
Keep a consistent brand system
- If you’re working with brand assets (logos, colors, typography), use AI Image Editor primarily for layout, environment, and photography style.
- Lock logos and core identity elements, and only allow background or accent changes.
Related Magic Hour tools worth exploring
If you’re building a broader AI‑assisted creative or product pipeline, this template pairs well with:
- Video to Video – turn existing footage into new visual styles.
- Animation – animate characters or assets that you’ve edited in this template.
- AI Meme Generator – convert your before/after into shareable meme formats.
- AI QR Code Generator – link from a visual transformation to a landing page or interactive experience.
- Video Upscaler & Auto Subtitle Generator – polish edited visuals once they’re turned into video content.
Start remixing this template
Use this AI Image Editor template as a base, then:
- Duplicate it to create your own “before/after” system for your brand or team.
- Customize prompts, reference images, and usage notes for your specific domain (SaaS, e‑commerce, content, games, design, etc.).
- Combine with other Magic Hour tools when you’re ready to move from static transformations to animated, voiced, or interactive content.
The template is intentionally simple to understand but powerful enough to become part of a serious production workflow.